Select Your Gaming Platform
Parental controls are one of the best tools available to help protect your child while gaming online. Parental controls reduce risks but cannot eliminate them completely. Regular conversations, periodic account reviews, and active involvement remain the most effective safety tools.
Select a gaming platform below to jump to the Parent Guide for that system, or explore the full guide as you scroll.
Important Note: These guides were created in the summer of 2026. Because online platforms, apps, and their parental control settings are updated frequently, the steps and screenshots shown in these guides may change over time. If something looks different on your device, don’t be alarmed. Look for the closest corresponding settings or options, as the location, wording, and appearance of features may have changed.
PlayStation
Xbox
Nintendo Switch
PLAYSTATION
PlayStation Family Management App Setup Guide for Parents
The PlayStation App allows you to manage your child’s account, set restrictions, control spending, and monitor screen time directly from your phone.
Note: You will need a PlayStation Network (PSN) account and must be designated as the Family Manager to manage parental controls.
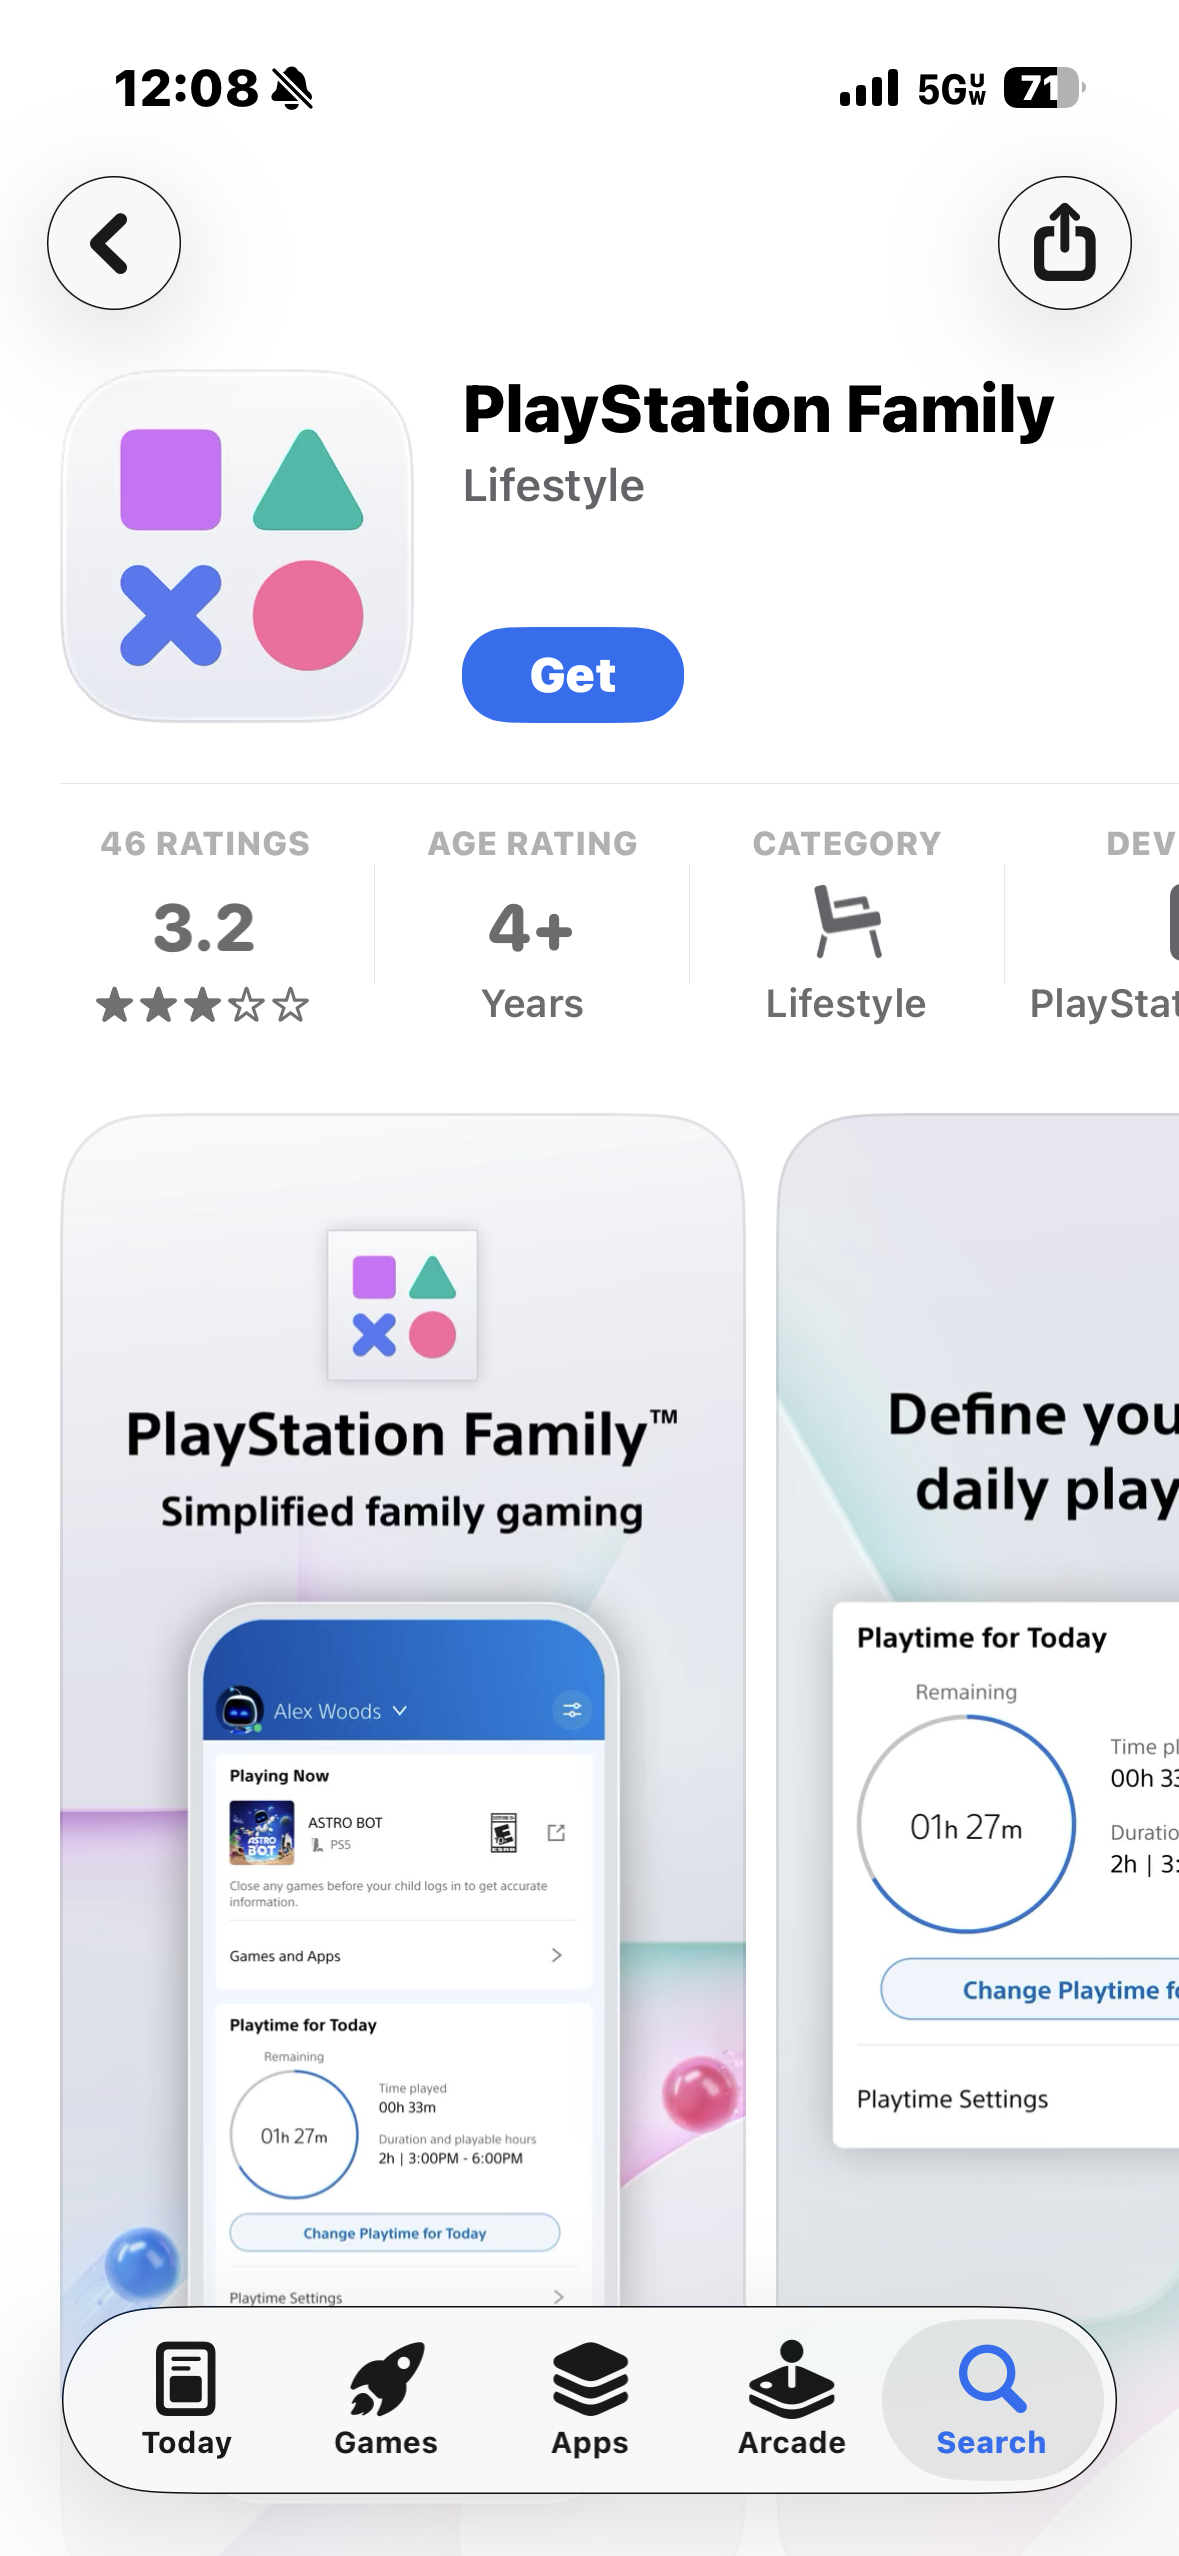
Step 1: Download the PlayStation App
Begin by downloading the official PlayStation App on your smartphone.
iPhone
- Open the App Store.
- Search for PlayStation Family App .
- Tap Get and install the app.
Android
- Open the Google Play Store.
- Search for PlayStation Family App .
- Tap Install .
Step 2: Sign In to Your PlayStation Account
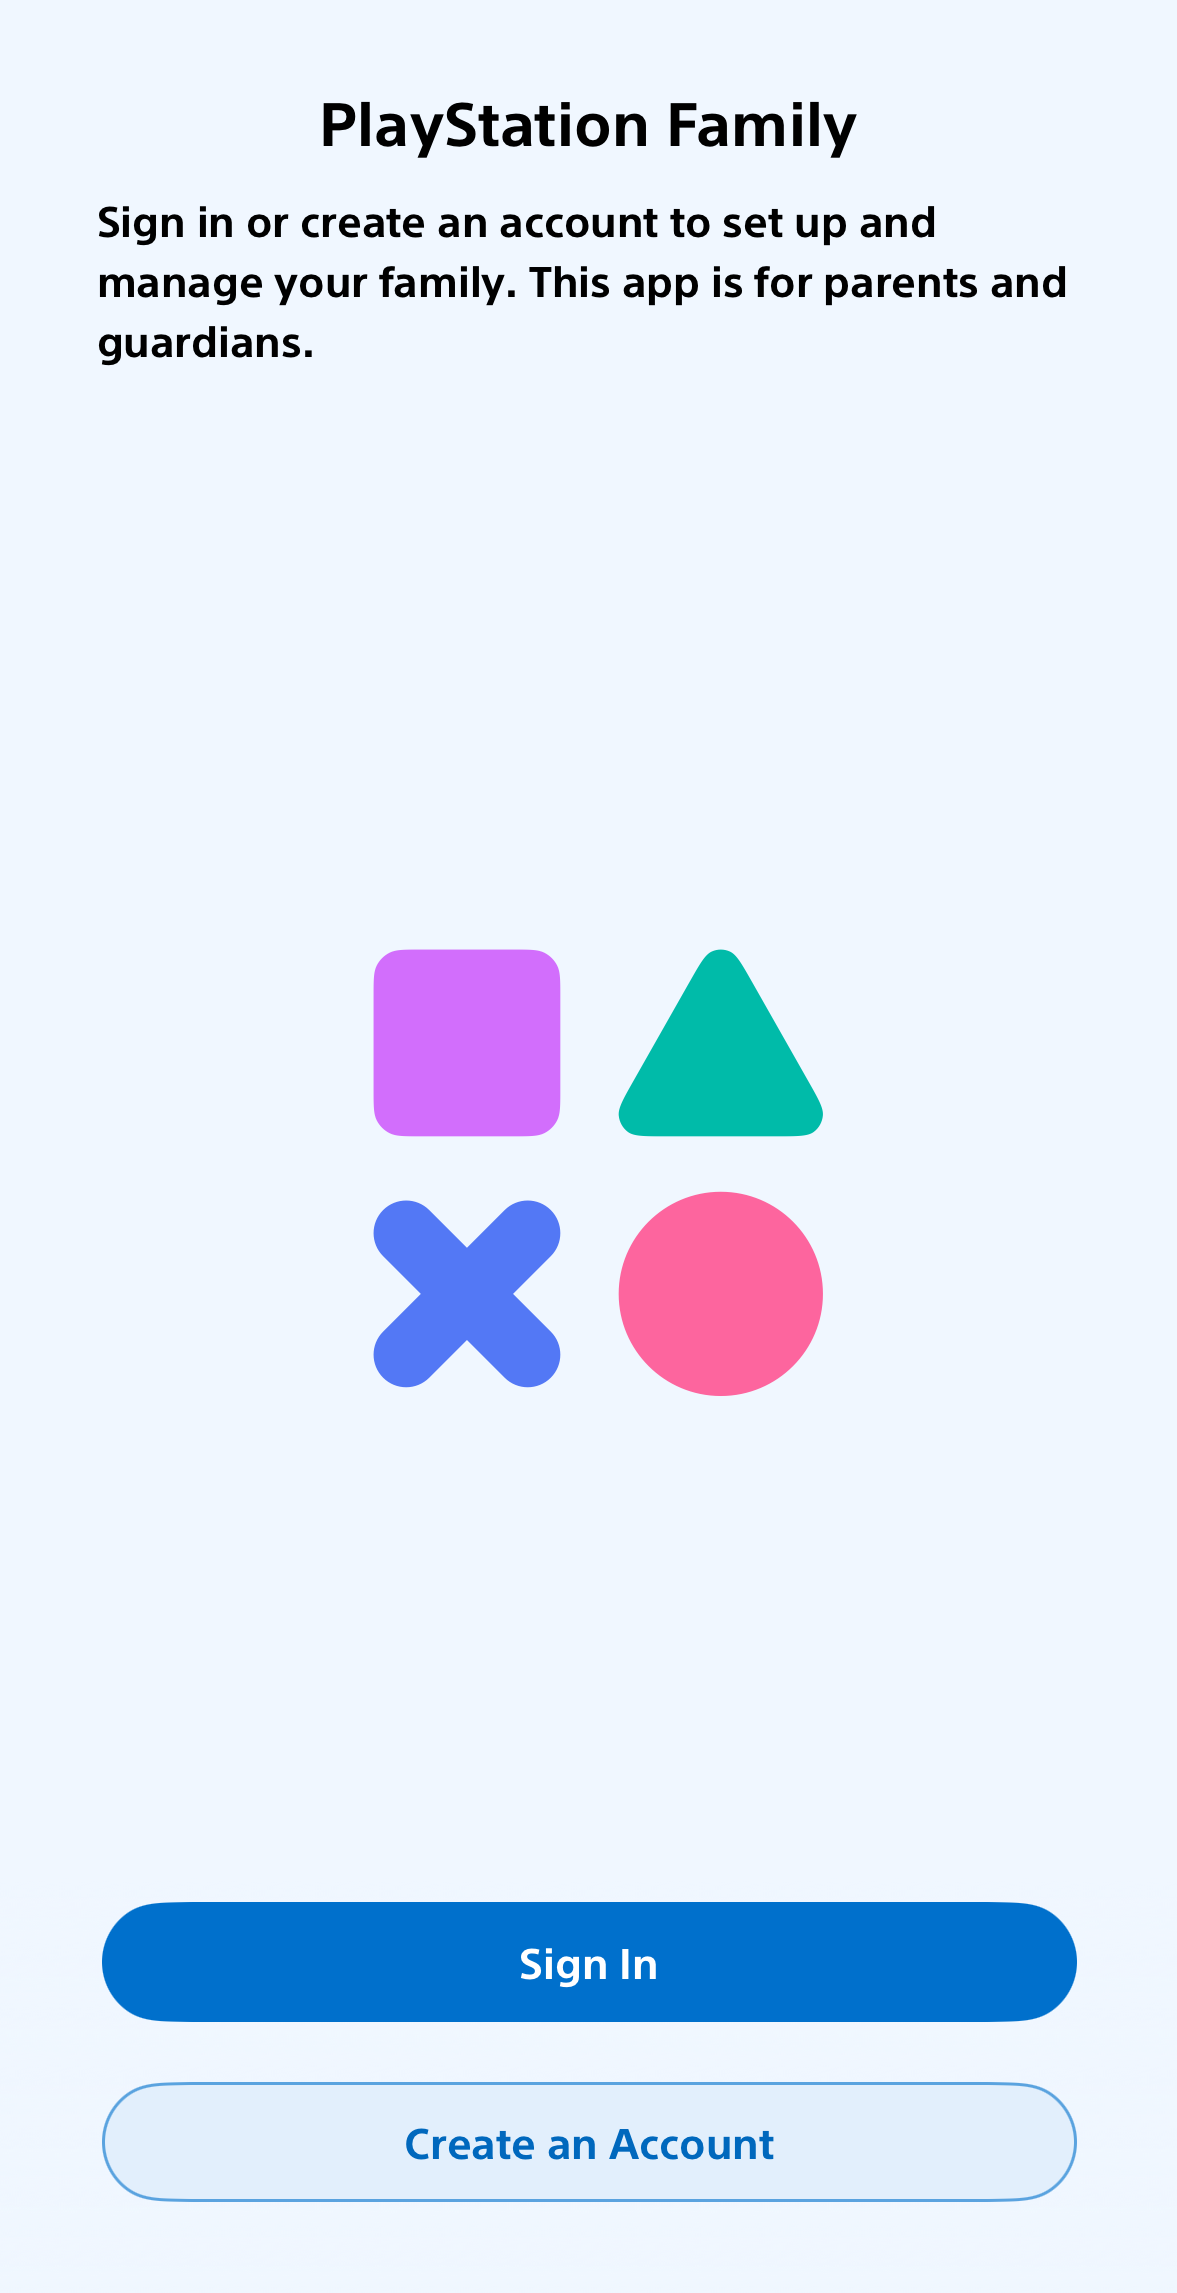
Sign In to your PlayStation Account
- Open the PlayStation App.
- Sign in using your PlayStation Network account.
- If you do not have an account, select Create Account and follow the prompts.
Parent Tip: The account you use should be the parent account that owns or manages the PlayStation console. This account will serve as the Family Manager.
Step 3: Open Family Management
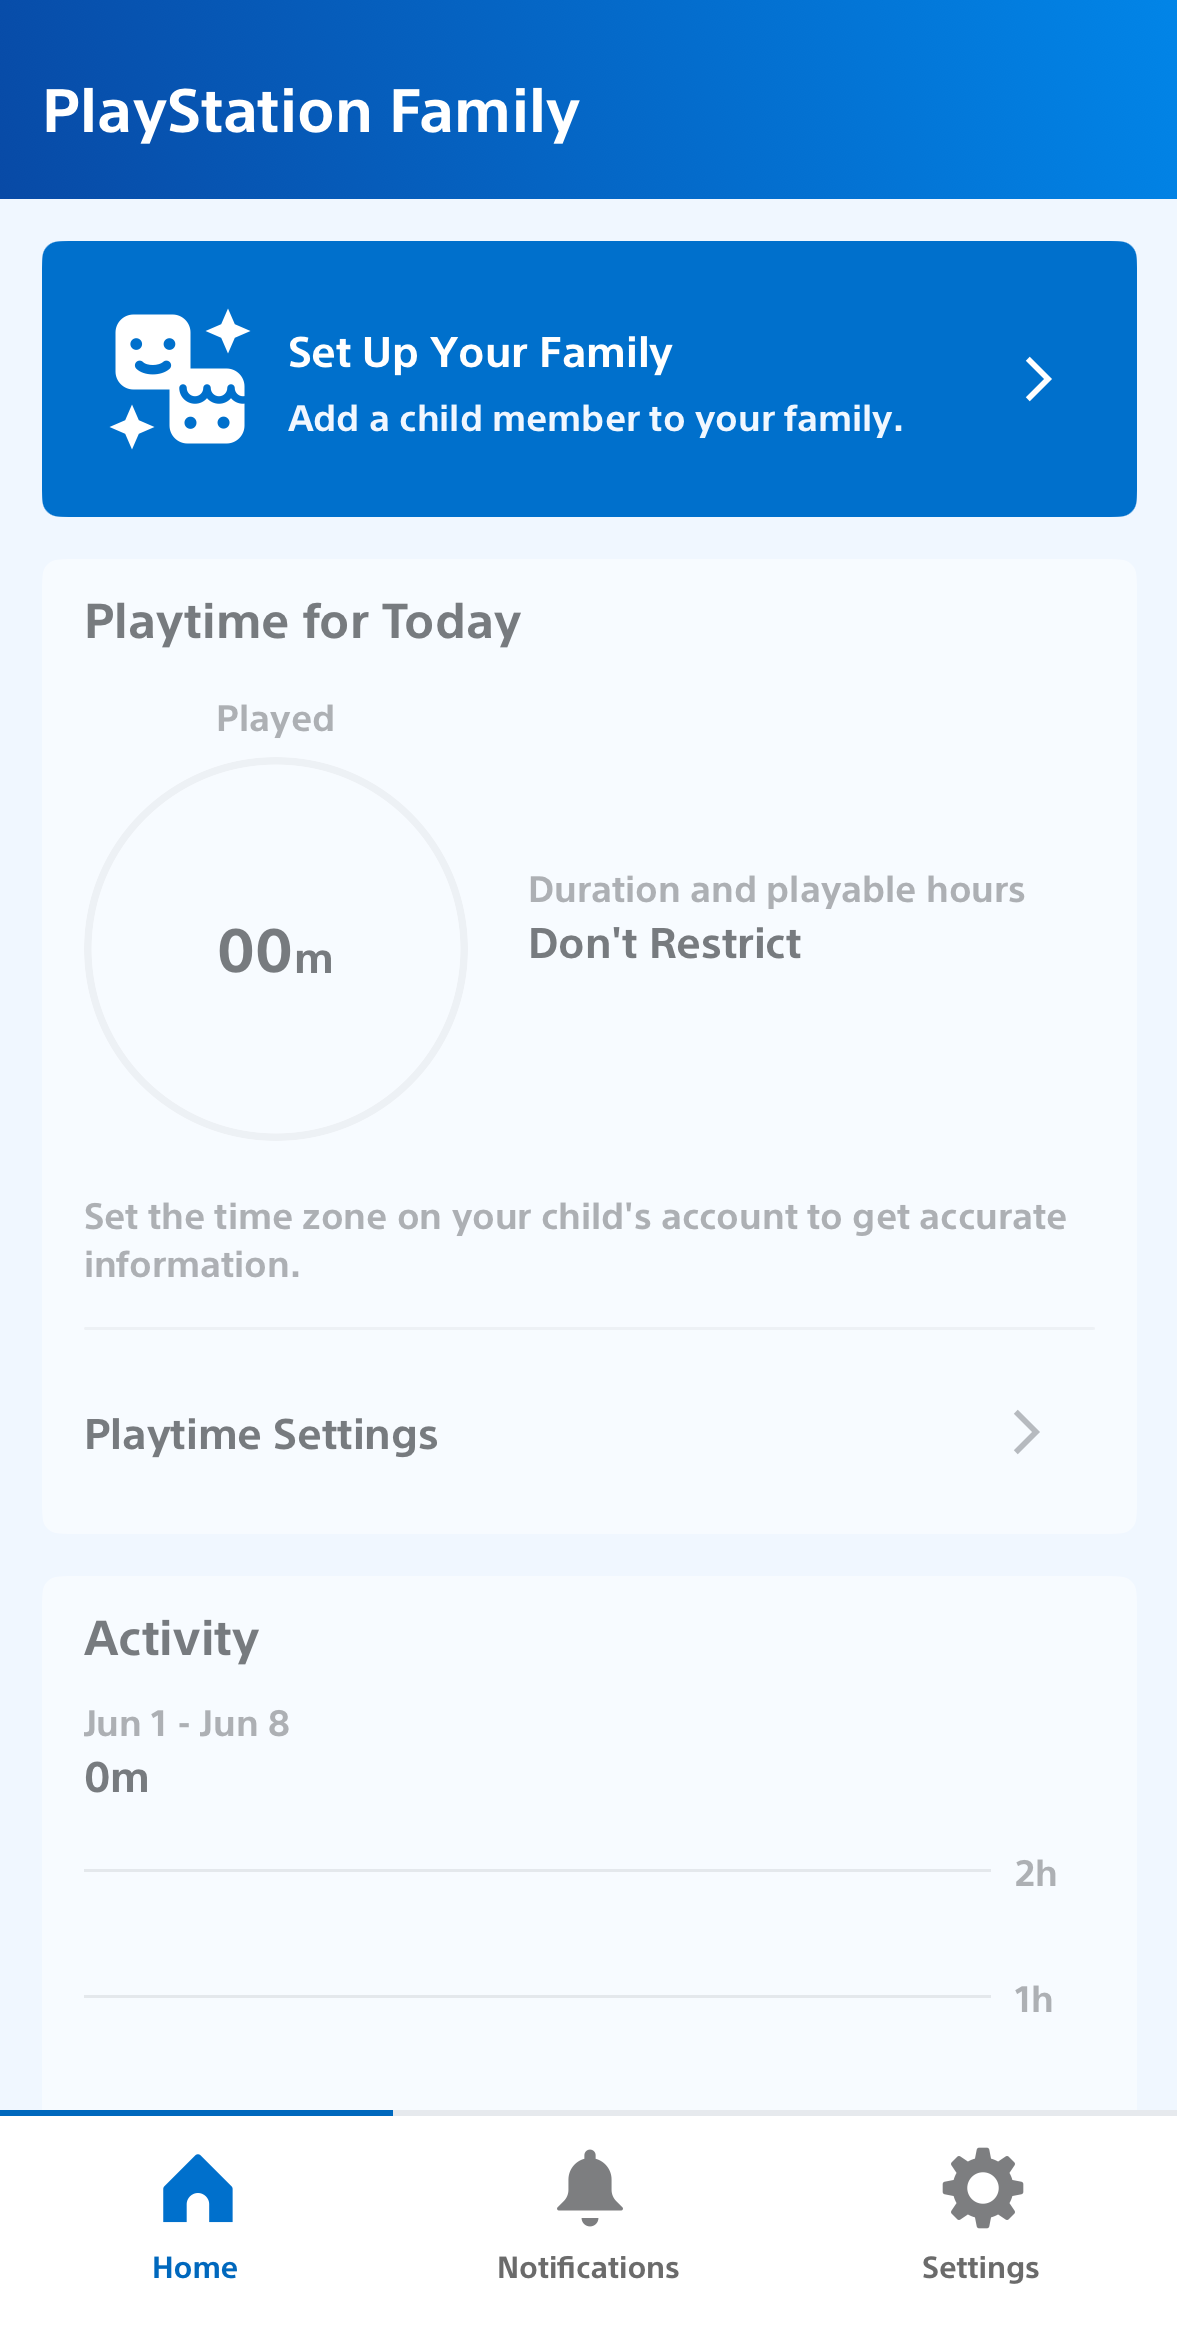
Once signed in:
- Tap Set Up Your Family
- Select Settings .
- Tap Family Management .
This is where you’ll add children to your family group and manage parental controls.
Step 4: Add Your Child’s Account
If your child does not already have a PlayStation account:
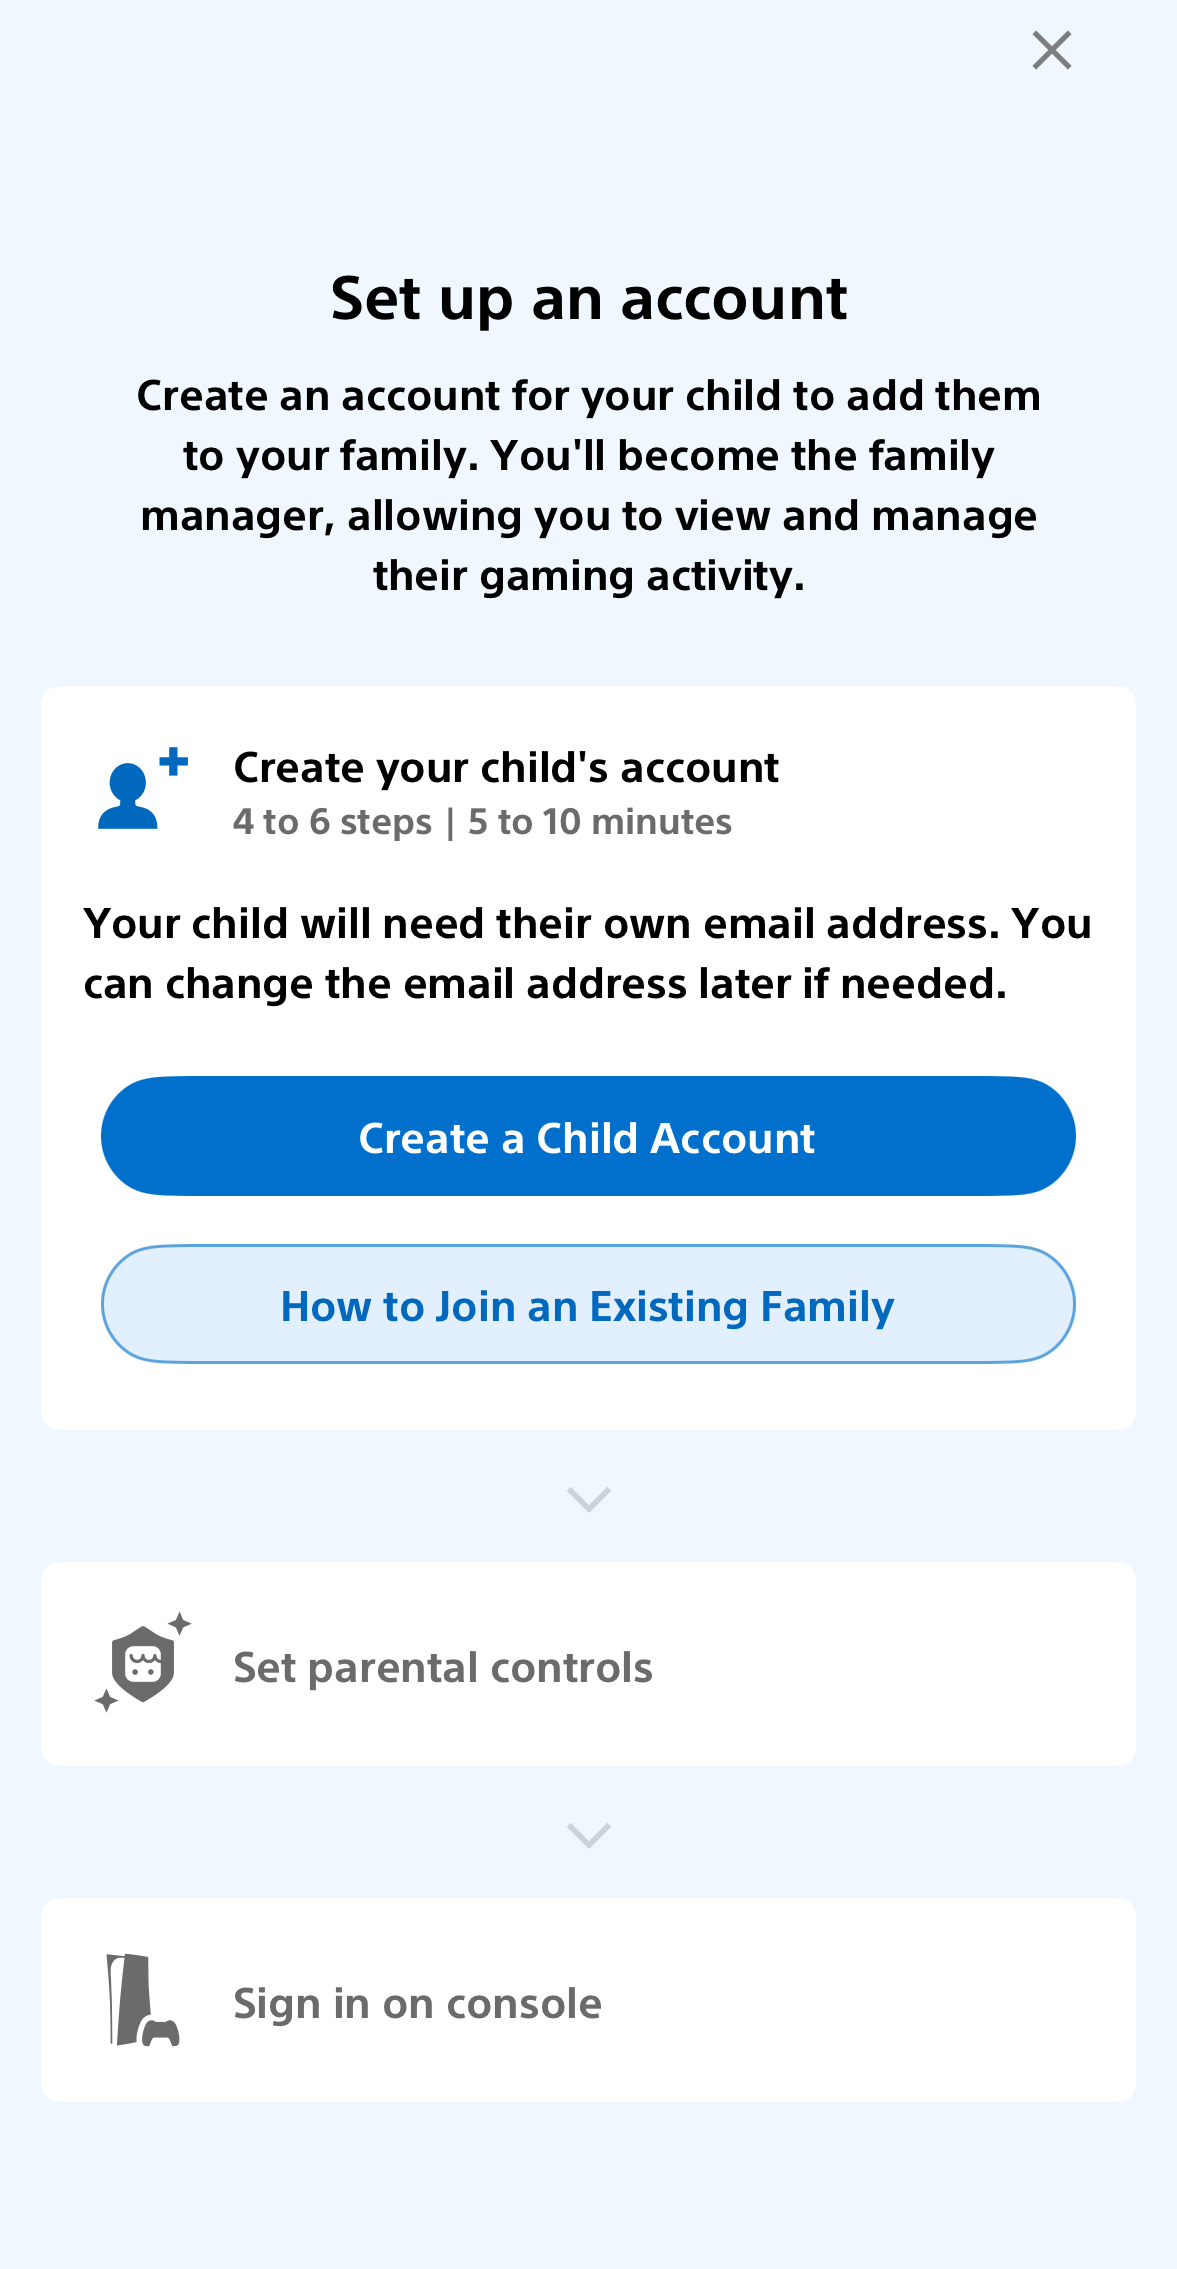
- Select Create a Child Account .
- Enter your child’s information.
- Follow the prompts to complete account creation.
Parent Tip: Choosing the correct birth year is important. It helps ensure that age-based safety features, content restrictions, and parental controls are applied appropriately as your child uses the platform.
How to Join an Existing Family
- Get an invite: Ask the Family Manager to go to Settings > Family and Parental Controls > Family Management on their console and send an invite to your sign-in email address.
- Check your email: Open the invitation email sent to your address and click View Family Request Now.
- Accept the request: Follow the on-screen instructions on the page to confirm and Join Family.
- For child accounts: If you are accepting a request for a child account, sign in to Account Management, go to Family Management, select Received Family Requests, enter the date of birth, and select Join Family.
Step 5: Configure Parental Controls
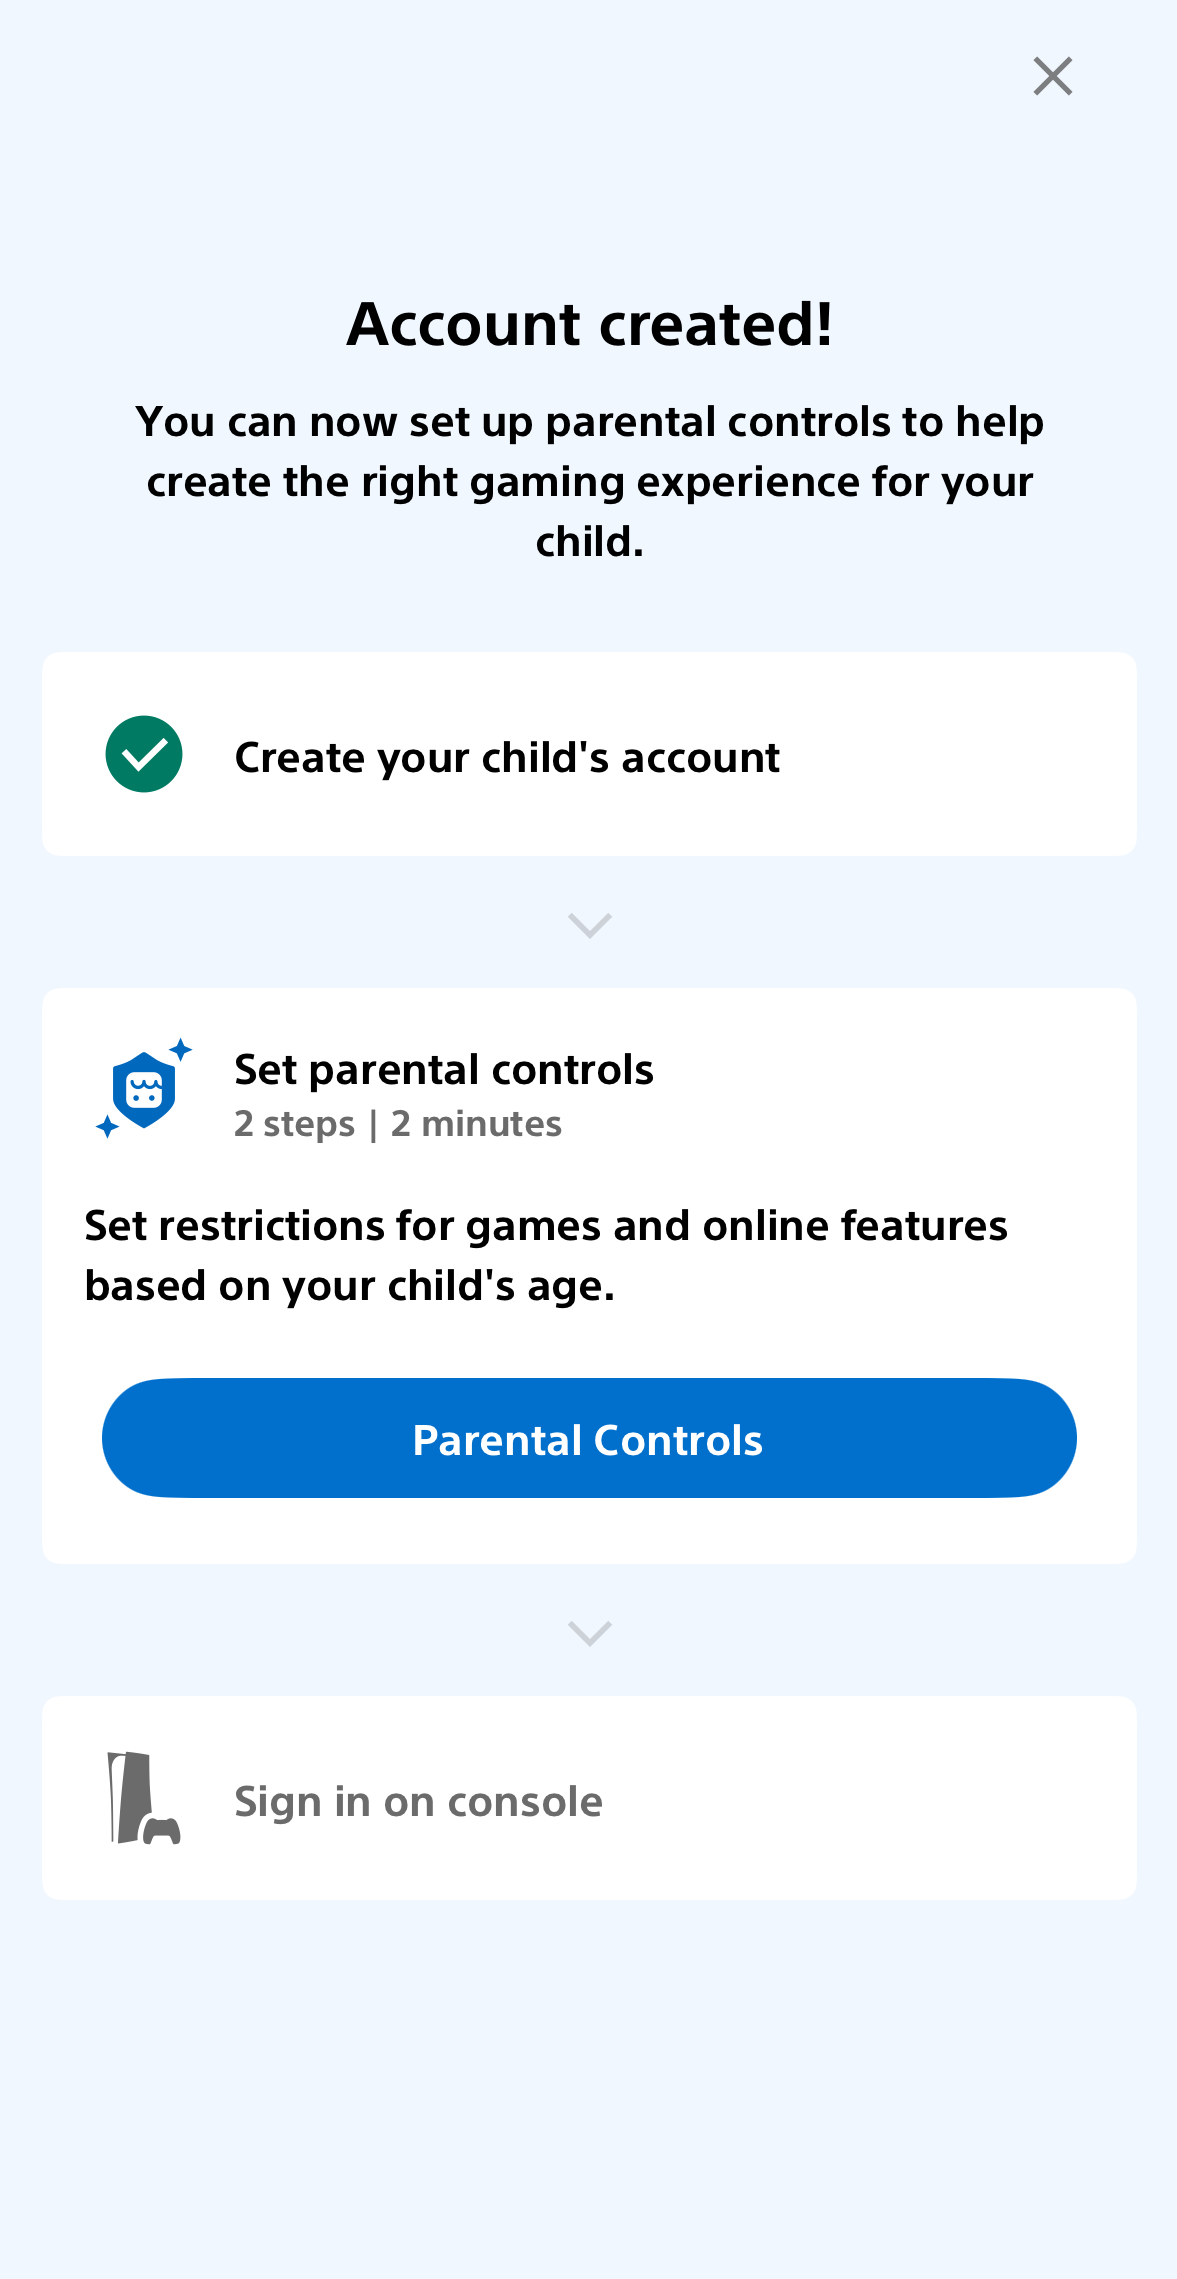
After adding your child:
Open Parental Controls .
Here you can customize restrictions based on your child’s age and maturity level.
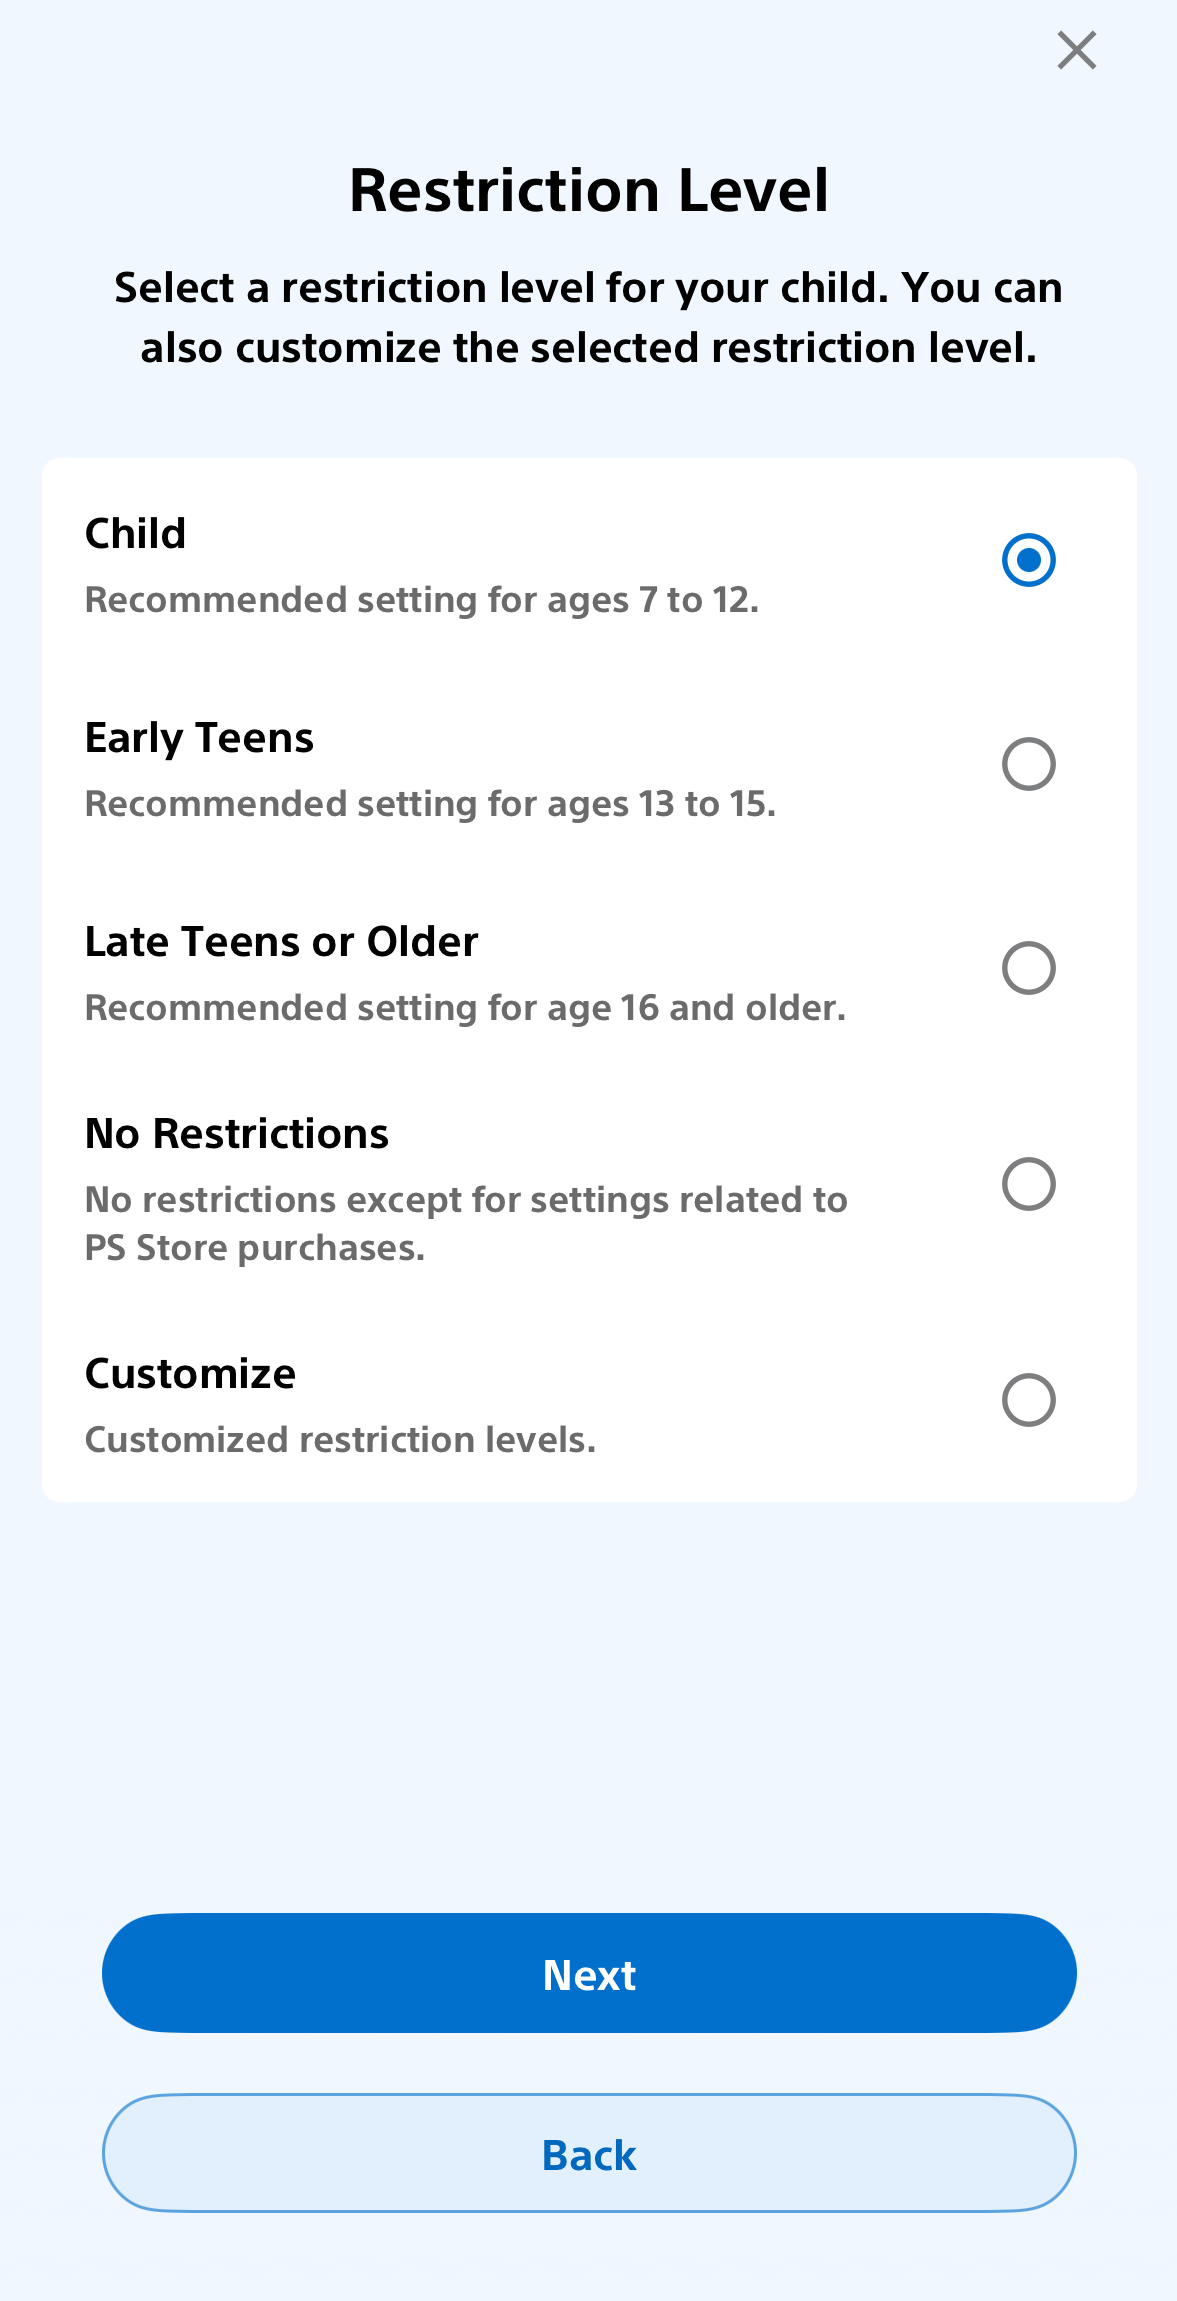
Step 6: Set Age Restrictions
Age restrictions help prevent children from accessing content that may not be appropriate for them.
You can limit access to:
- Video games based on ESRB ratings.
- Movies and video content.
- Virtual reality content.
- Online features within games.
Step 7: Customize Your Child’s PlayStation Experience
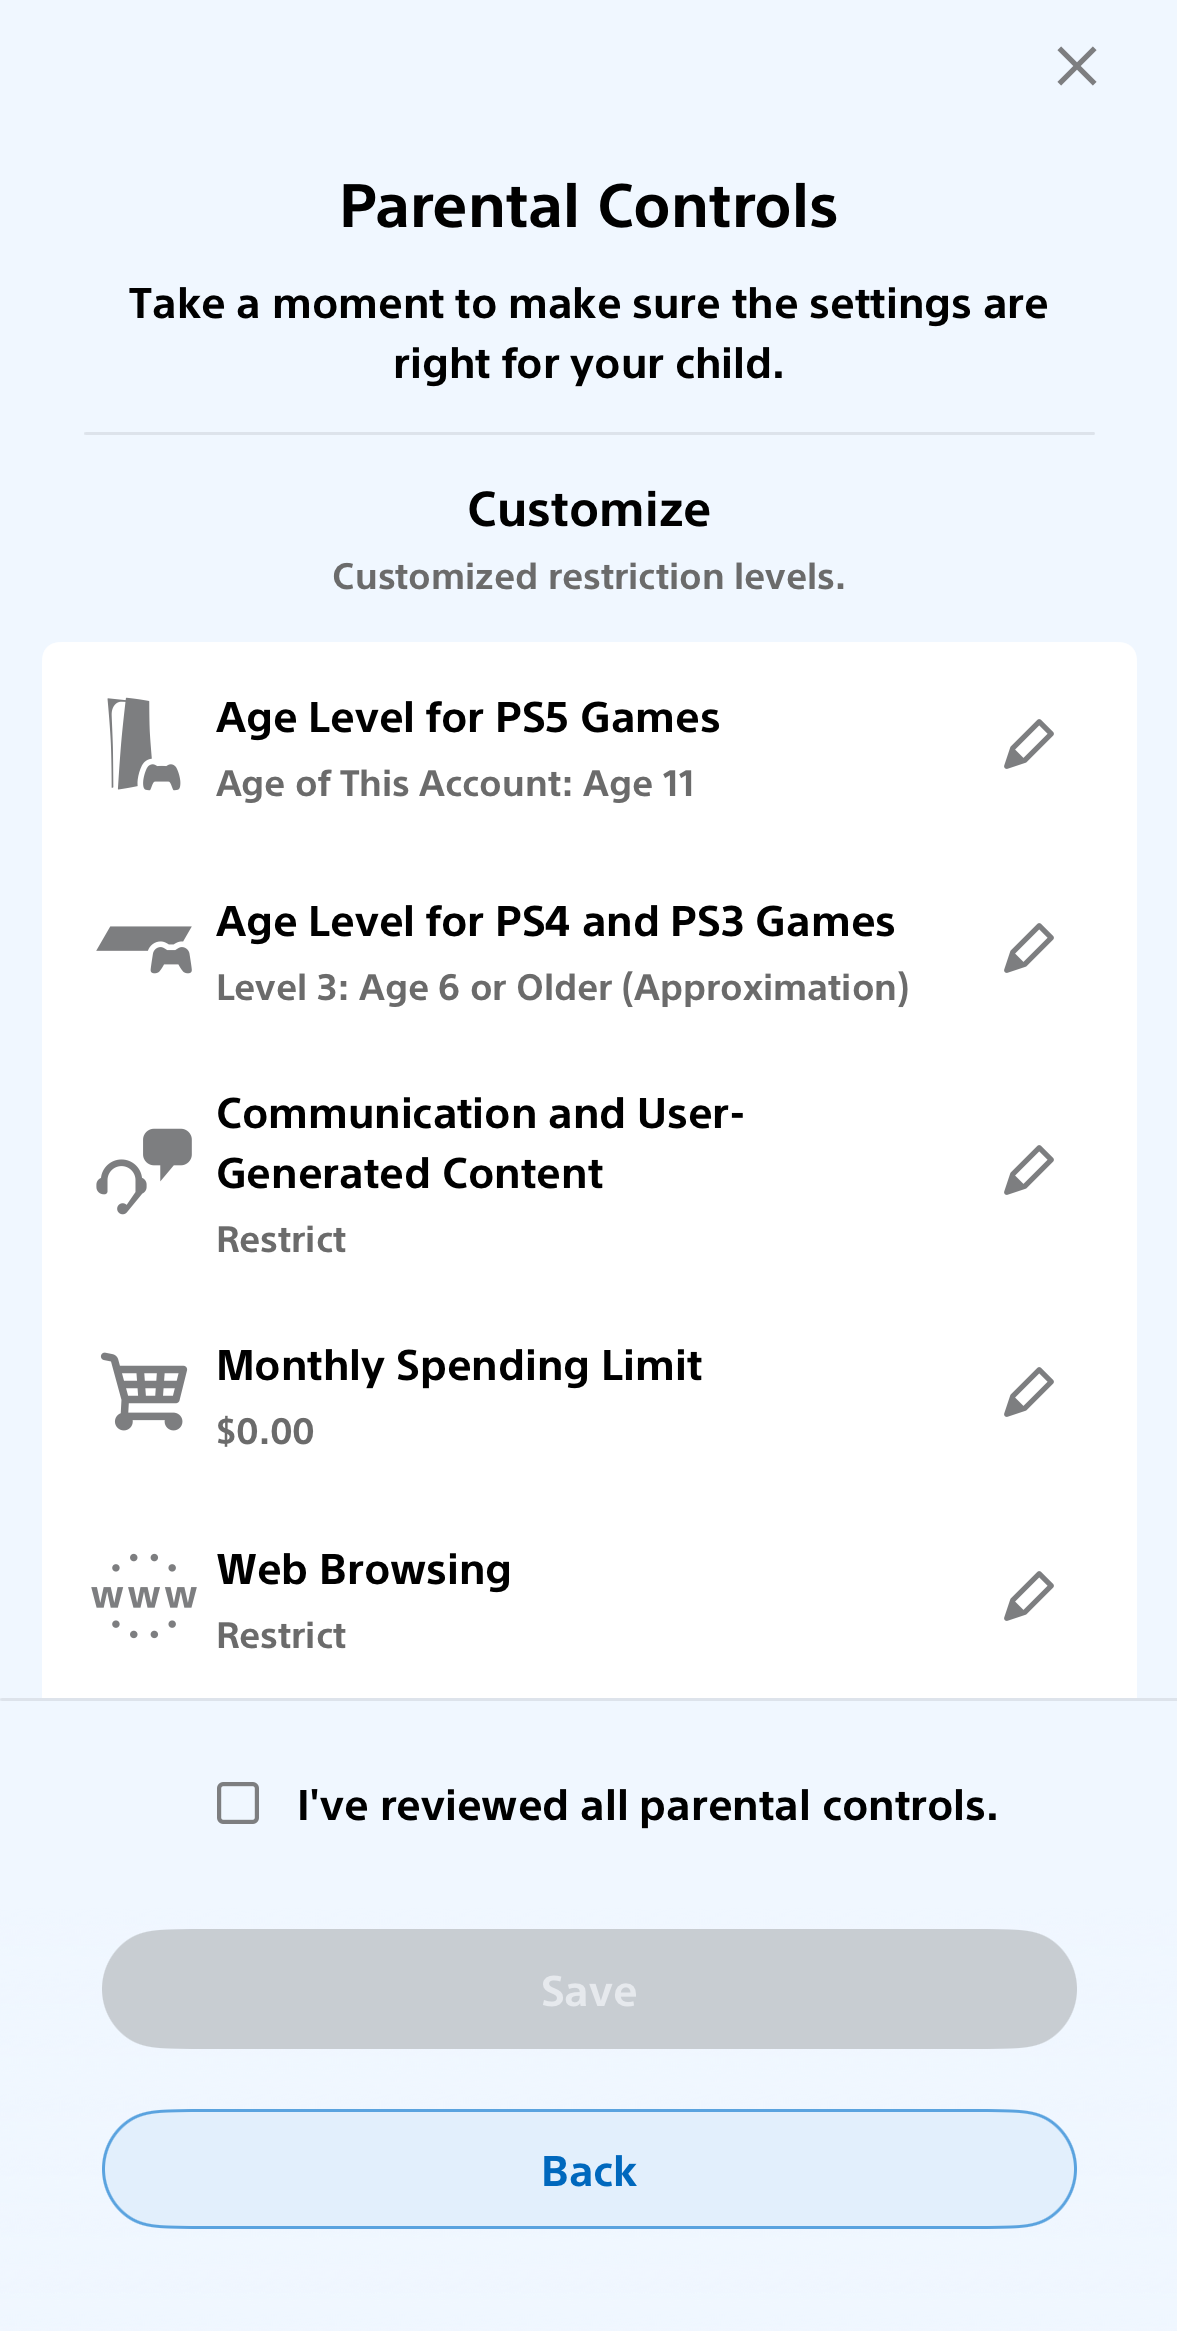
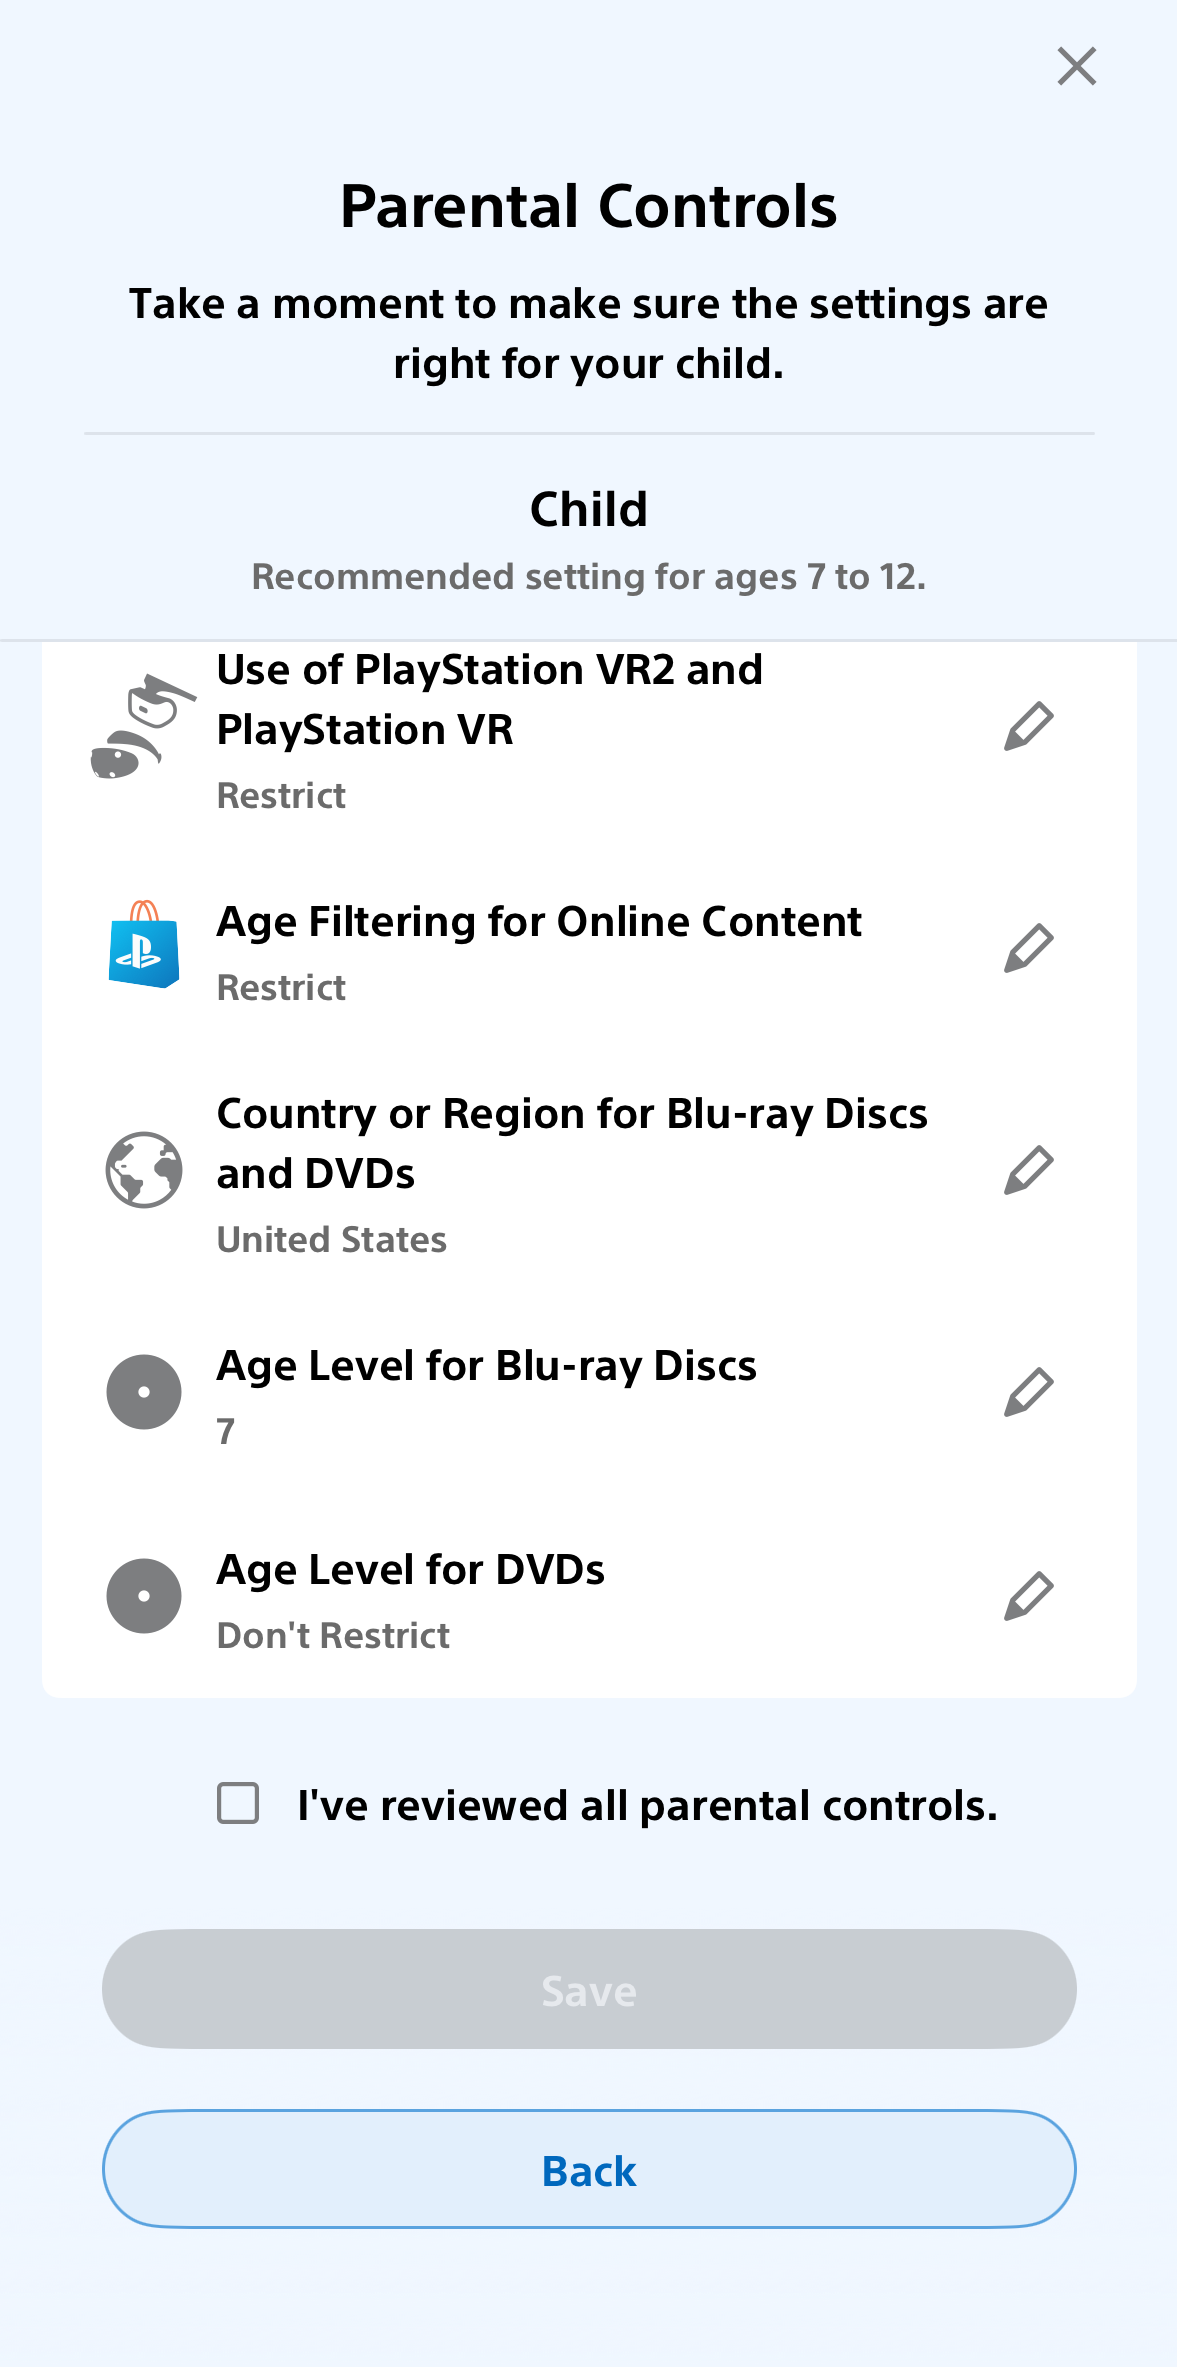
Now you can adjust the parental control settings to match your child’s age, maturity level, and your family’s expectations. Available settings include:
- Age Level for Games – Restrict games based on age ratings to help ensure your child only accesses age-appropriate content.
- Communication and User-Generated Content – Control your child’s ability to send messages, participate in voice chat, view content created by other users, and interact with players online.
- Monthly Spending Limit – Set a spending limit to help prevent unexpected purchases and manage in-game spending.
- Web Browsing – Restrict or limit access to the internet browser and online content.
- PlayStation VR2 and PlayStation VR – Control access to virtual reality features. Sony recommends that children under age 12 not use PlayStation VR systems.
- Age Filtering for Online Content – Help limit access to online content that may not be appropriate for your child’s age.
- Blu-ray Disc Restrictions – Set age restrictions for Blu-ray movies based on your region’s content rating system.
- DVD Restrictions – Control which DVDs can be viewed based on age ratings.
Parent Tip: Reviewing these settings regularly can help ensure they continue to meet your family’s needs. To do this later just go to settings > Family Management > your Child’s Profile > Parental Controls
Configure Screen Time Controls on PlayStation
Screen Time Management allows you to control when and how long your child can play.
You can:
- Set daily playtime limits.
- Establish approved play hours.
- Receive notifications when time is nearly up.
- Automatically log your child out when playtime expires.
These tools can help create healthy gaming habits and support family routines.To set when and how long your child can play:
Step 1 – Go to Settings
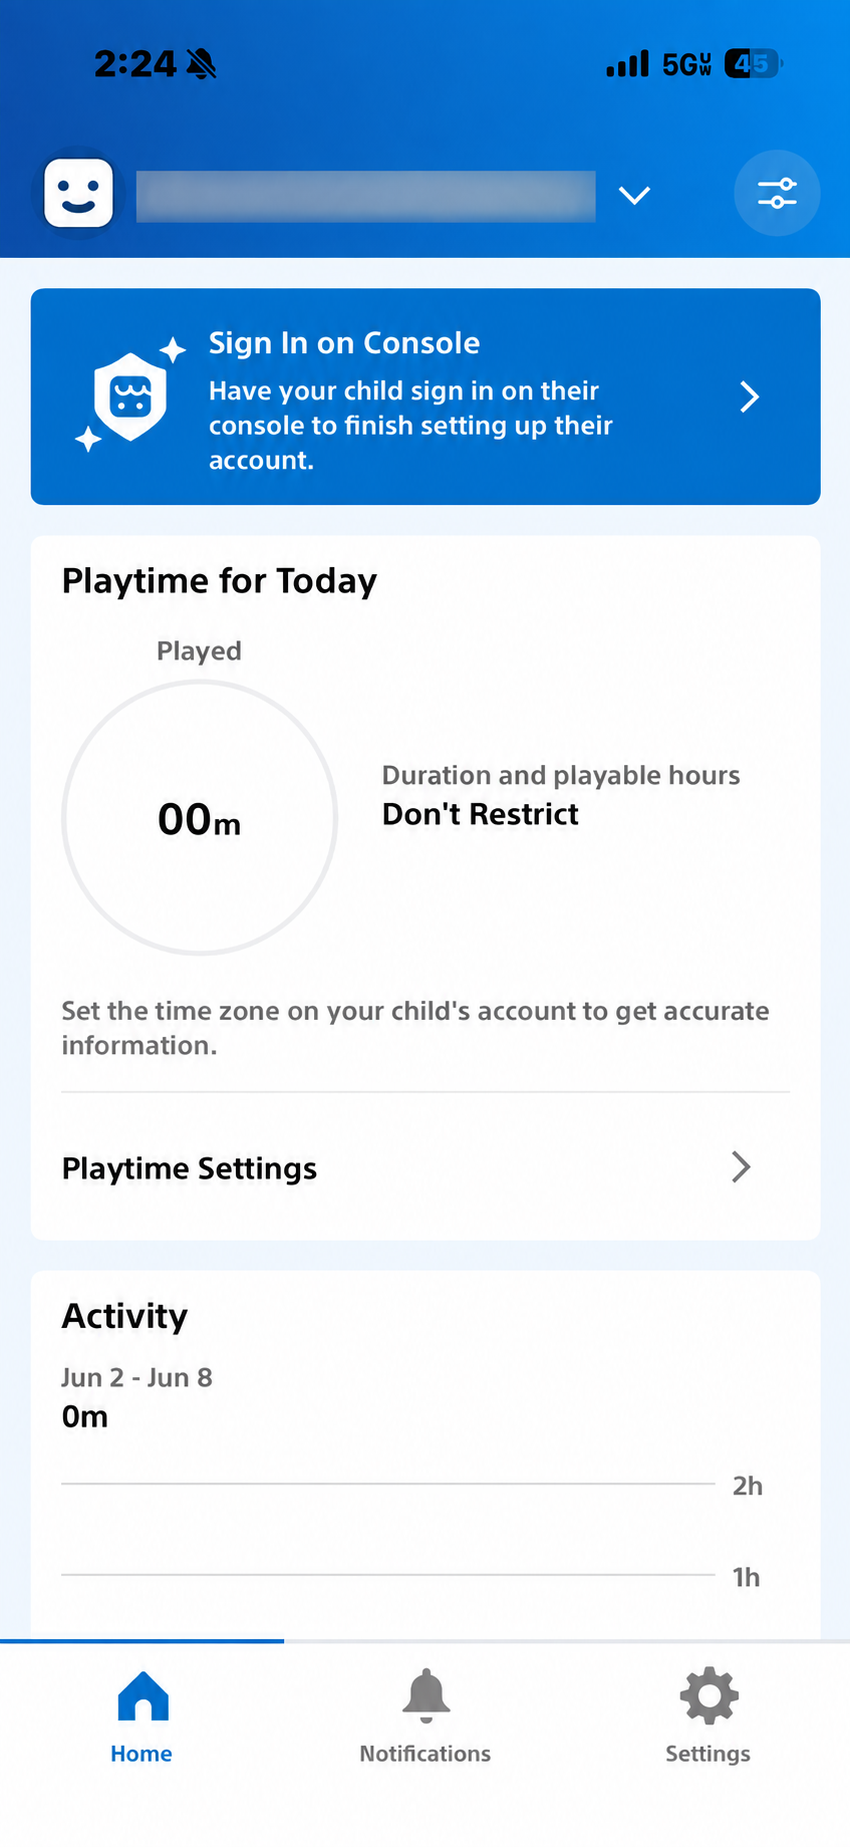
Step 2 – Go to Family Management
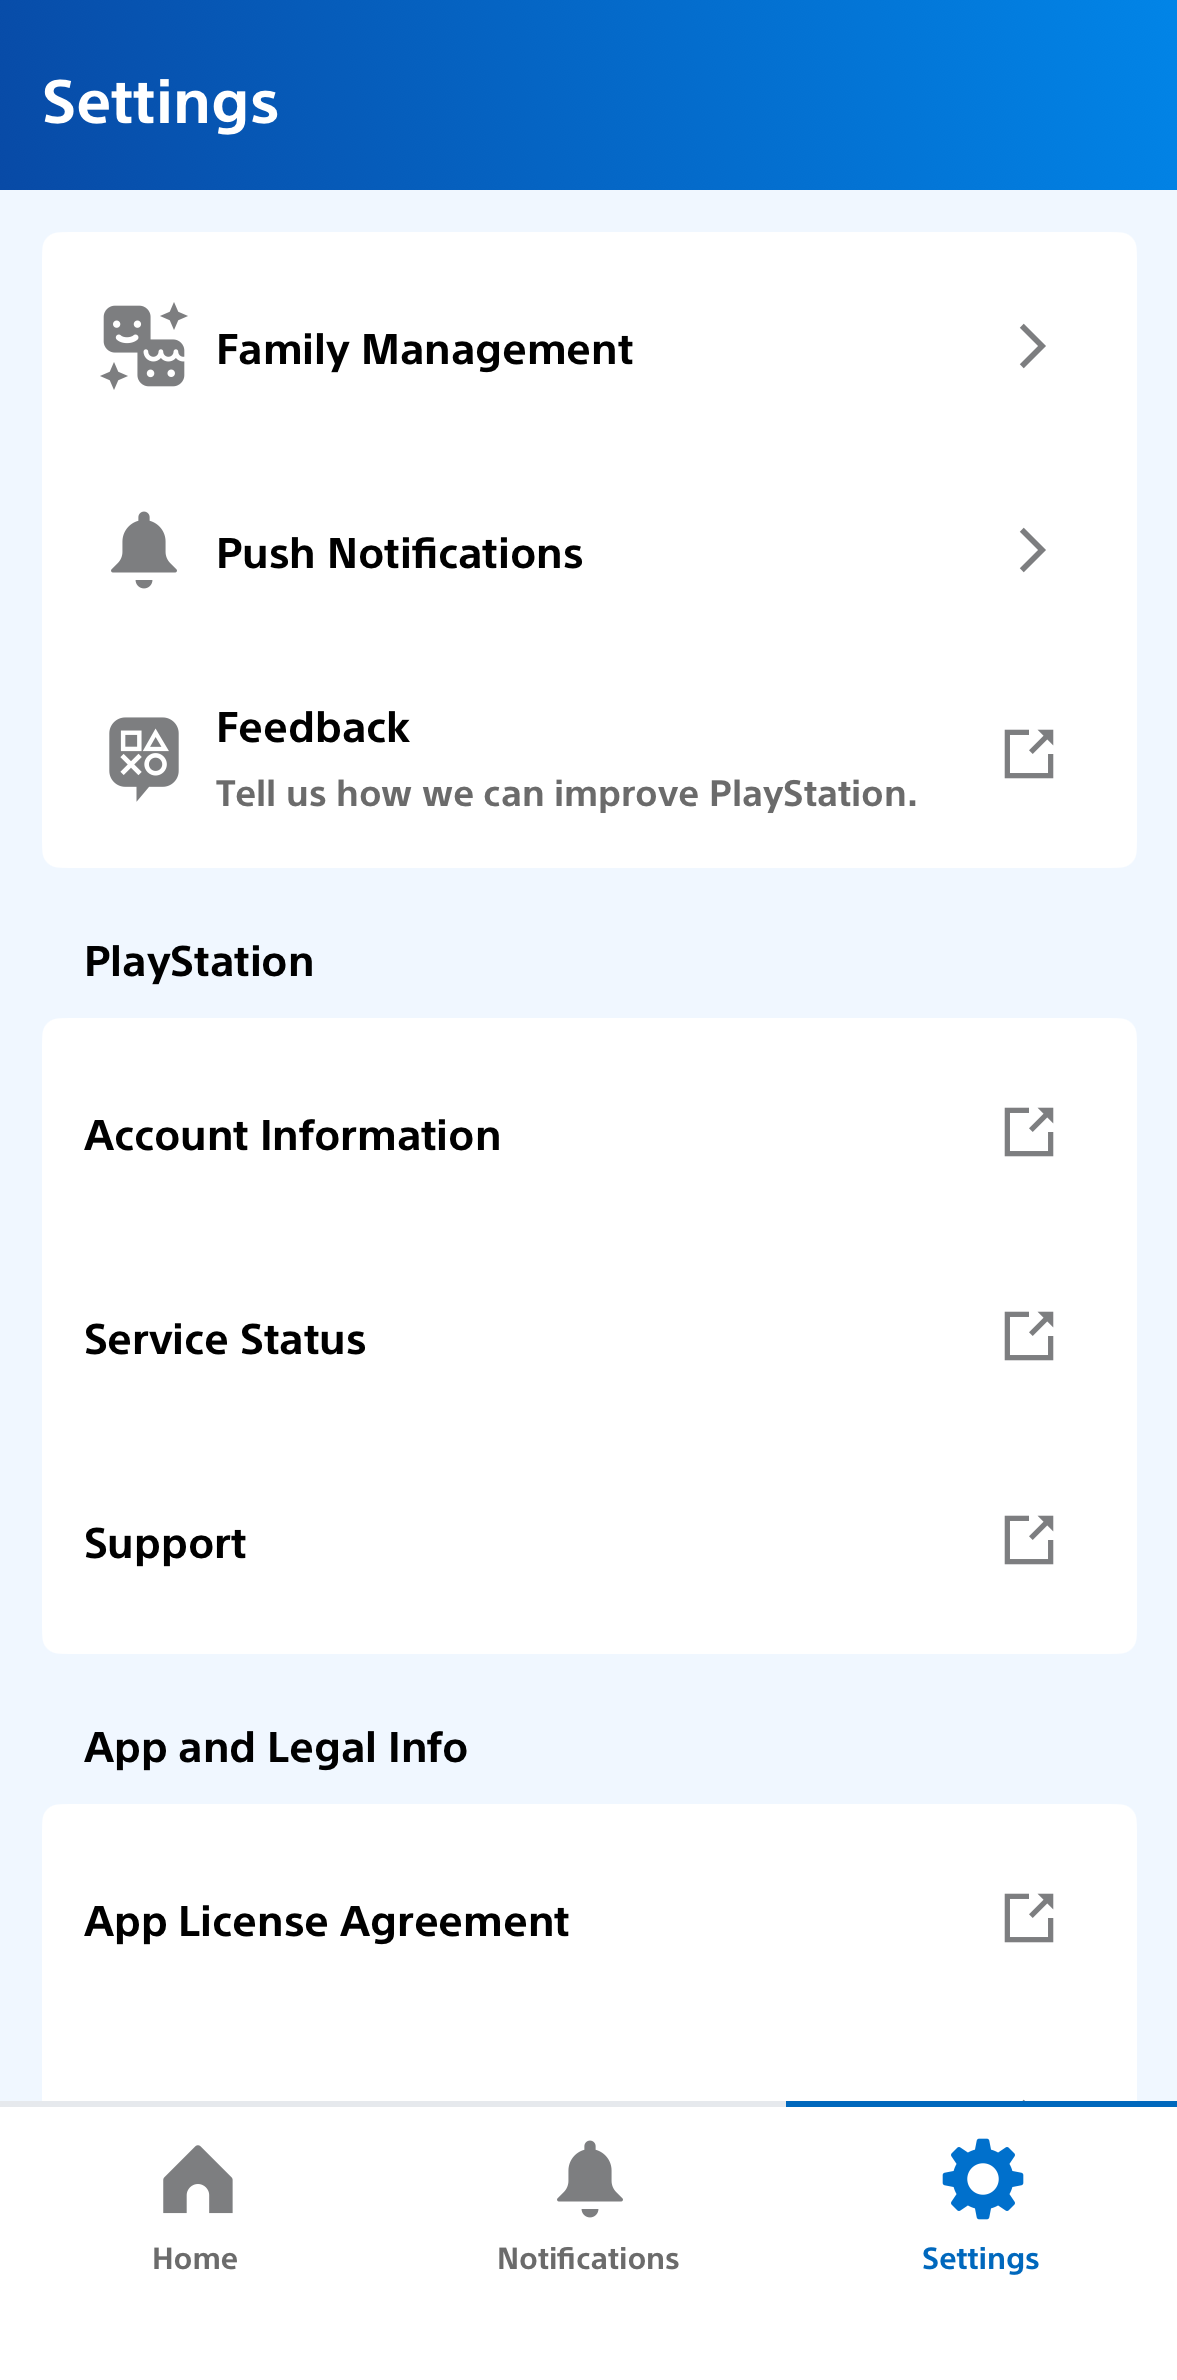
Step 3 – Click on your child’s profile
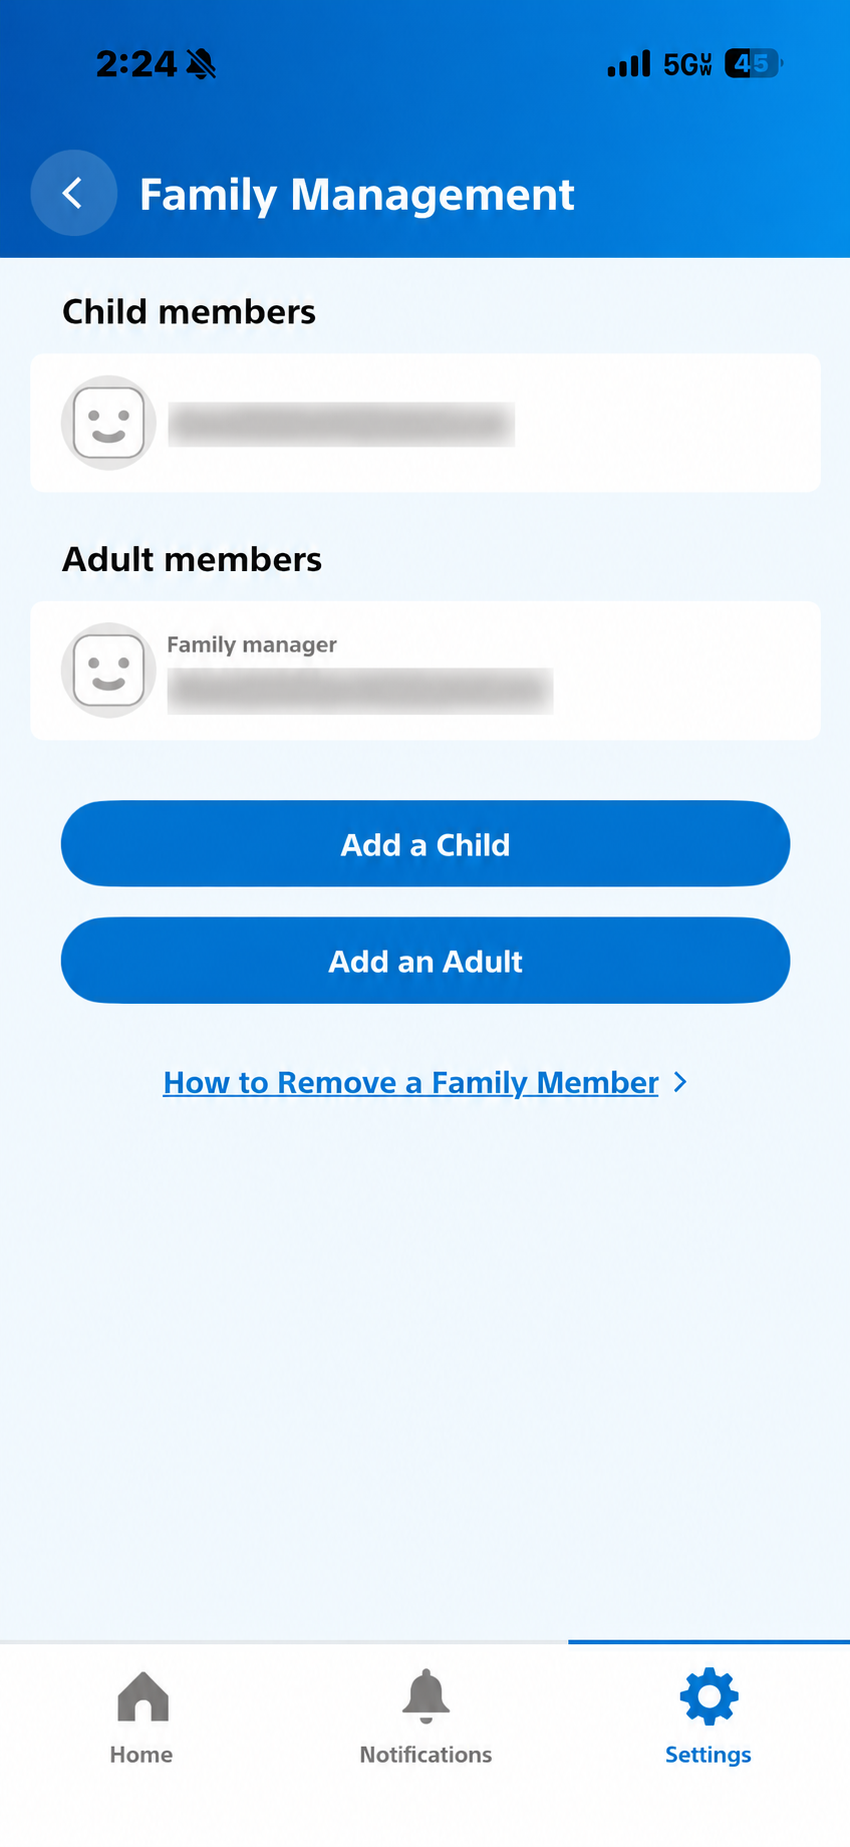
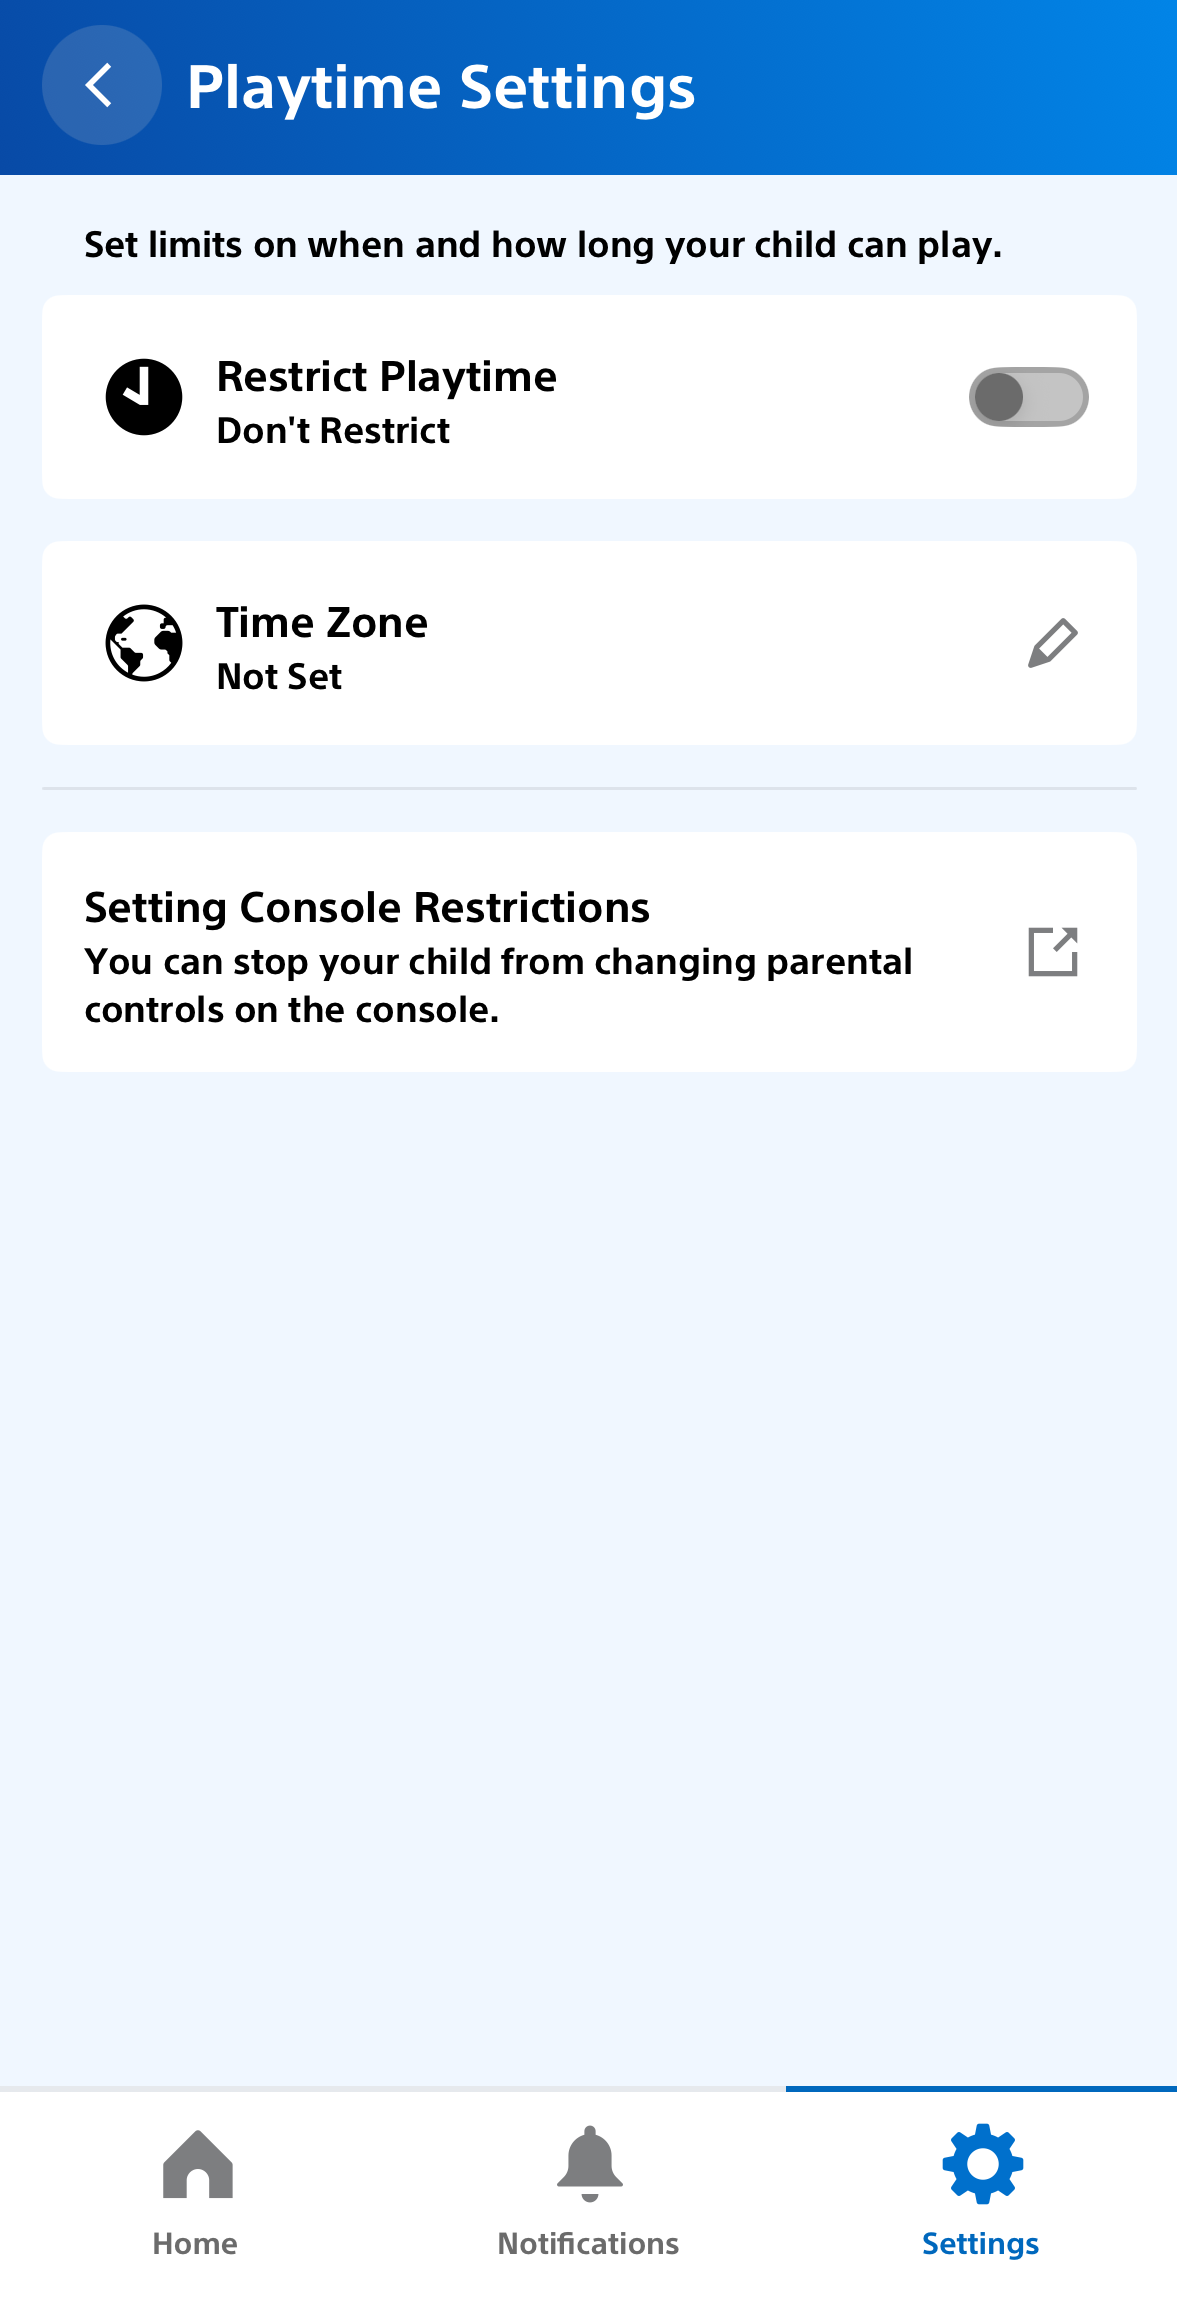
Step 4 – Click on Playtime Settings
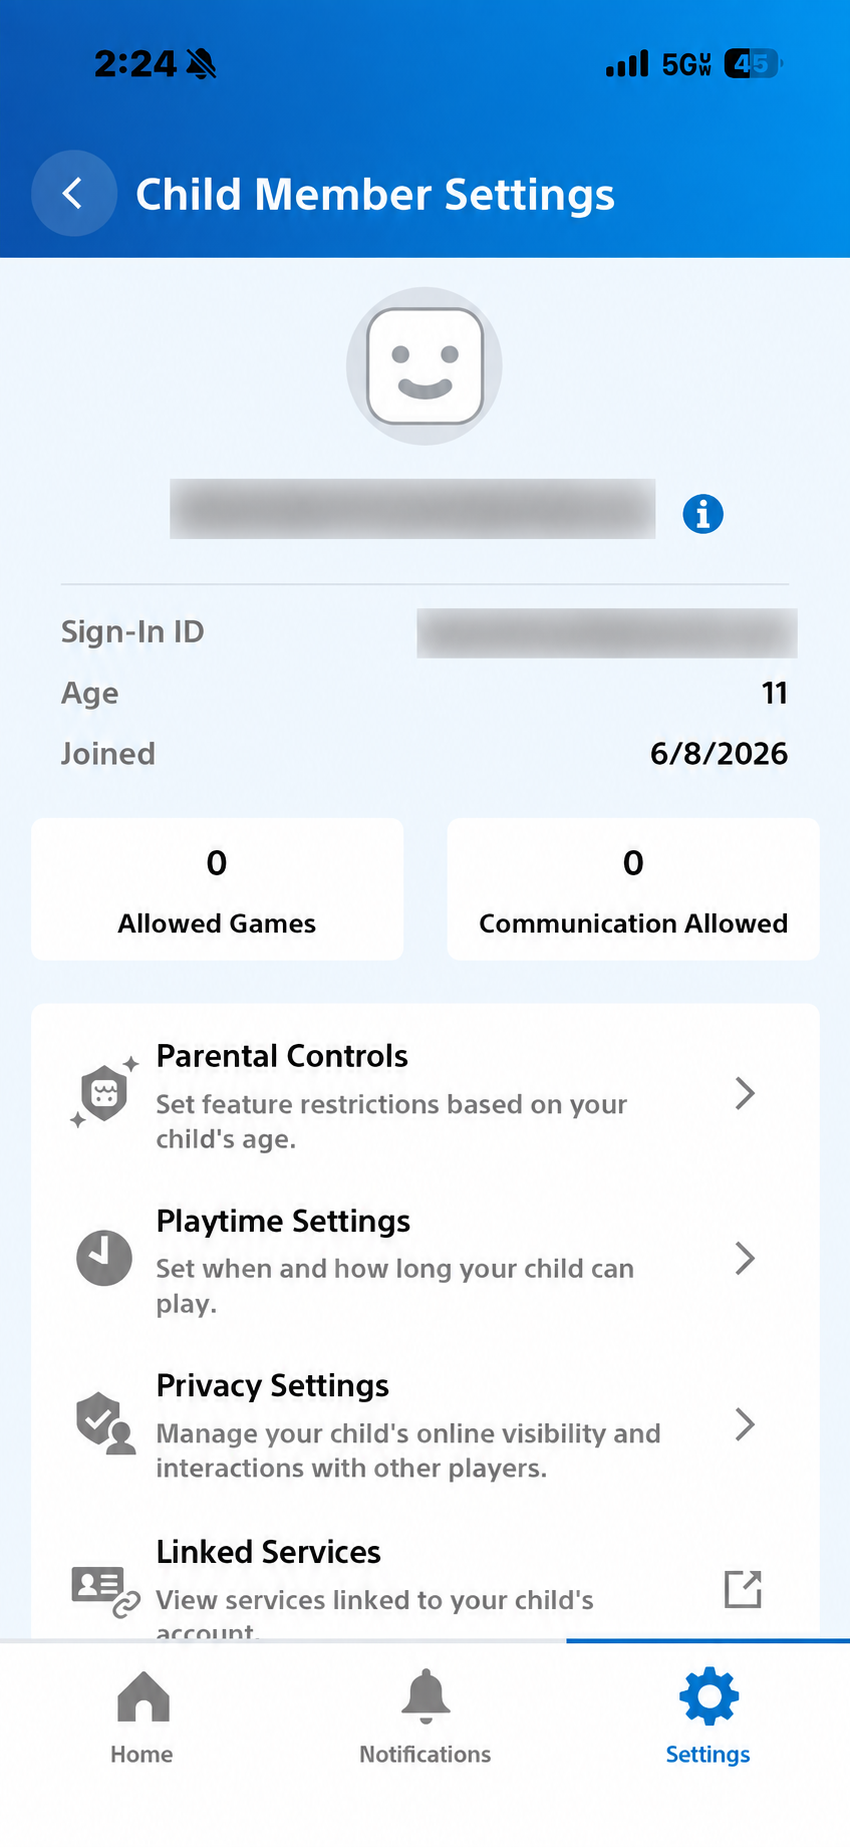
Step 5 – Create the desired plan for your child
XBOX
XBOX Family App: Parent Setup Guide
This guide walks parents through setting up the Xbox Family Settings app to manage screen time, content restrictions, communication settings, and multiplayer access.
Step 1
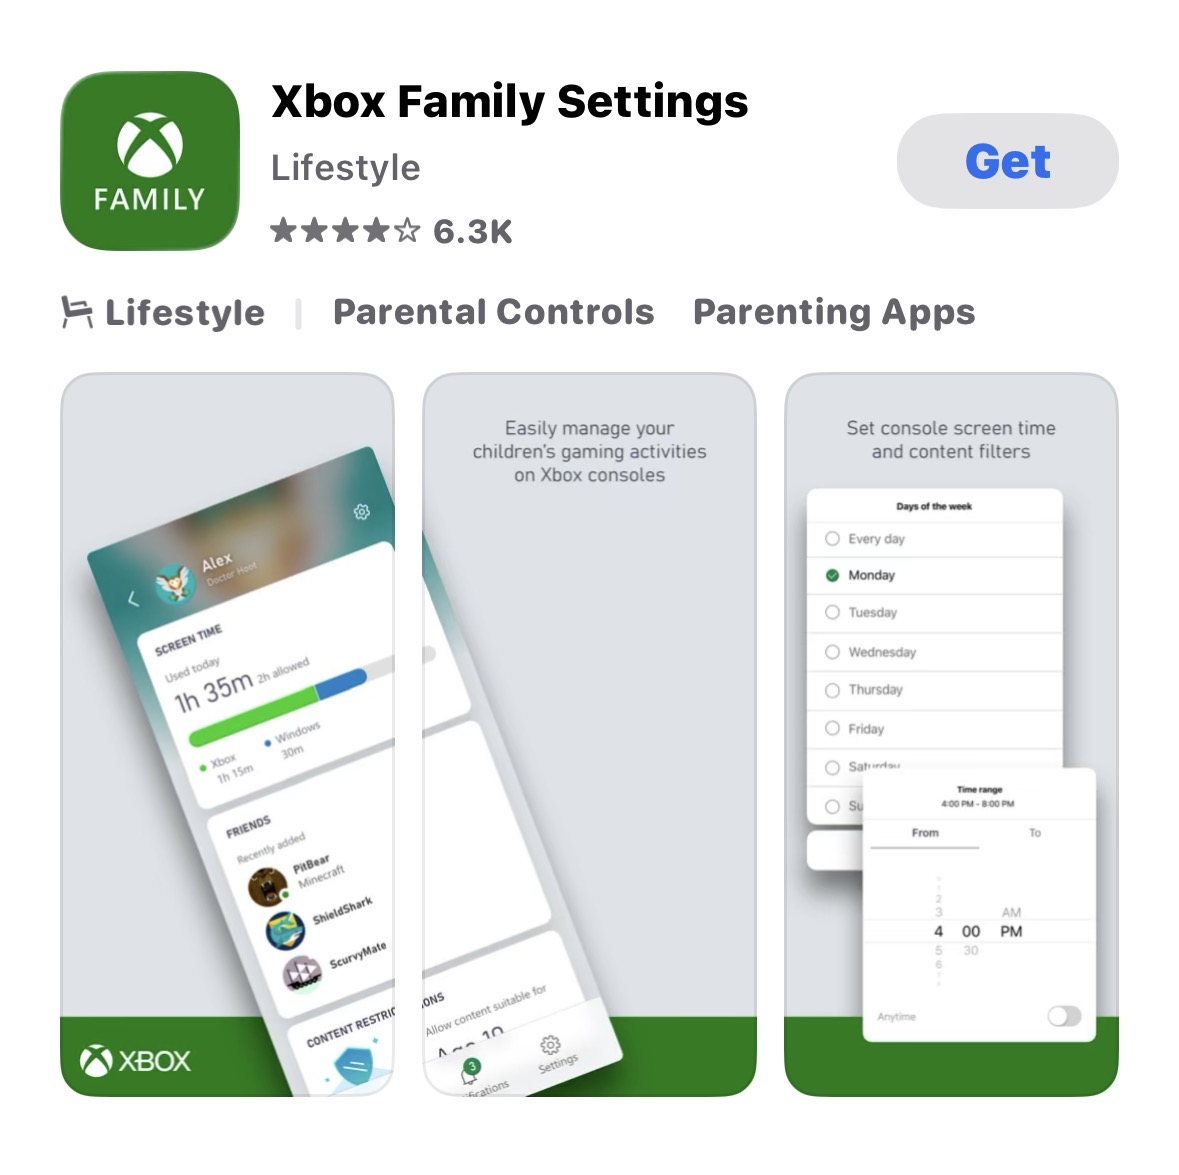
Download the Xbox Family Settings app from the App Store or Google Play.
Step 2
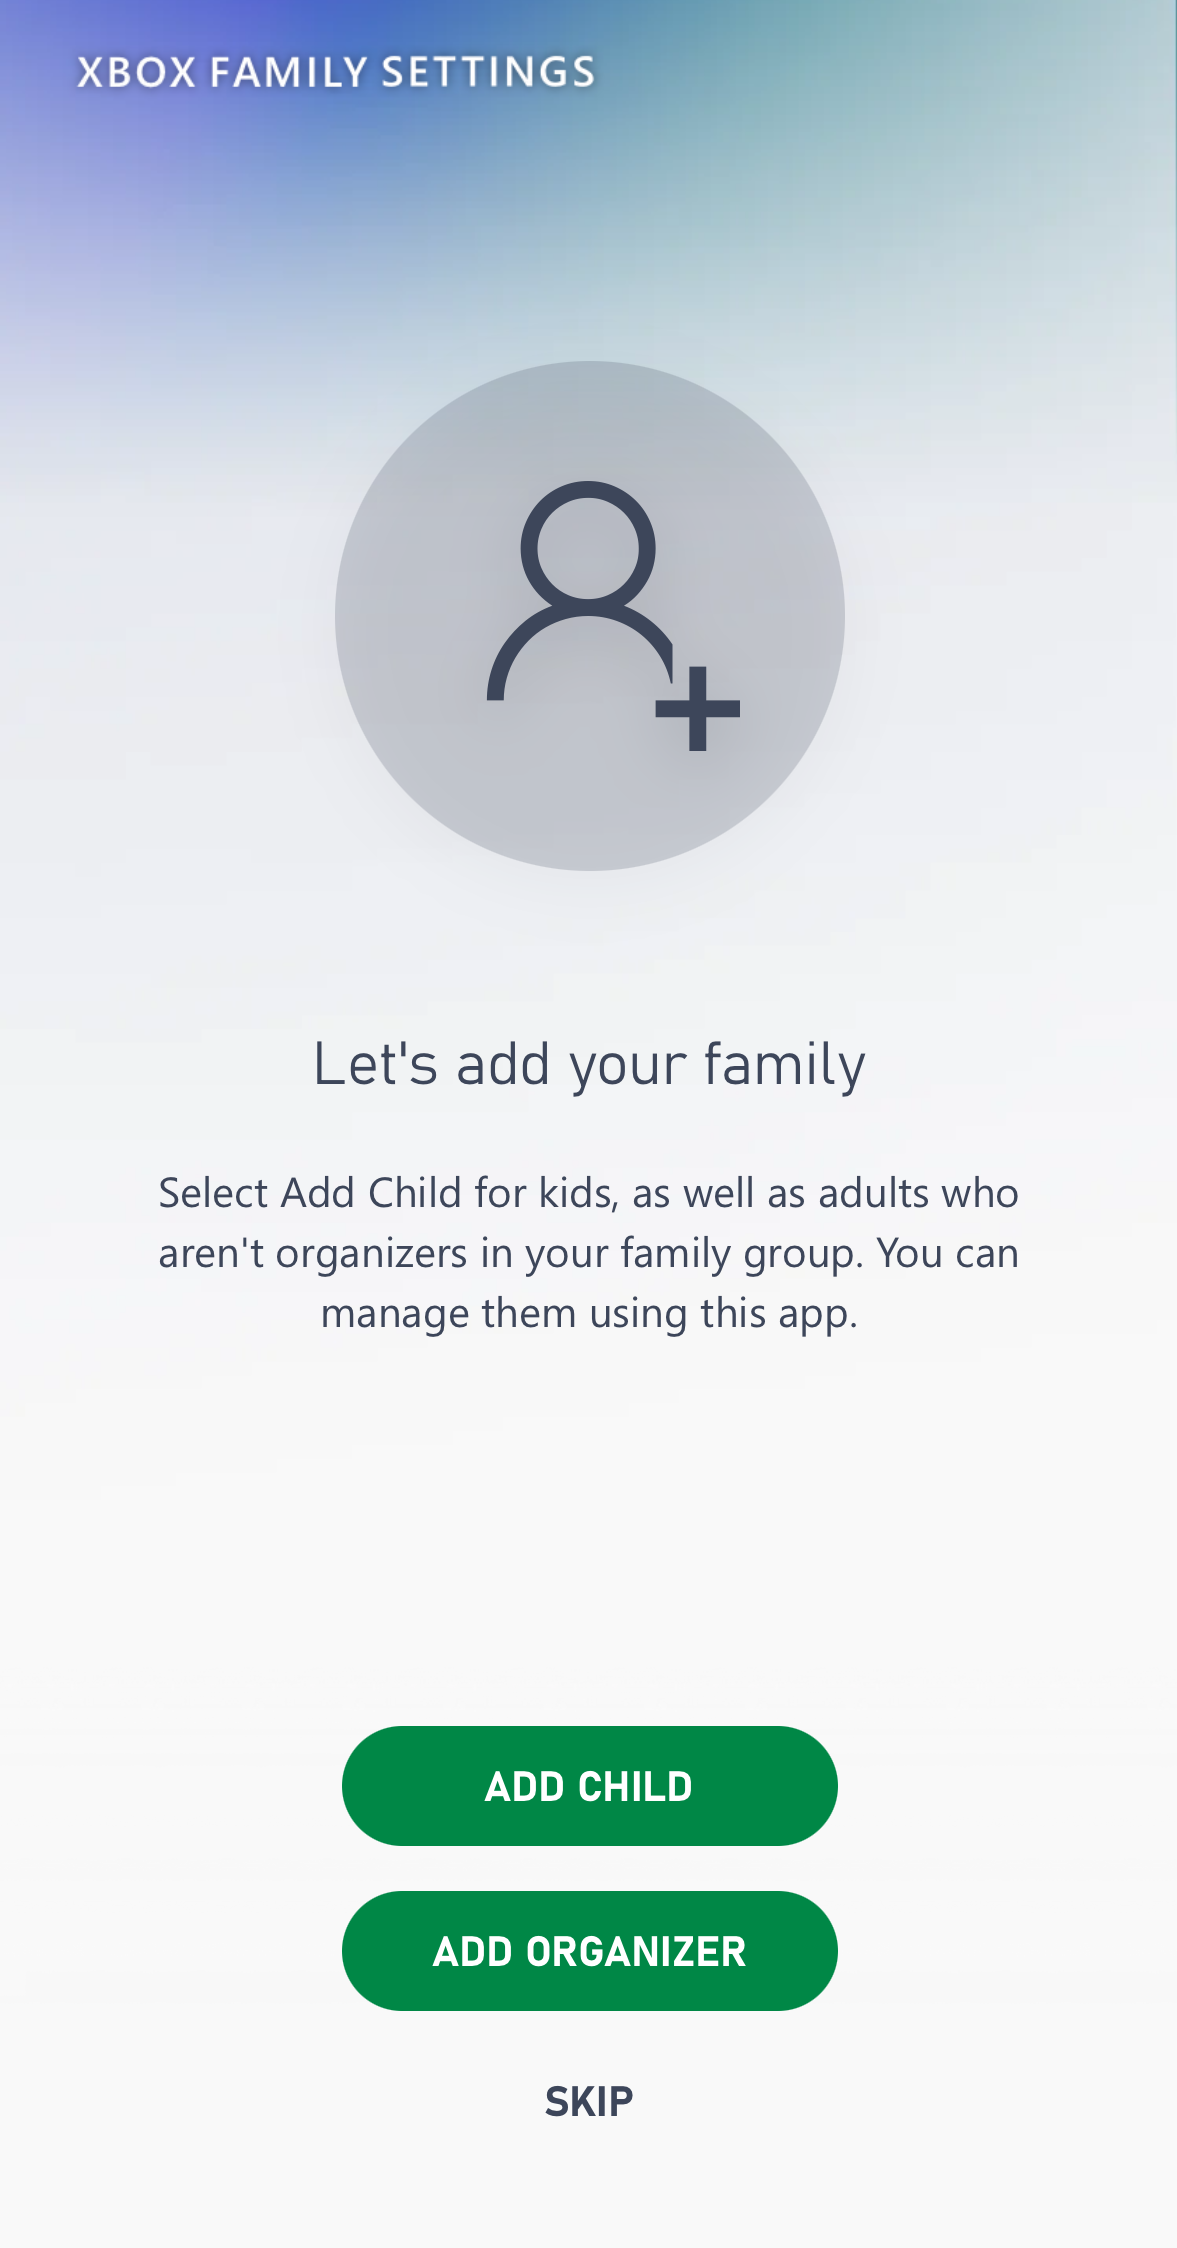
Open the app and tap ‘Add Child’ to begin creating or linking your child’s Xbox account.
Note: If you and/or your child do not already have an account, you will need to make one before continuing.
Step 3
Verify your child appears in the family group and tap ‘Finish Setting Up.’
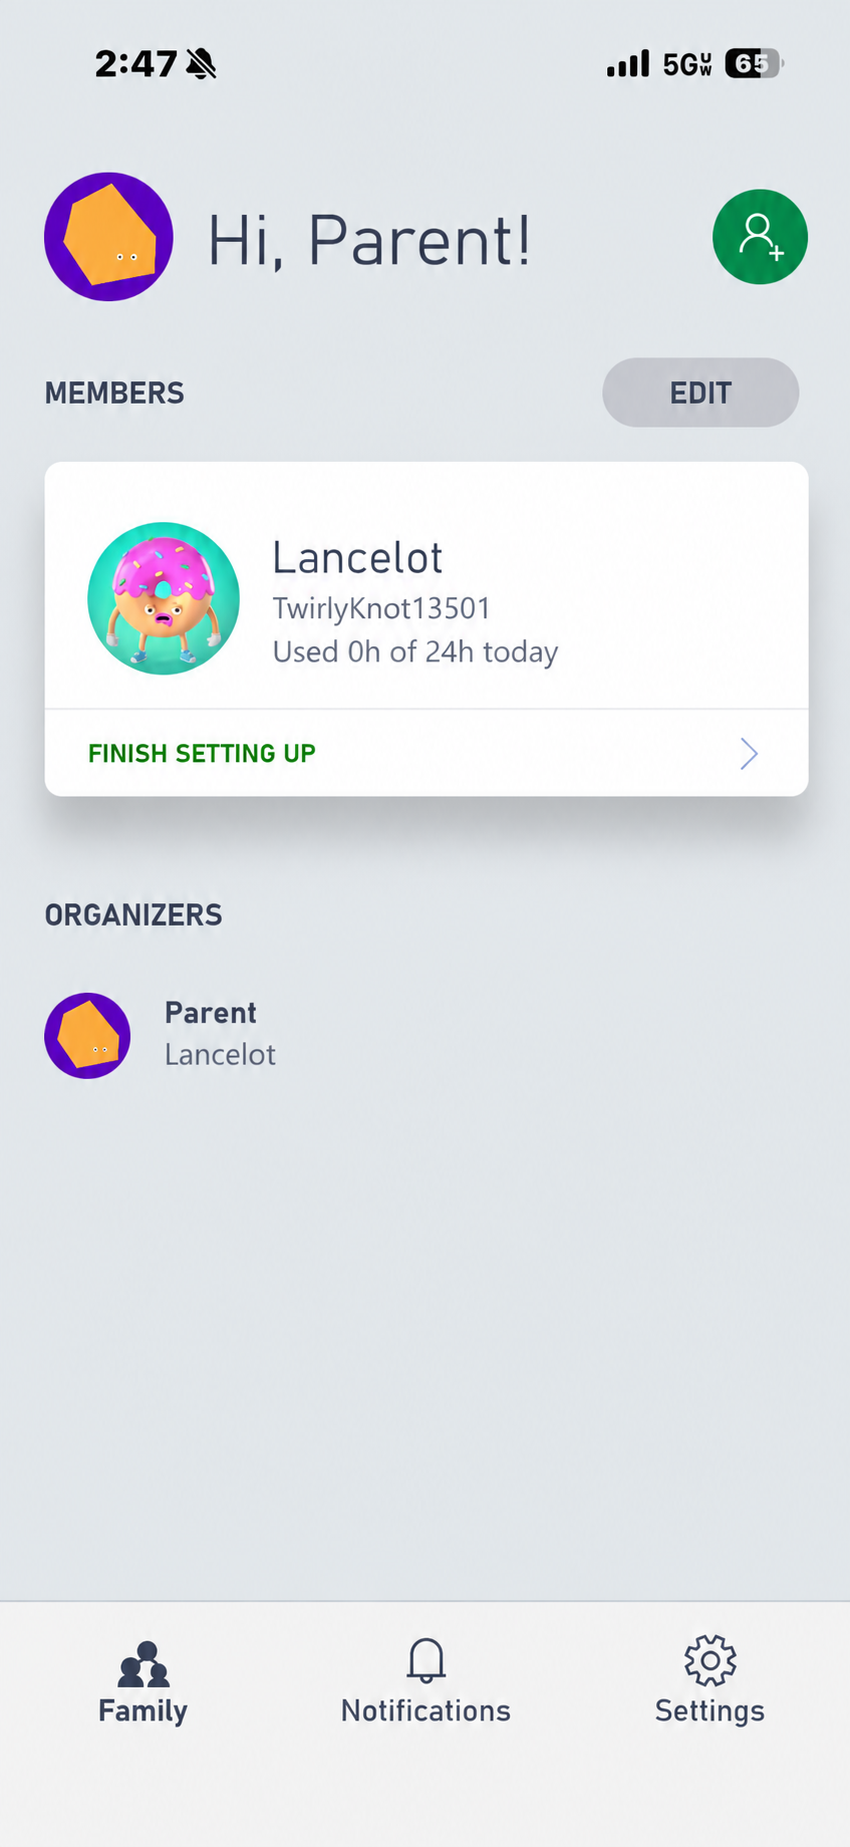
Step 4
Set the appropriate age-based content restriction level for your child.
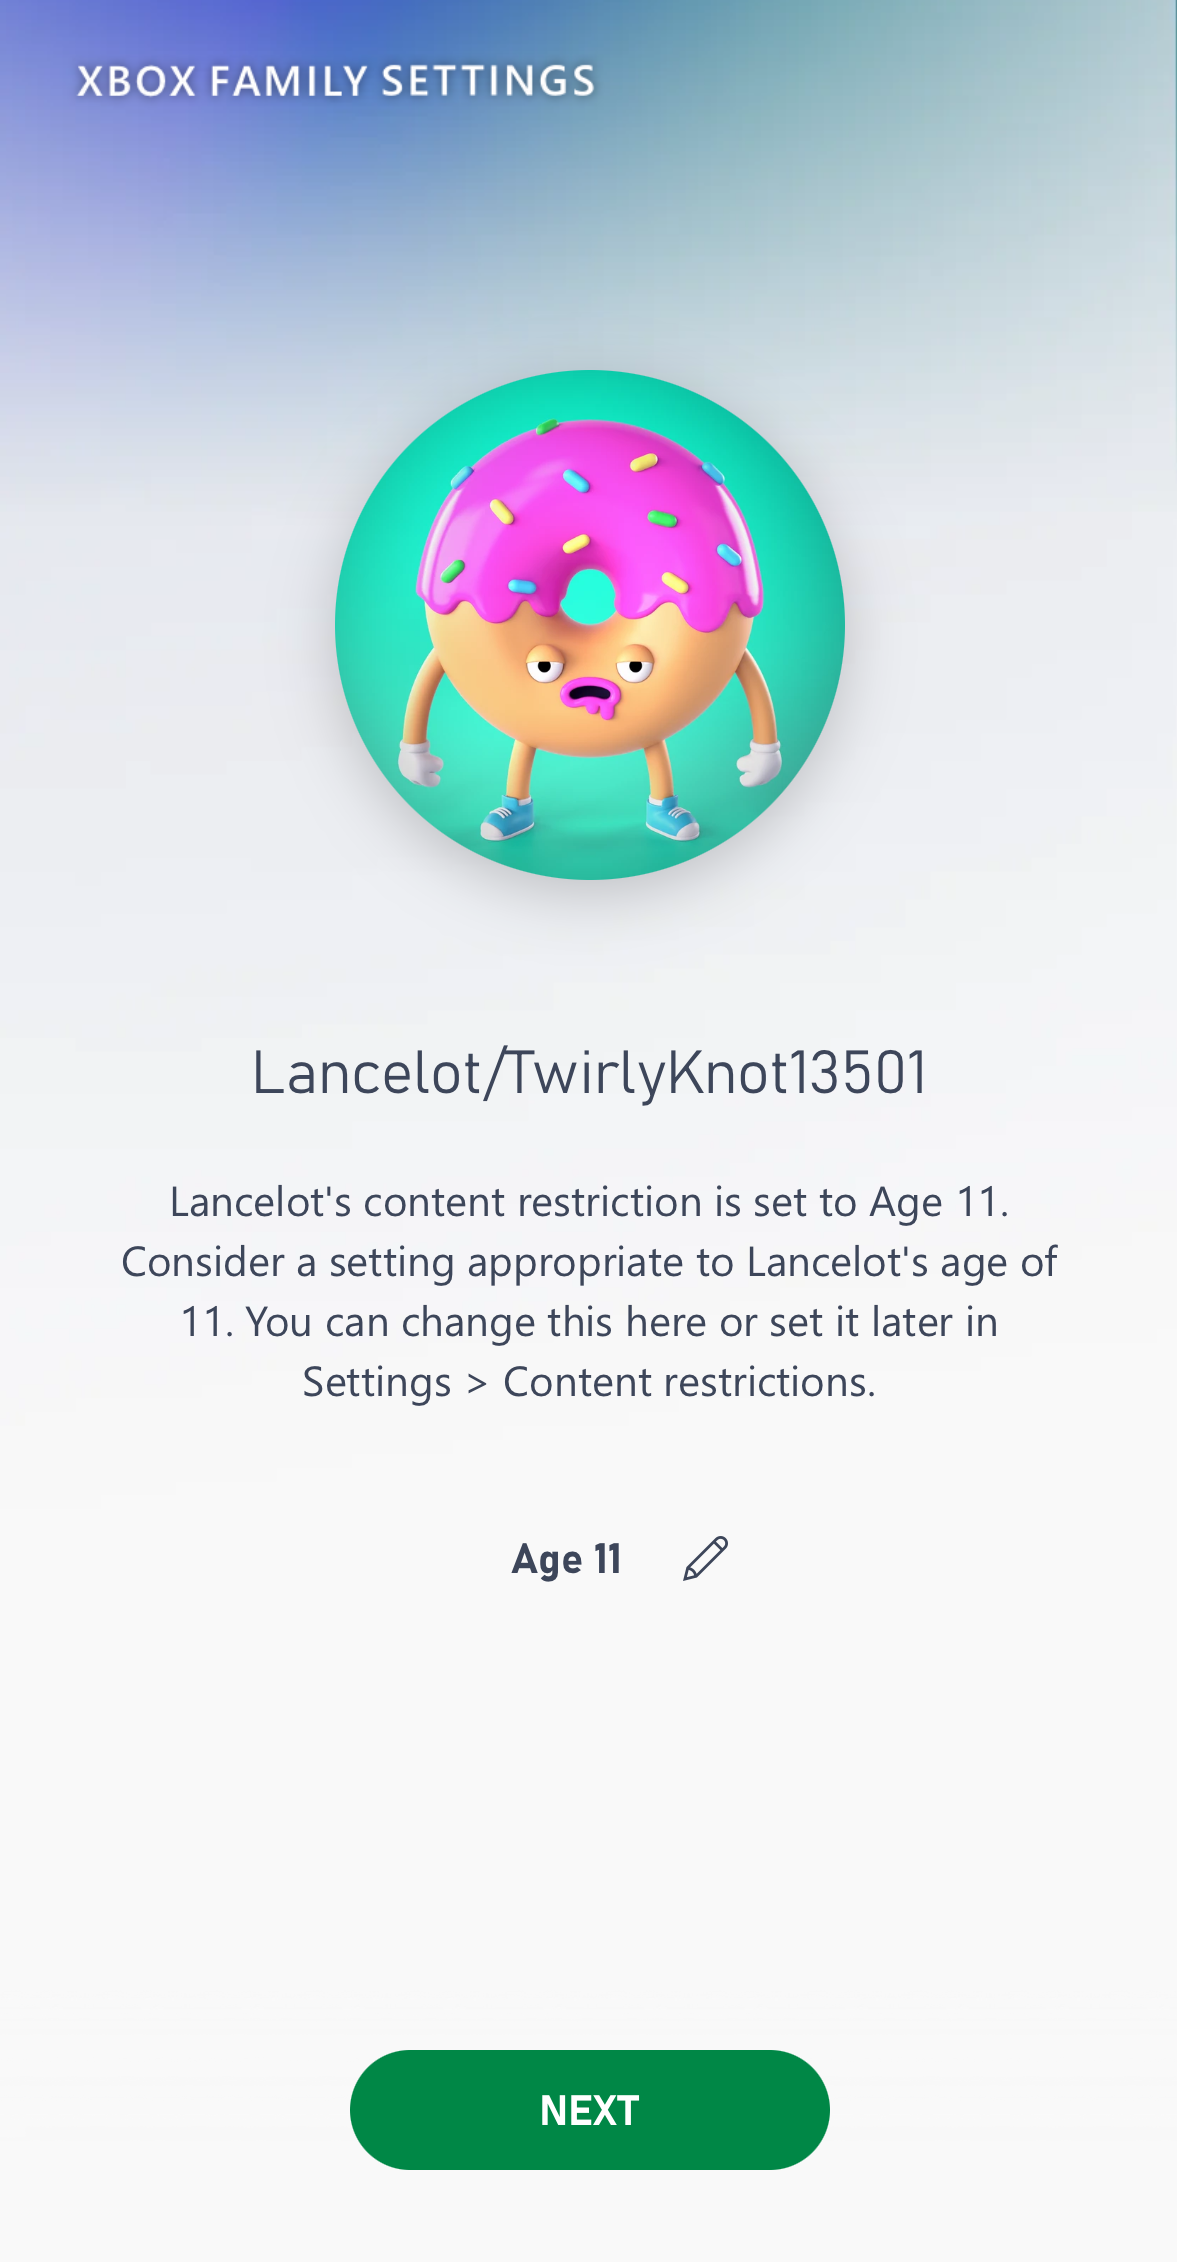
Step 5
Choose who your child can communicate with.
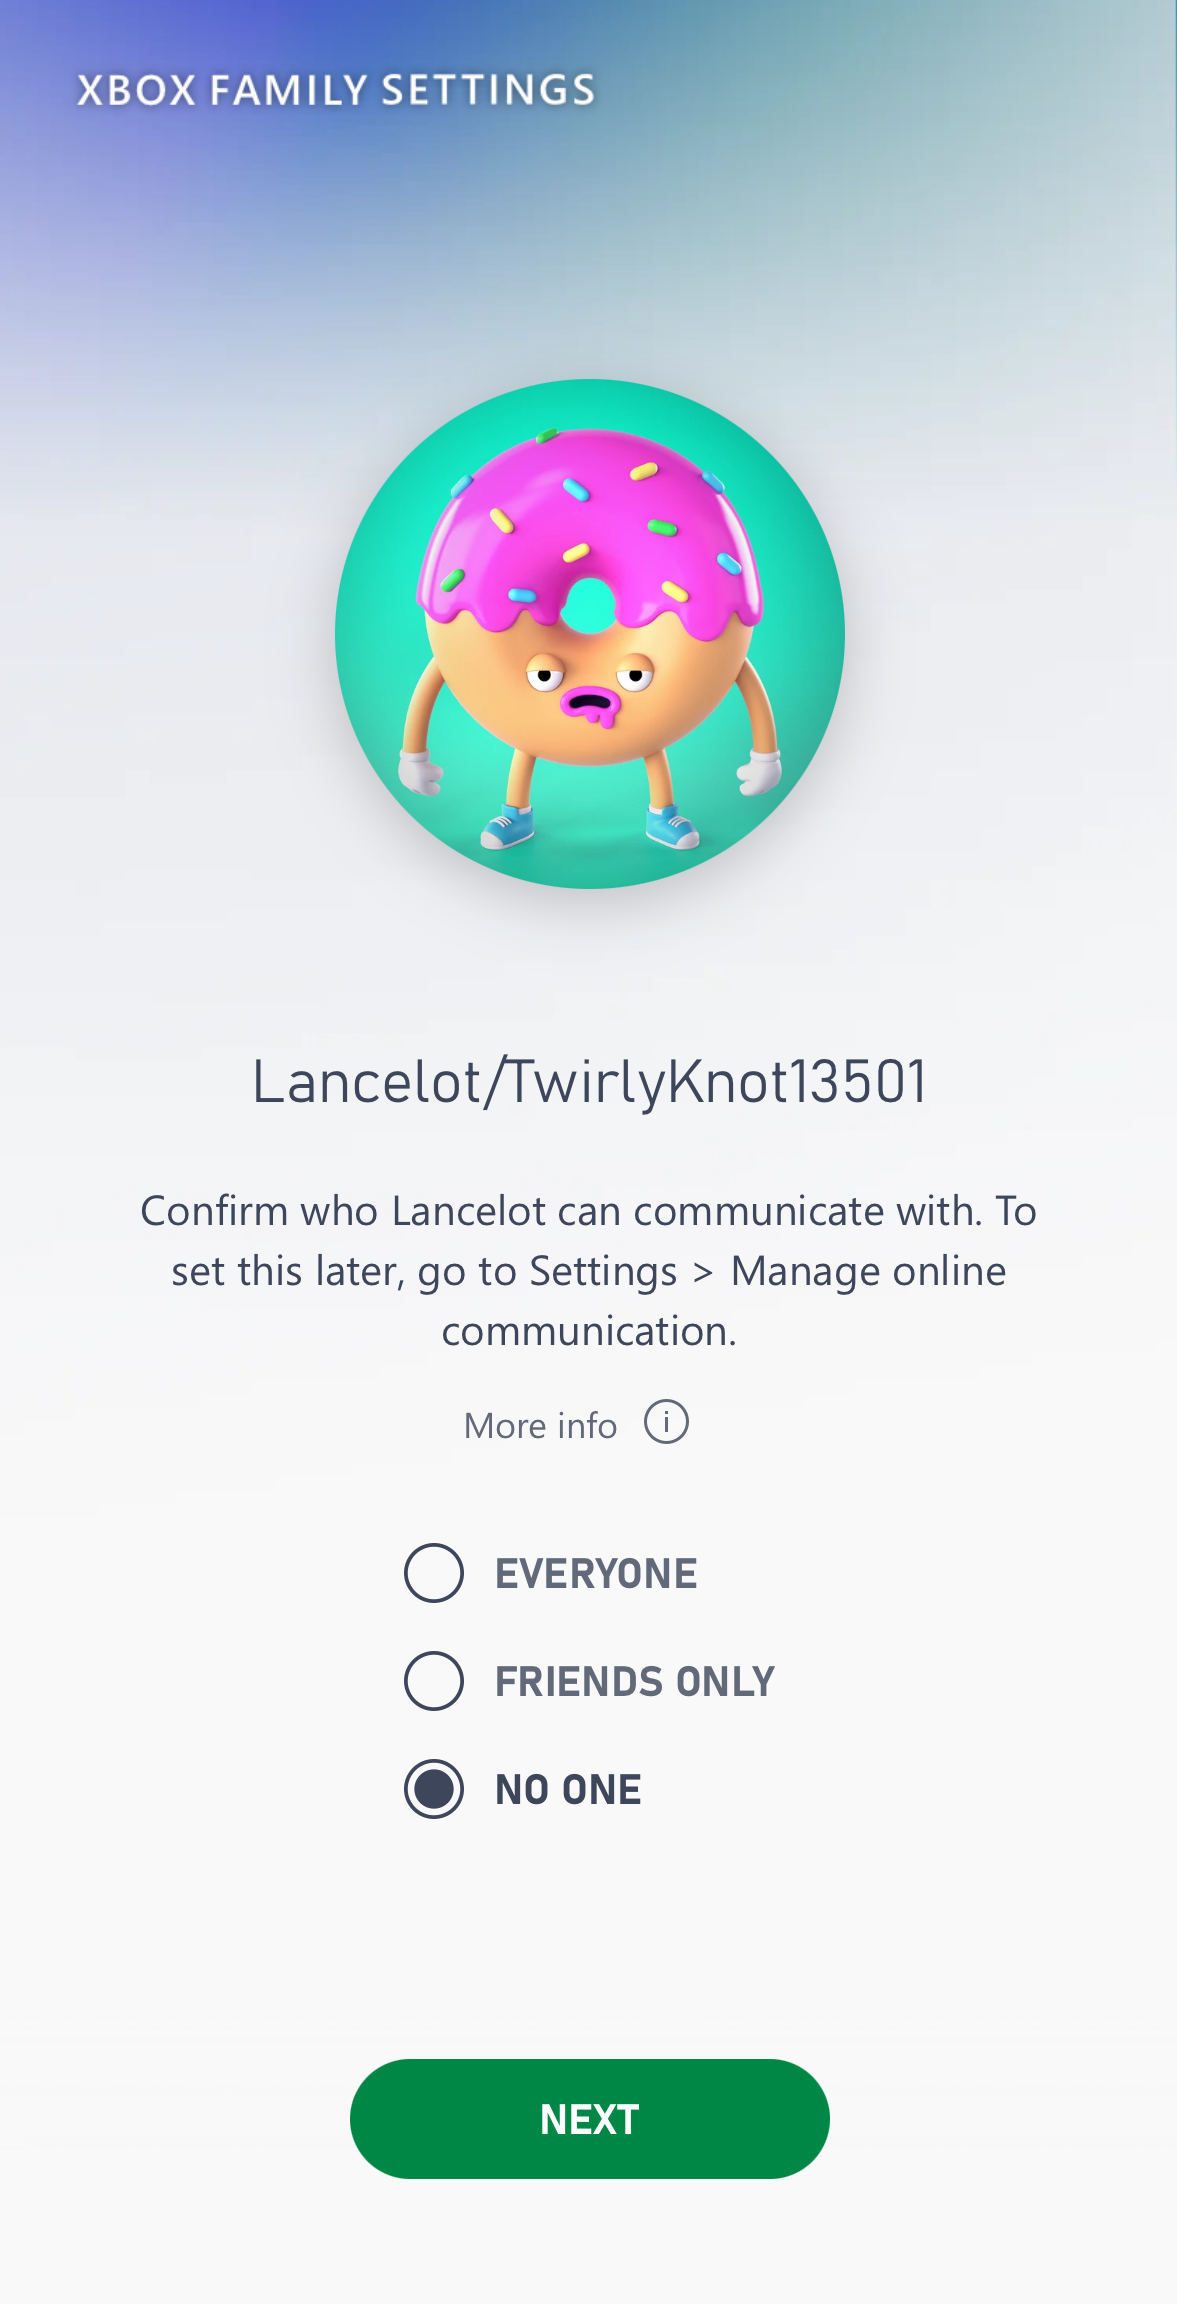
Step 6
Decide whether multiplayer gaming should be allowed.
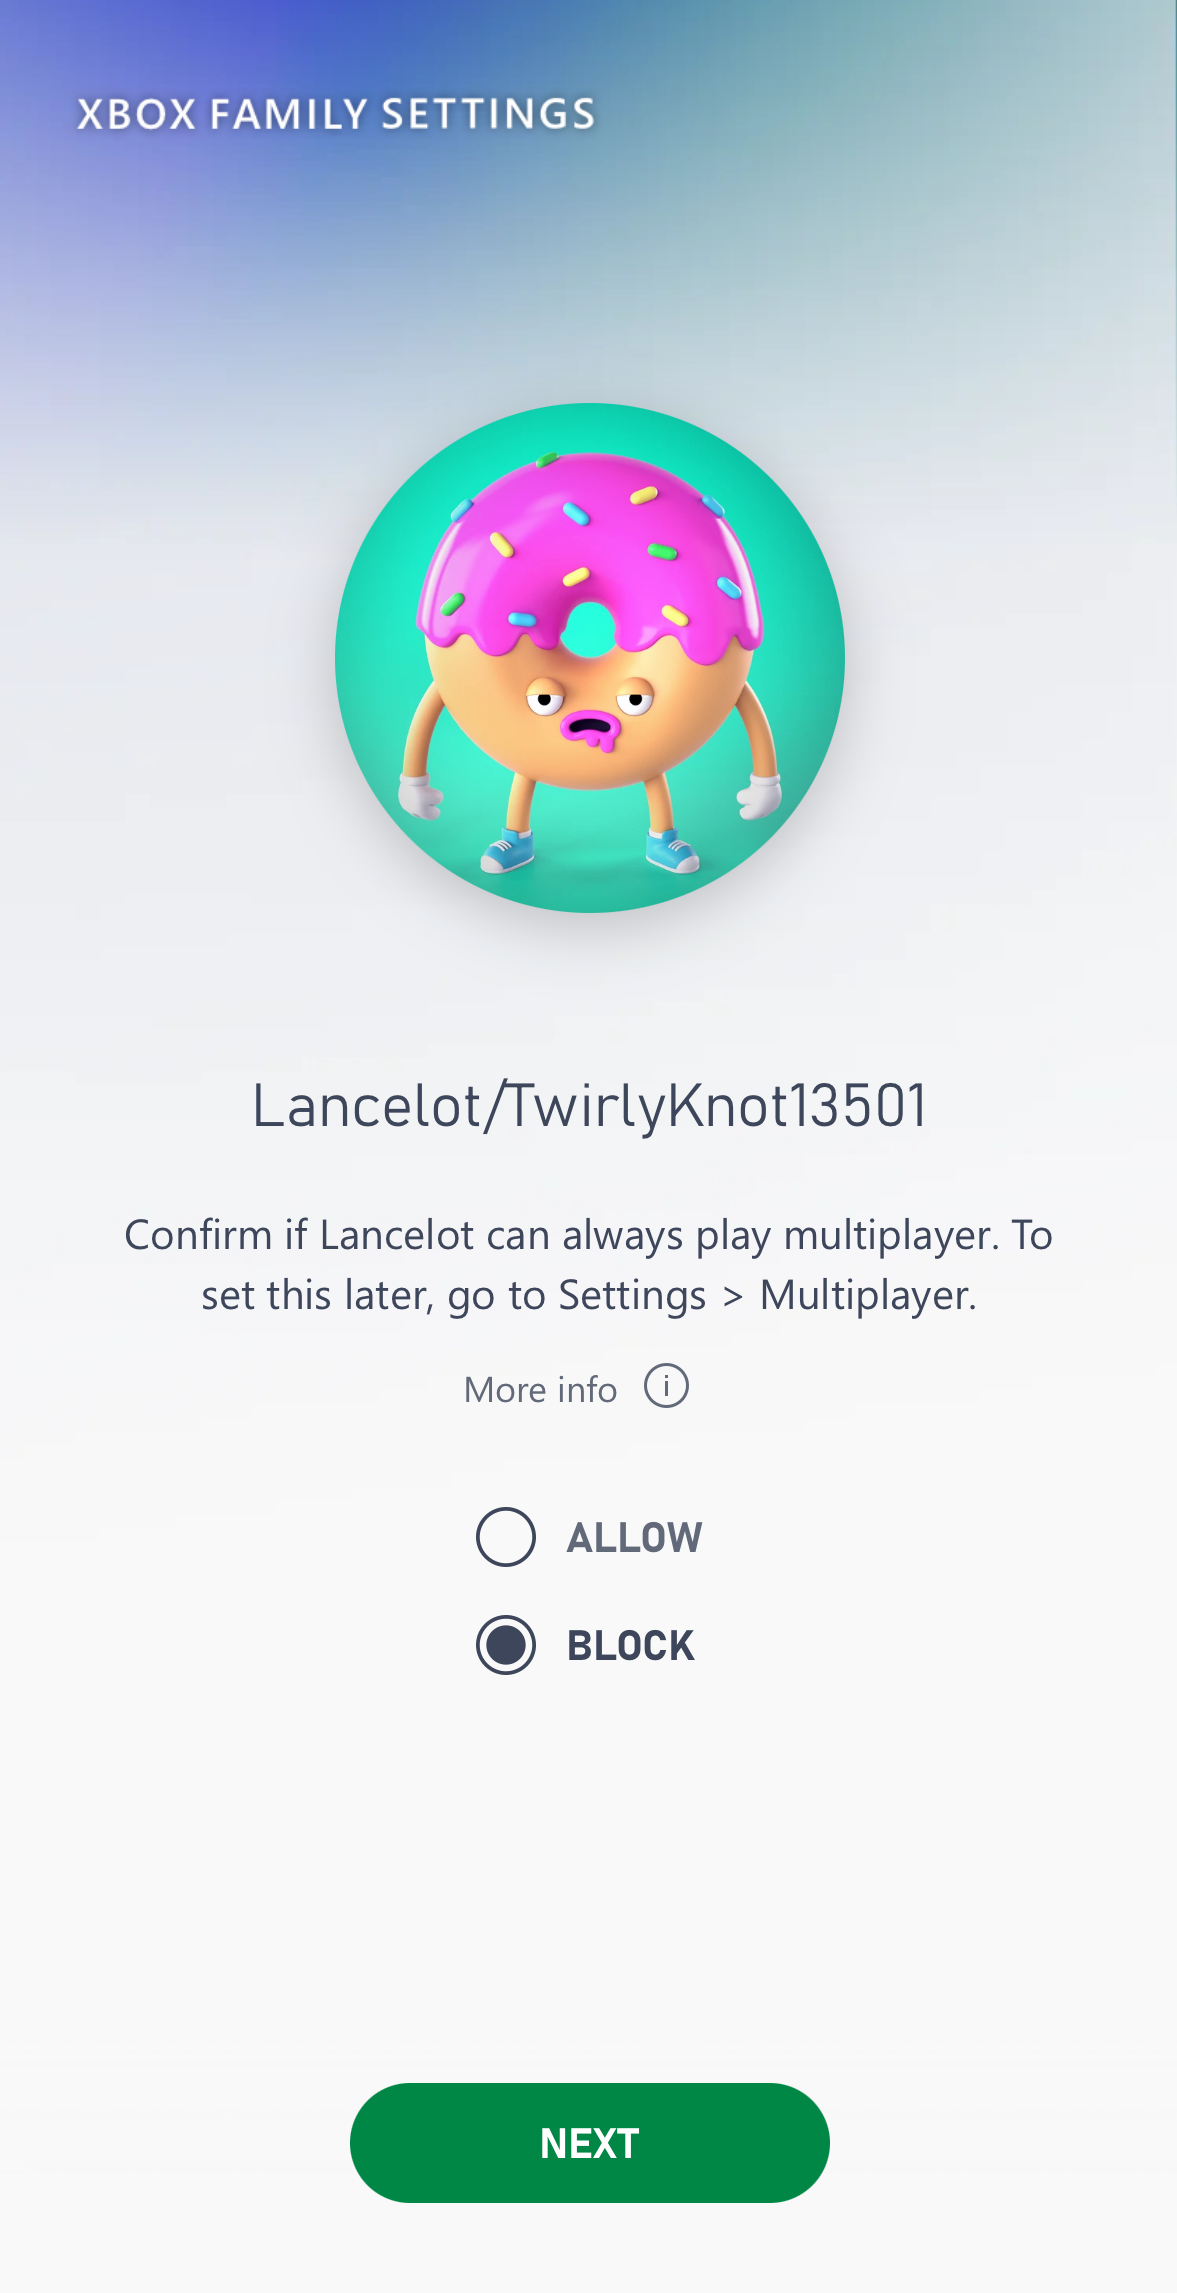
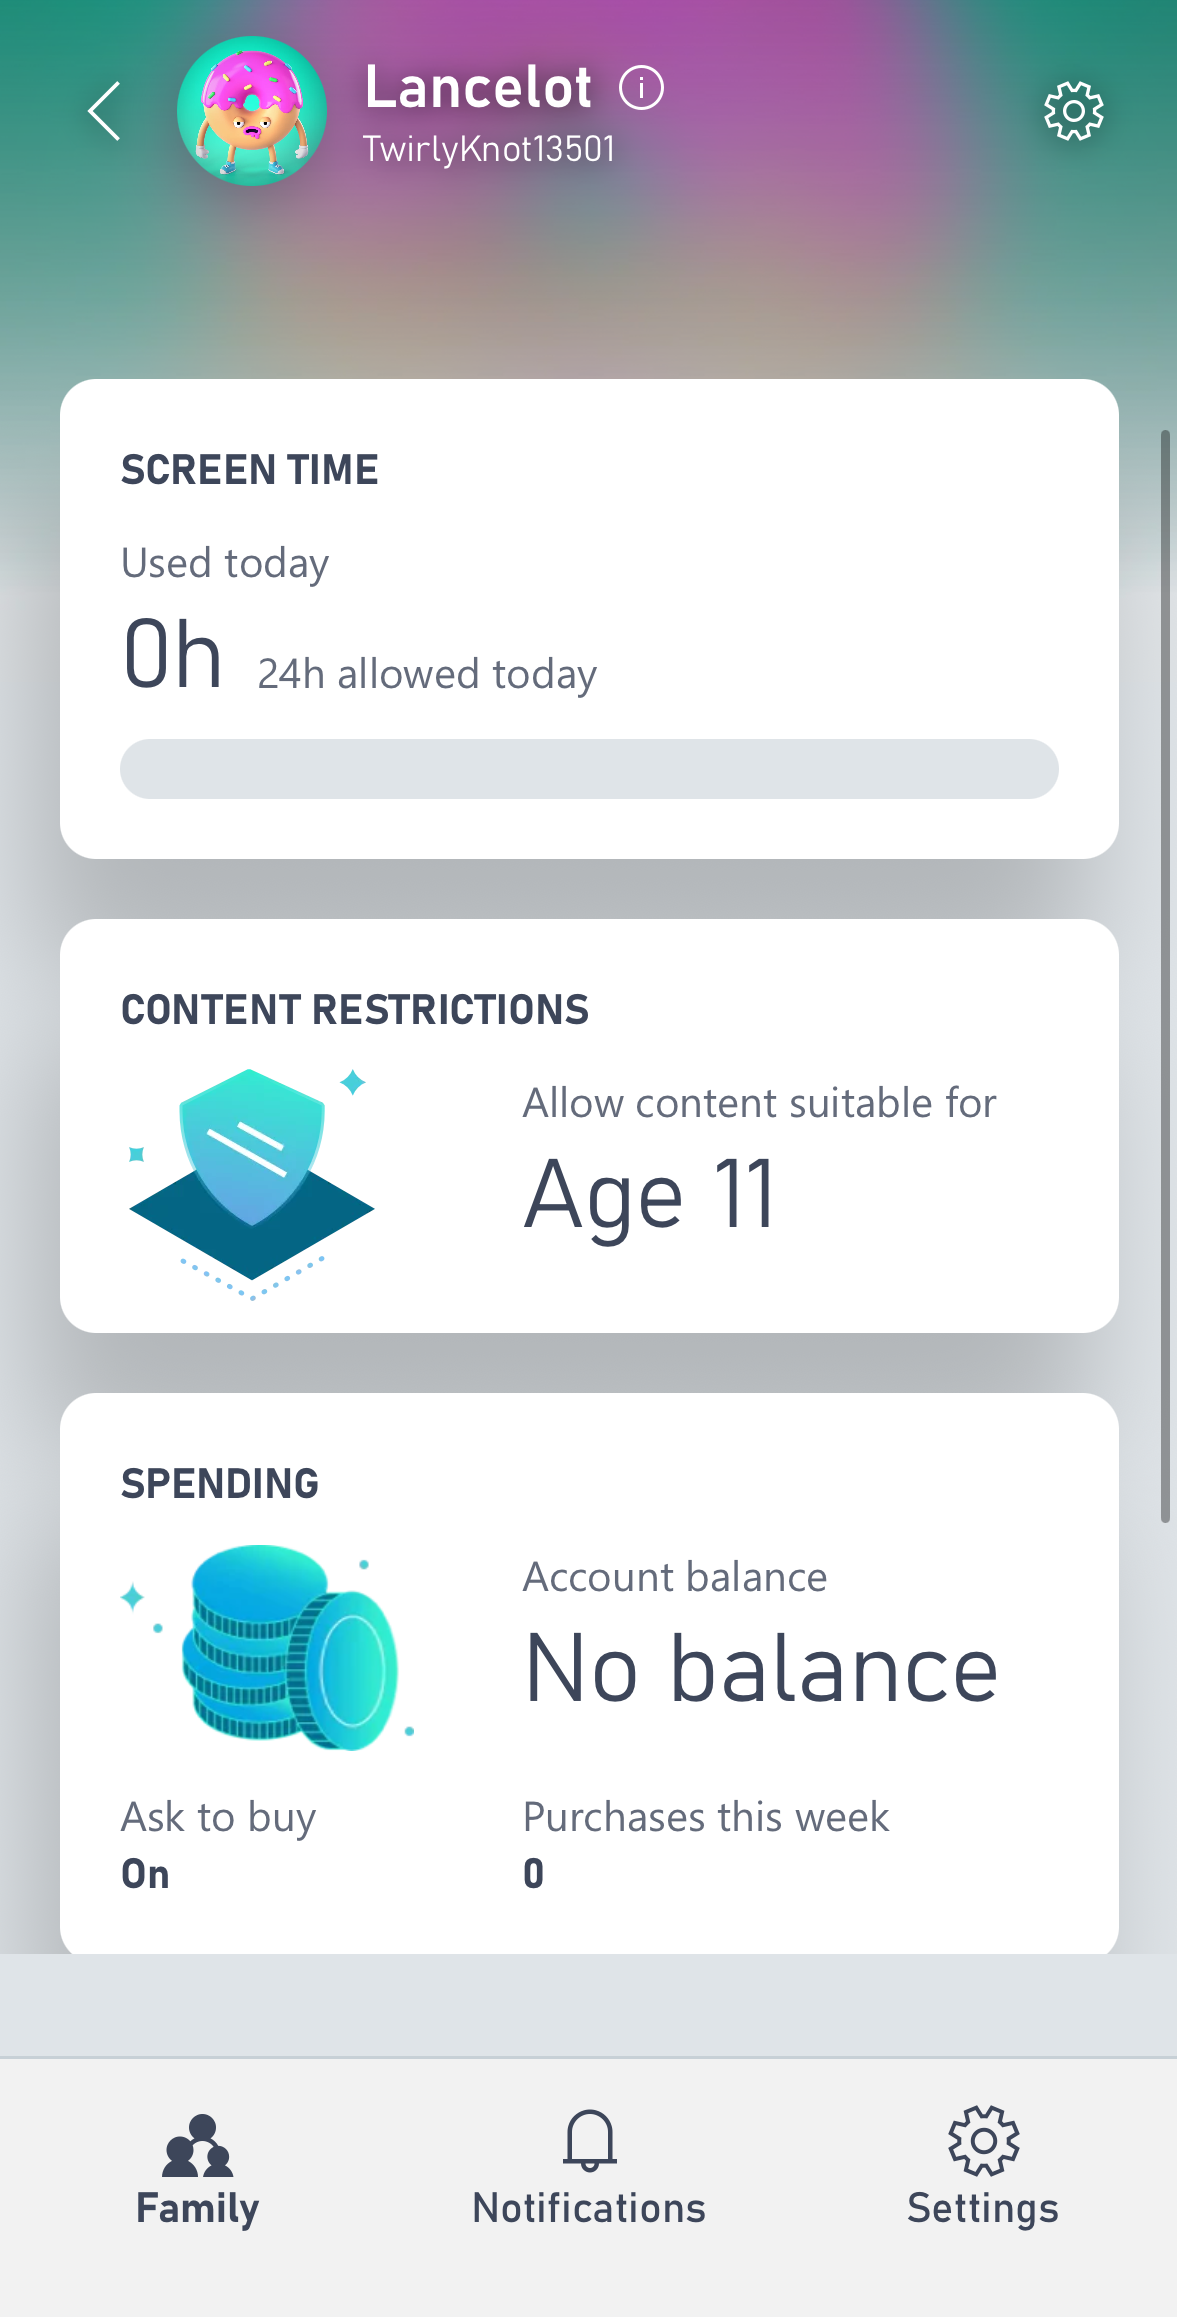
Step 7
Review the dashboard and settings.
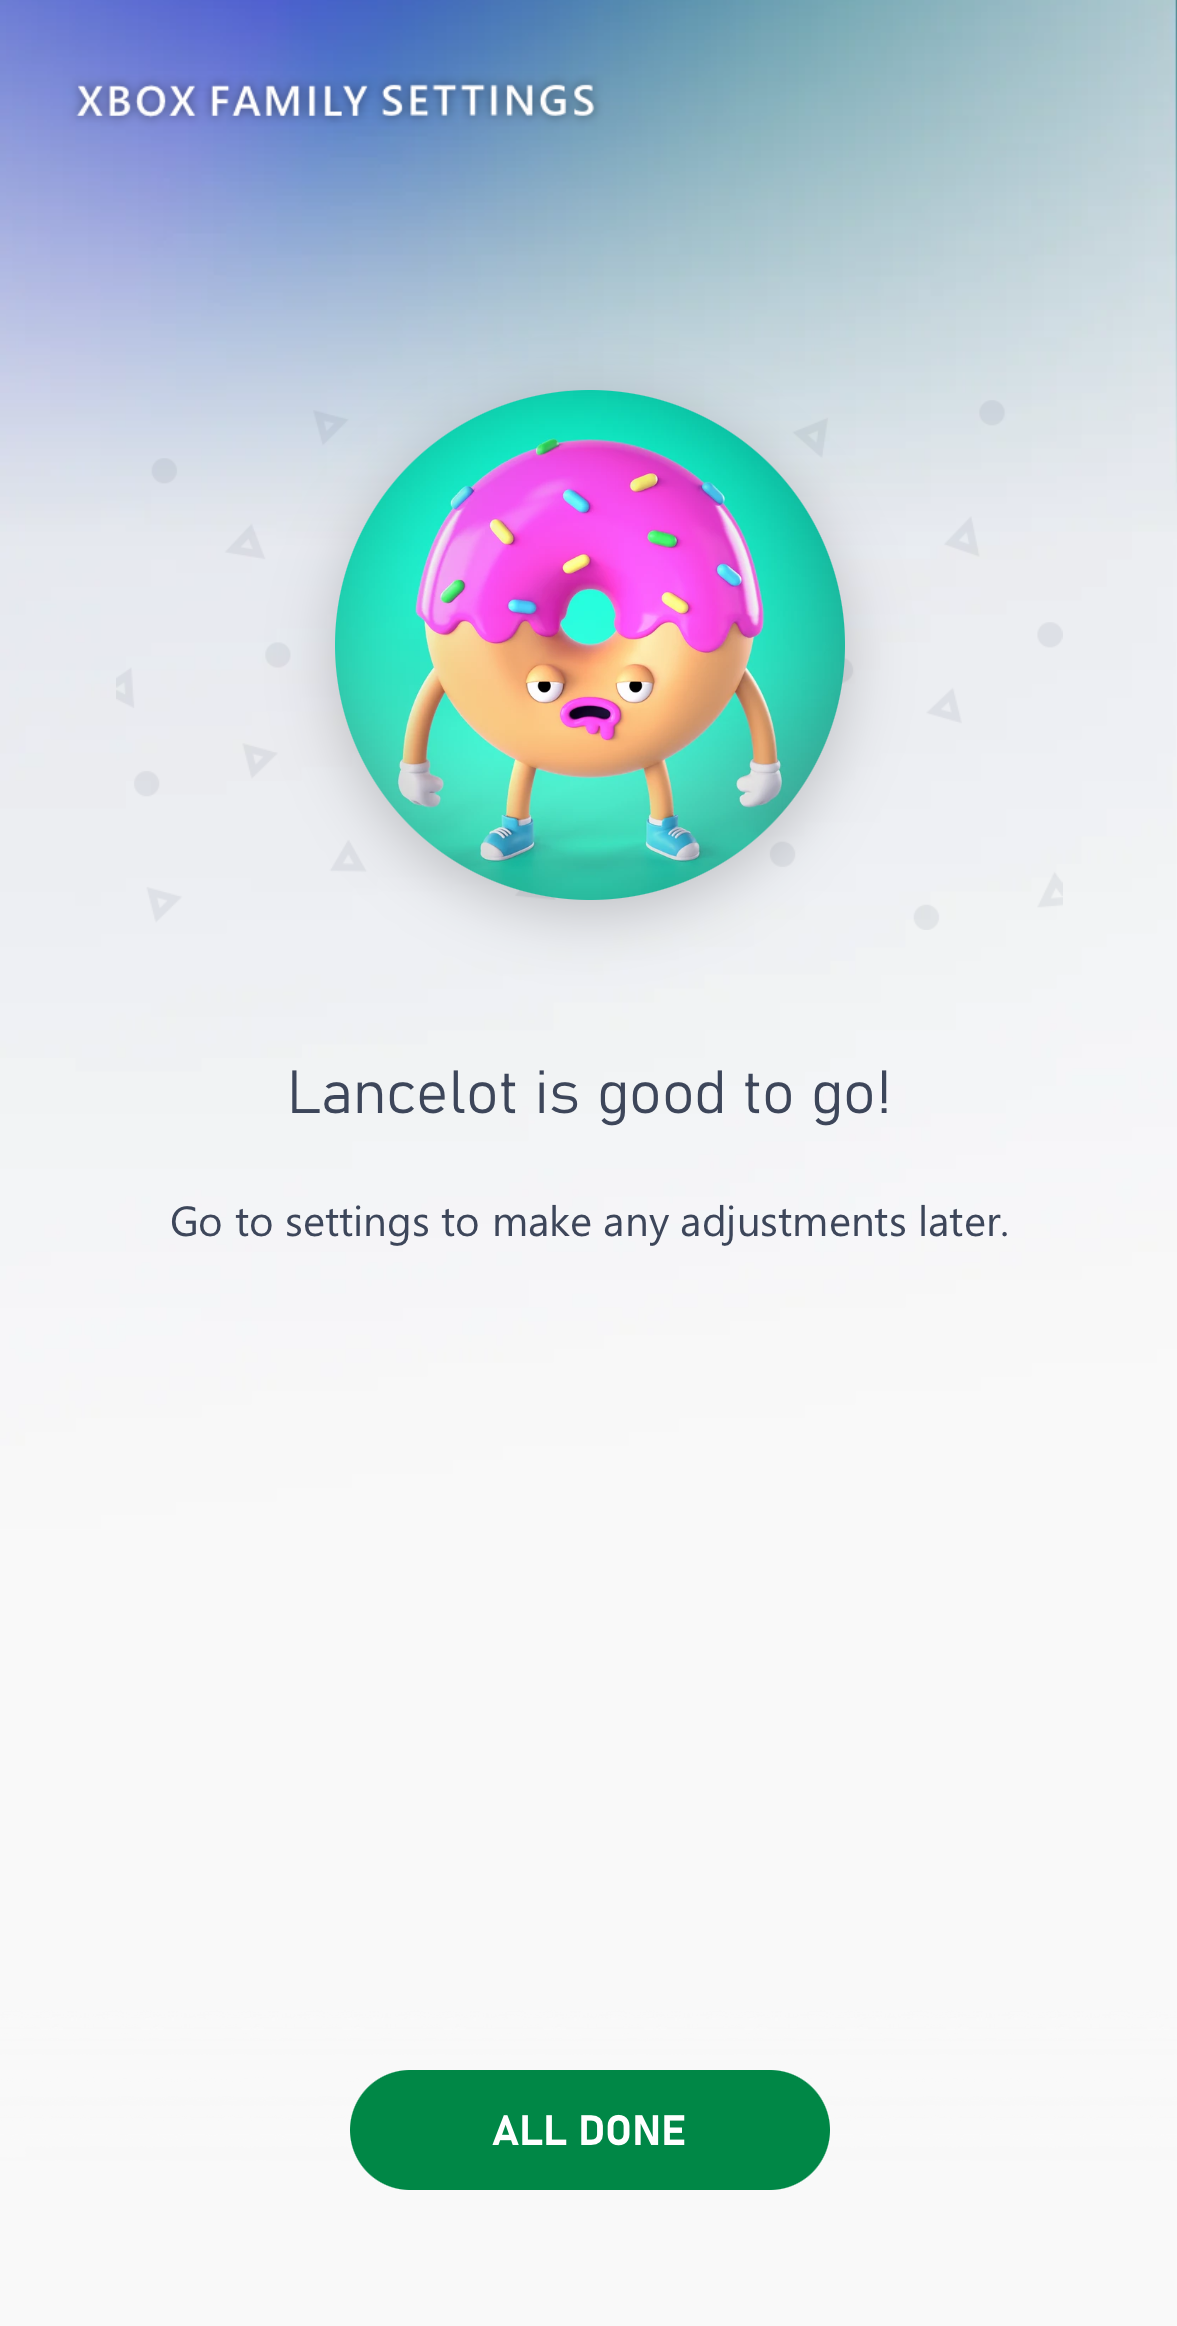
Step 8
Complete the setup process.
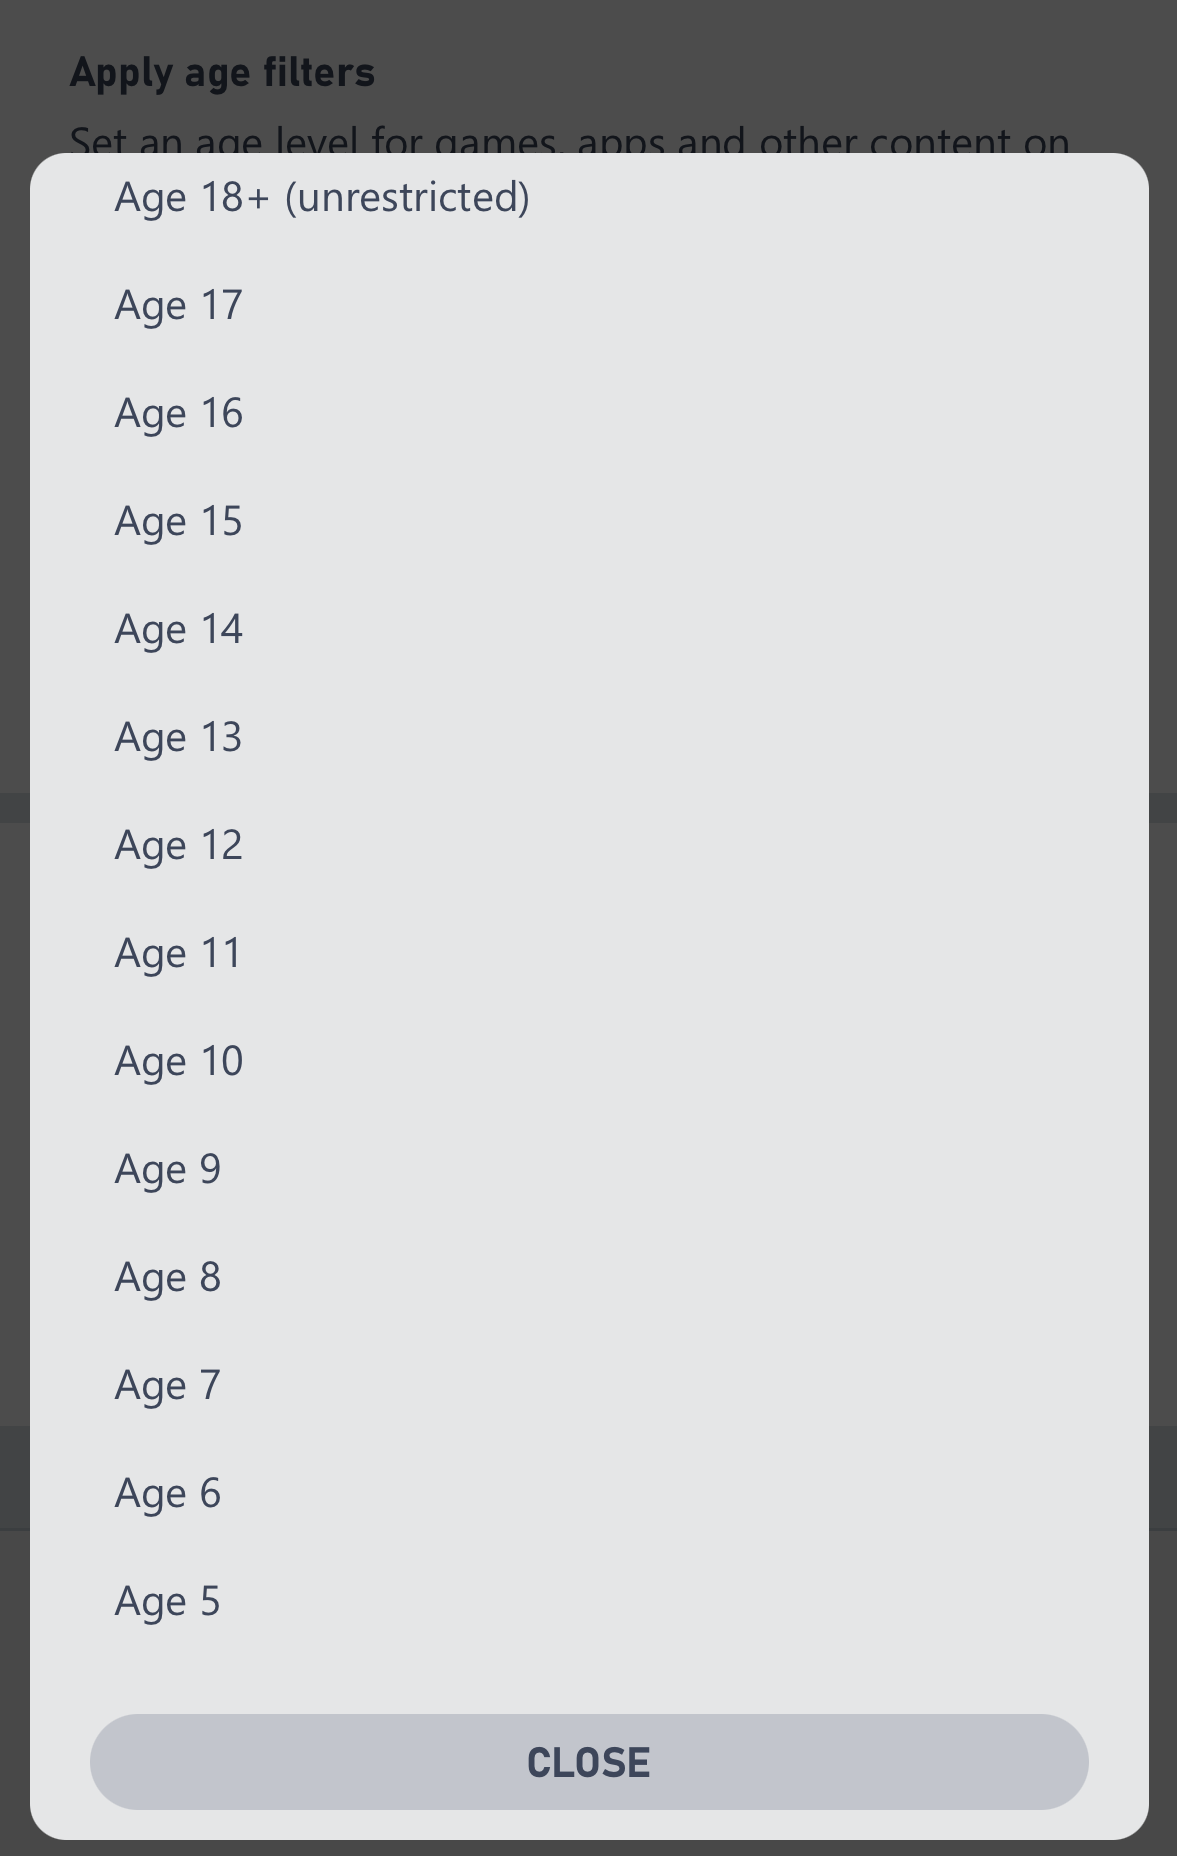
Step 9
Adjust content restrictions at any time.
Recommended Parent Settings
• Use age-appropriate content restrictions.
• Limit communication to approved friends or disable it entirely.
• Consider disabling multiplayer games unless actively supervised.
• Enable purchase approval requirements.
• Set daily screen-time limits.
Xbox Console: Parent Setup Guide
This guide walks you through setting up strong safety measures on your Xbox console.
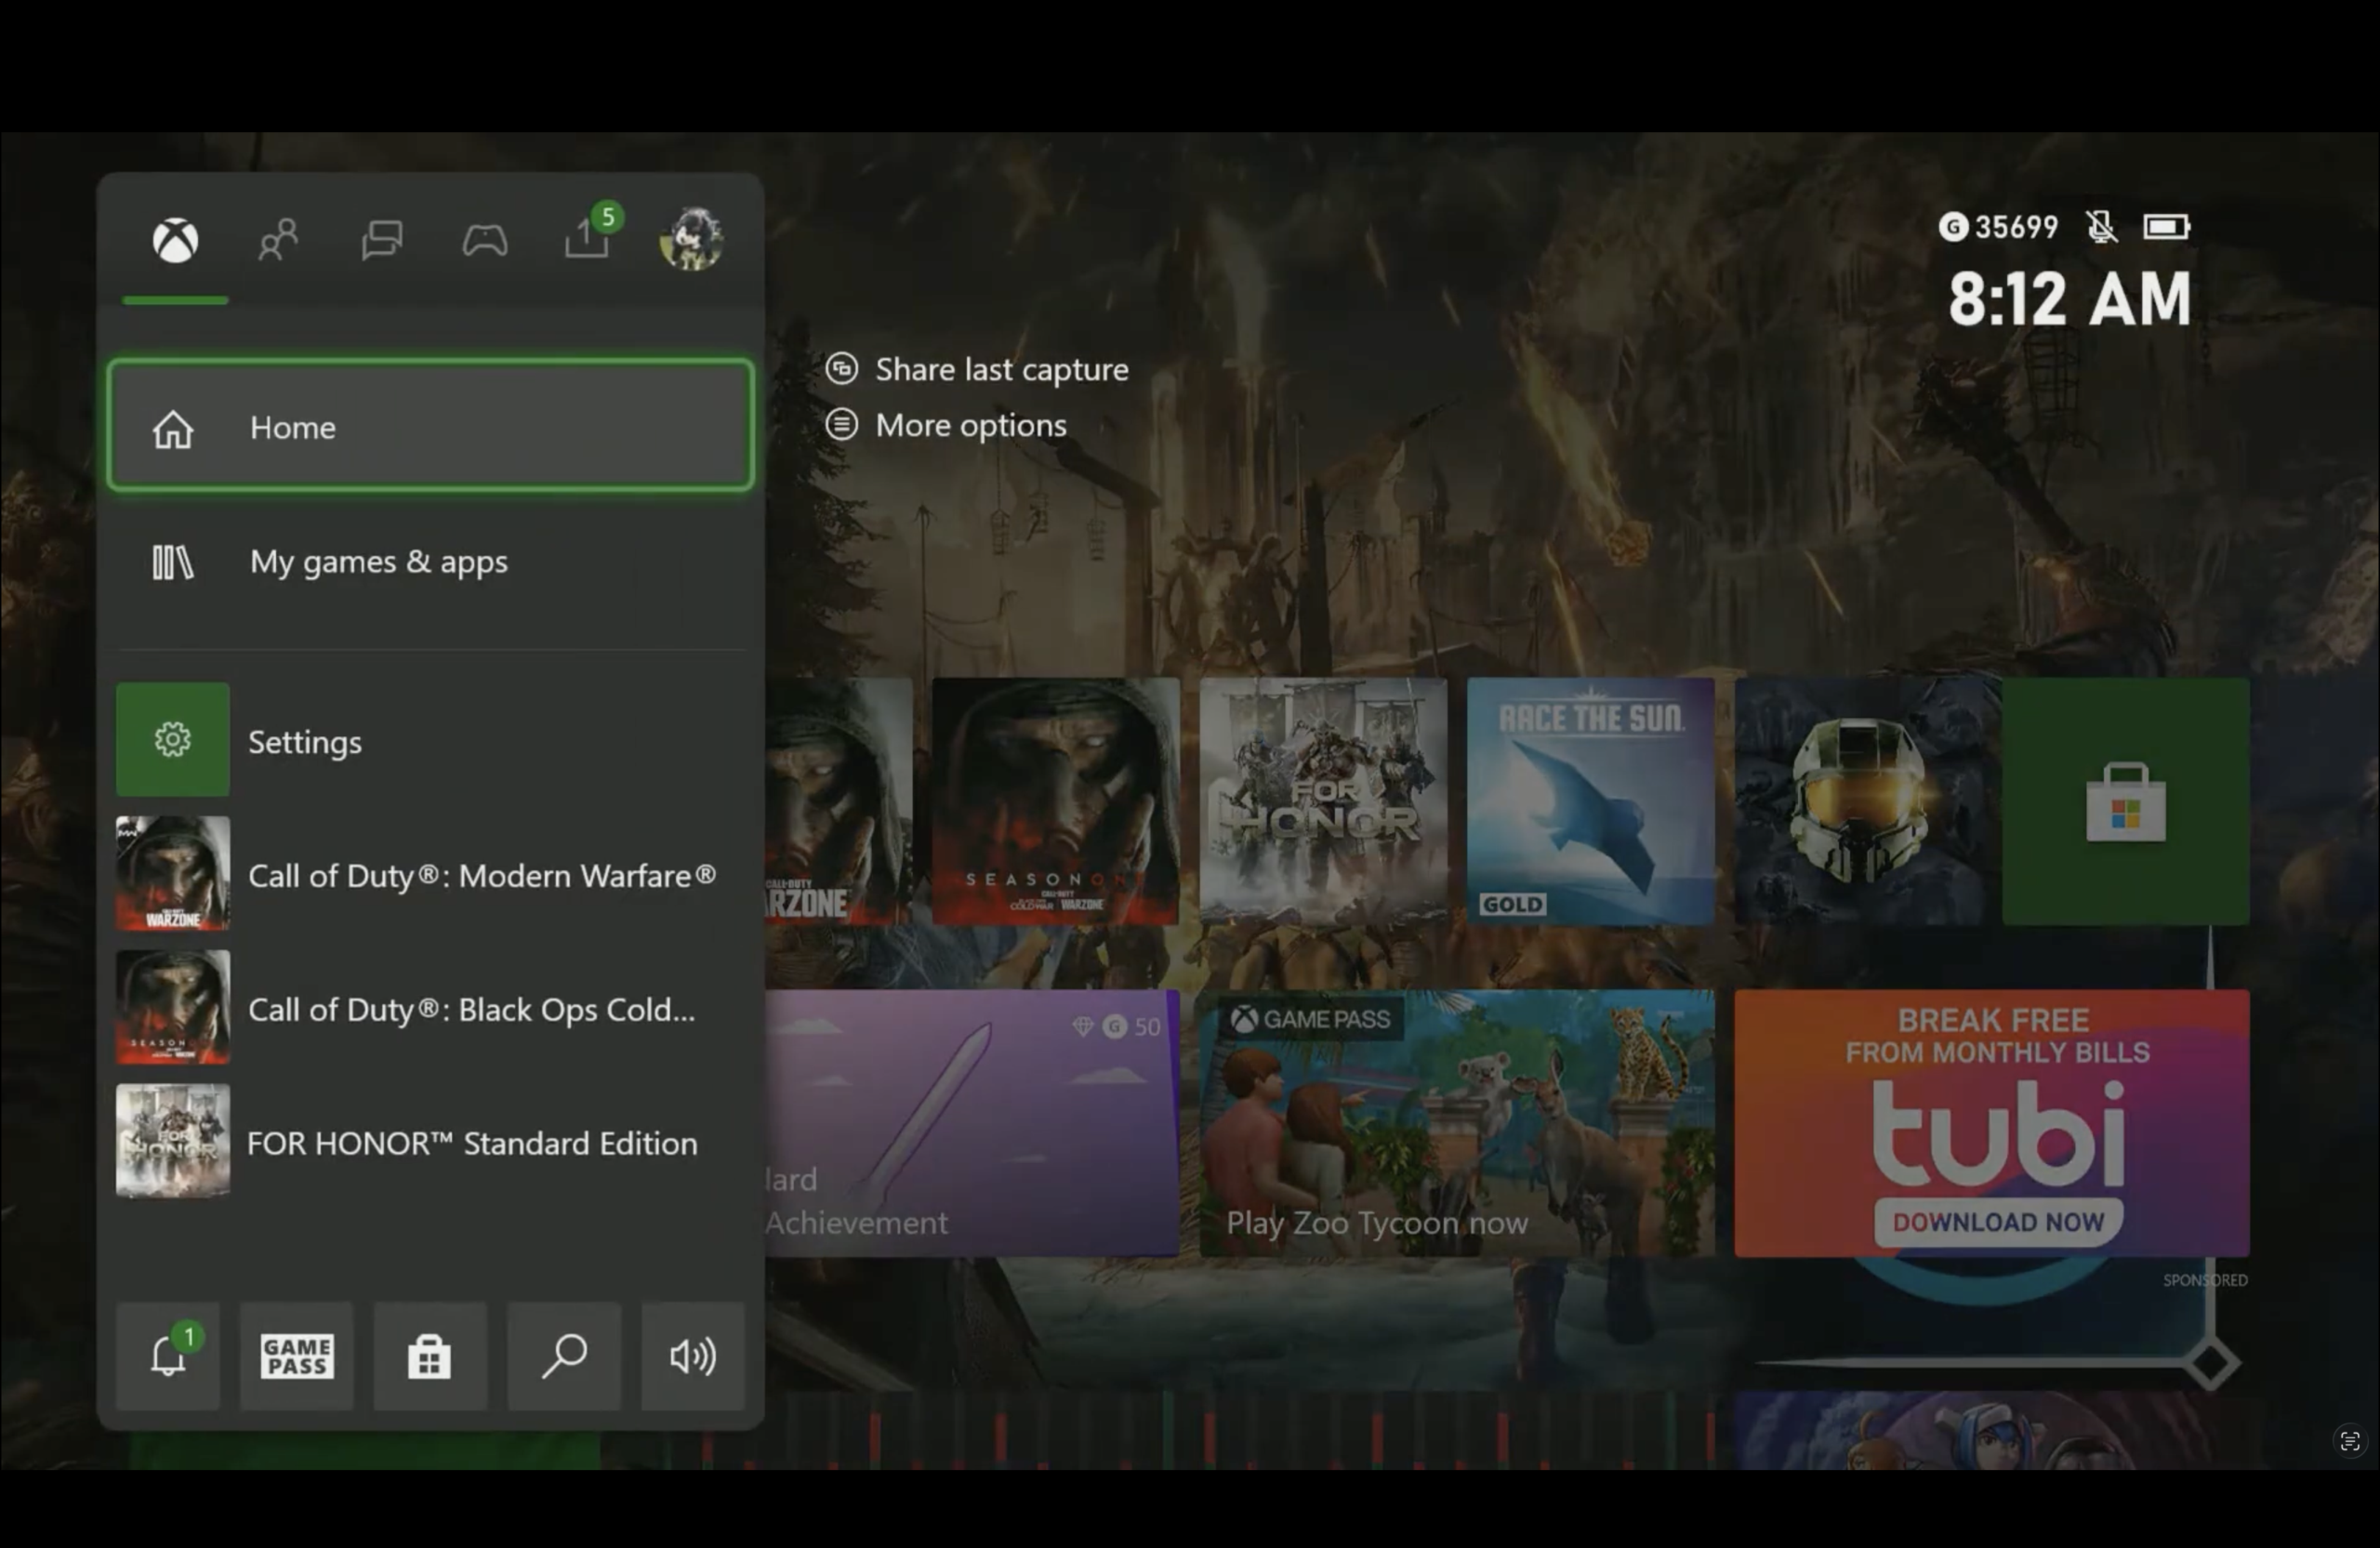
Step 1: Open Settings
- From the Xbox Home screen, press the Xbox button on your controller to open the Guide.
- Navigate to Profile & system (person icon) on the top menu.
- Select Settings .
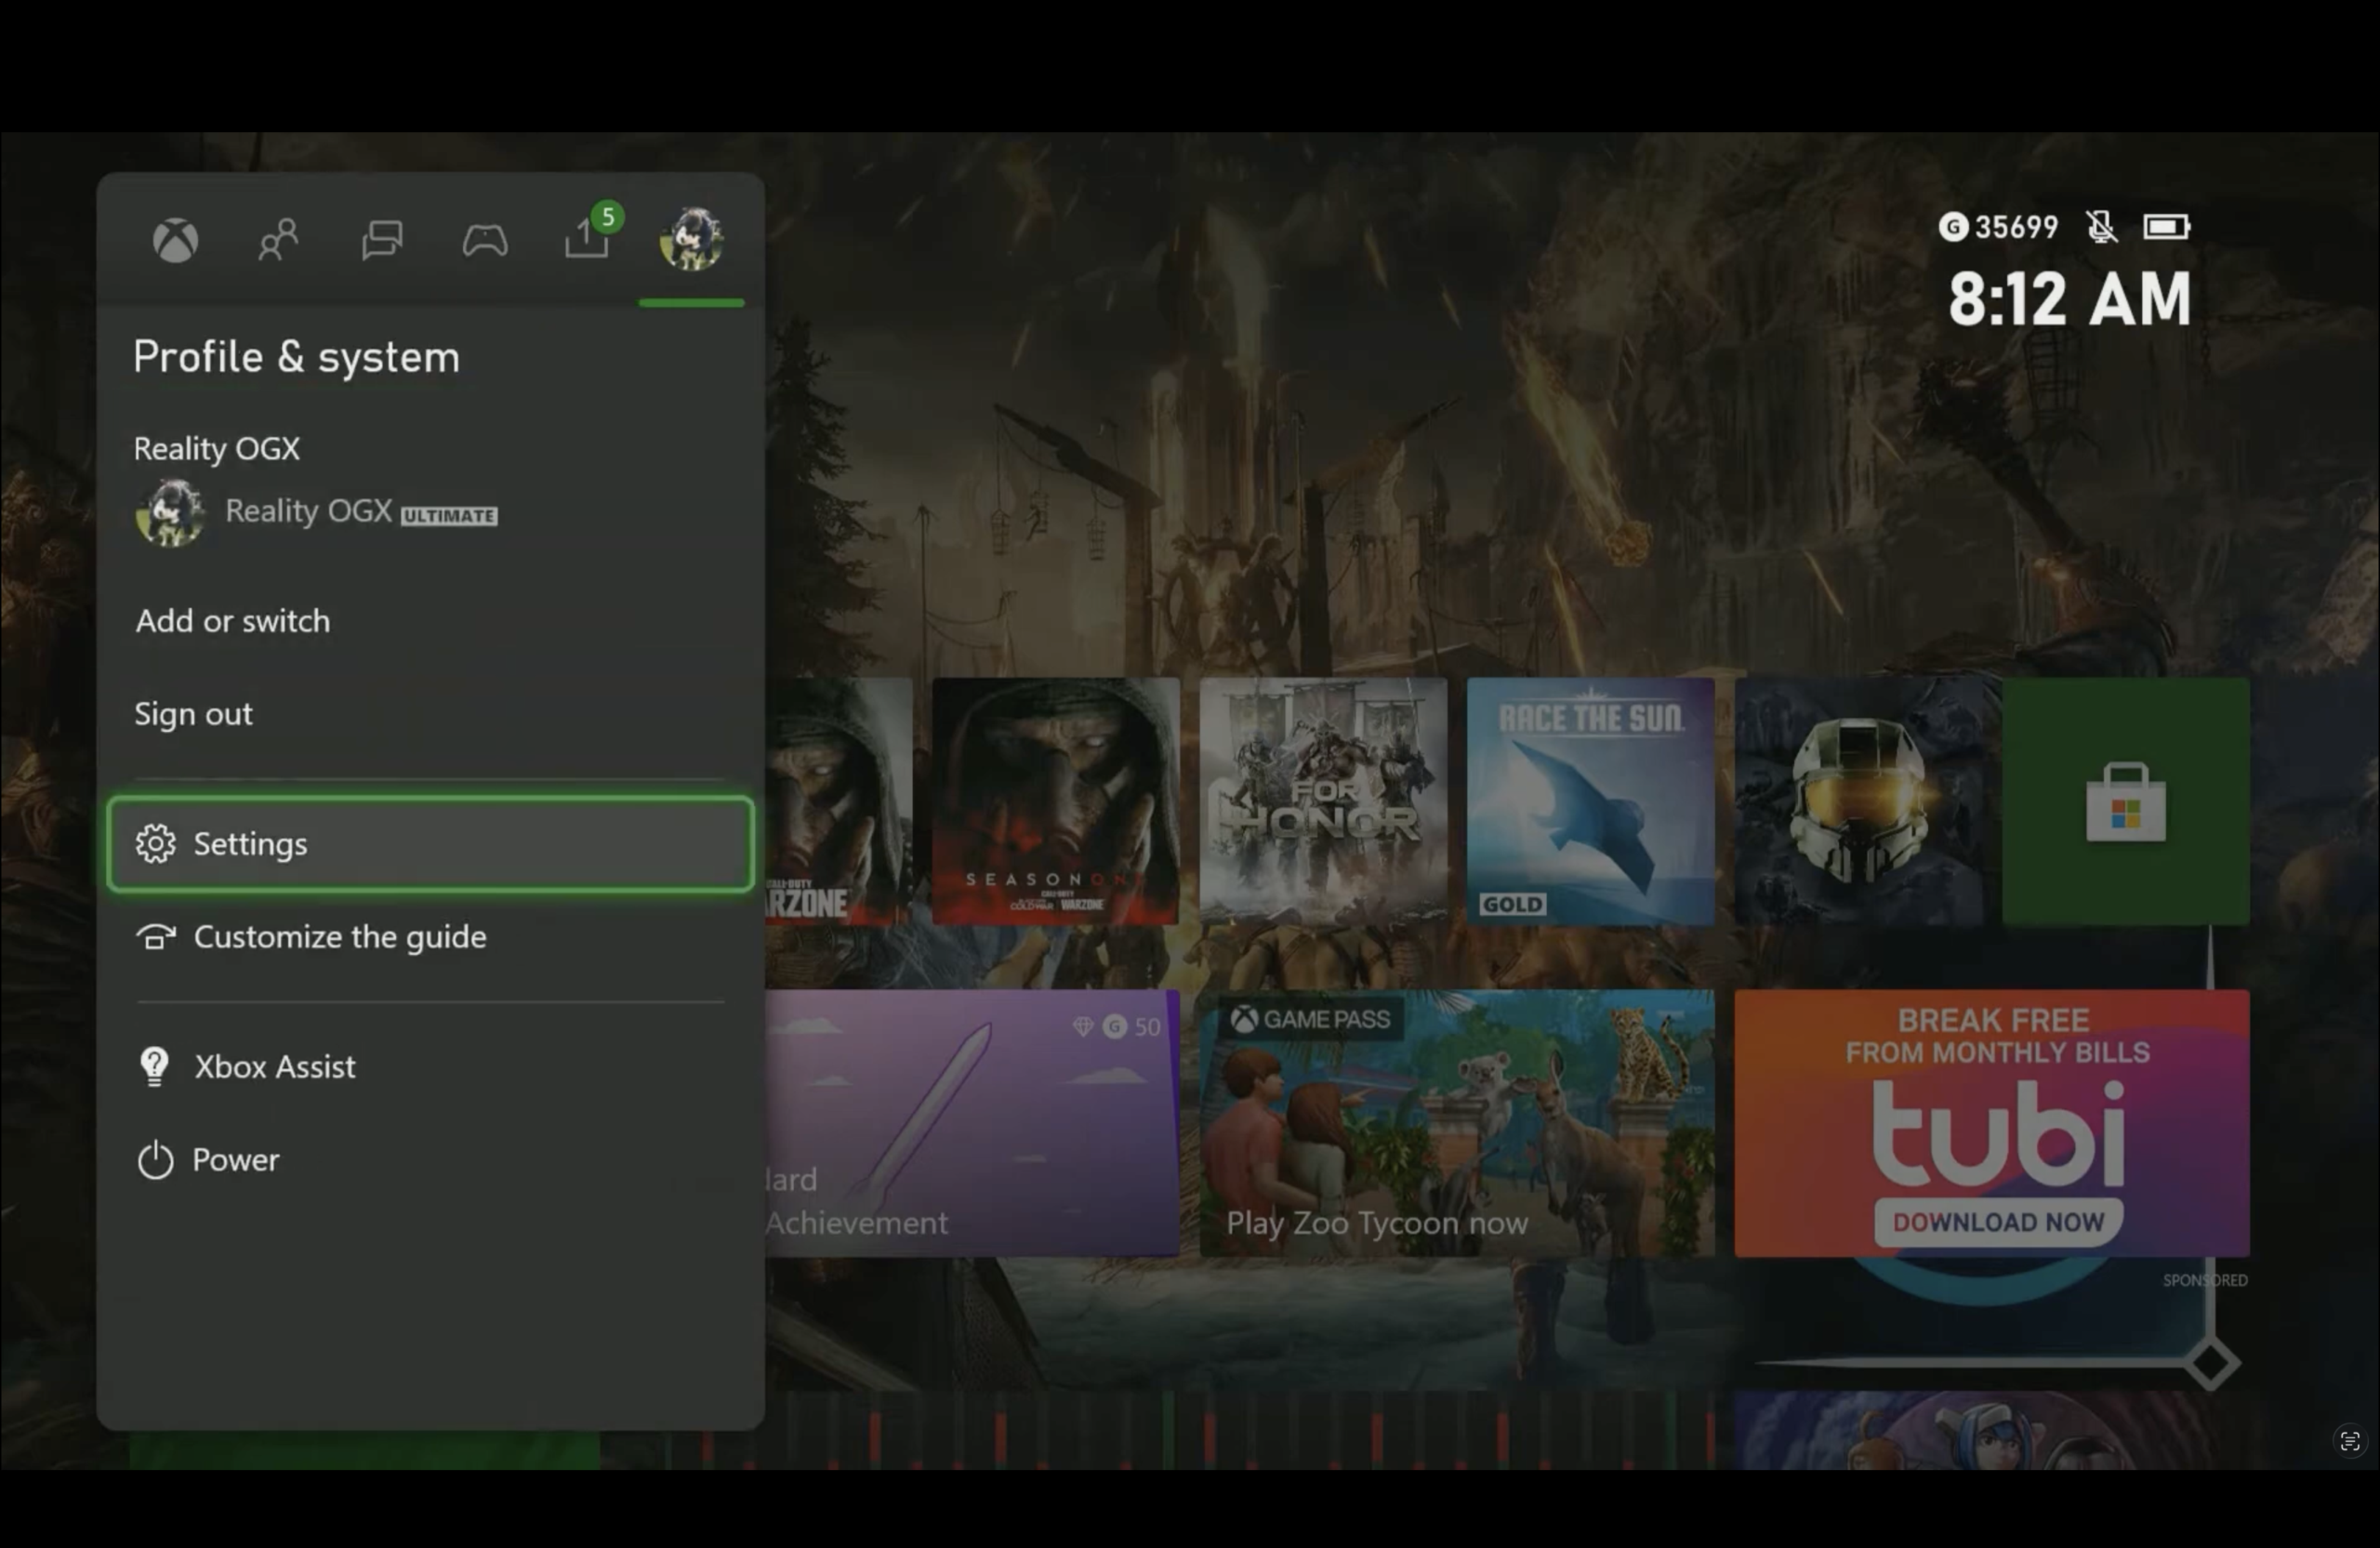
Step 2: Go to Account Settings
- In Settings, select Account on the left sidebar.
- You will see options like Sign-in, security & passkey, Payment & billing, etc.
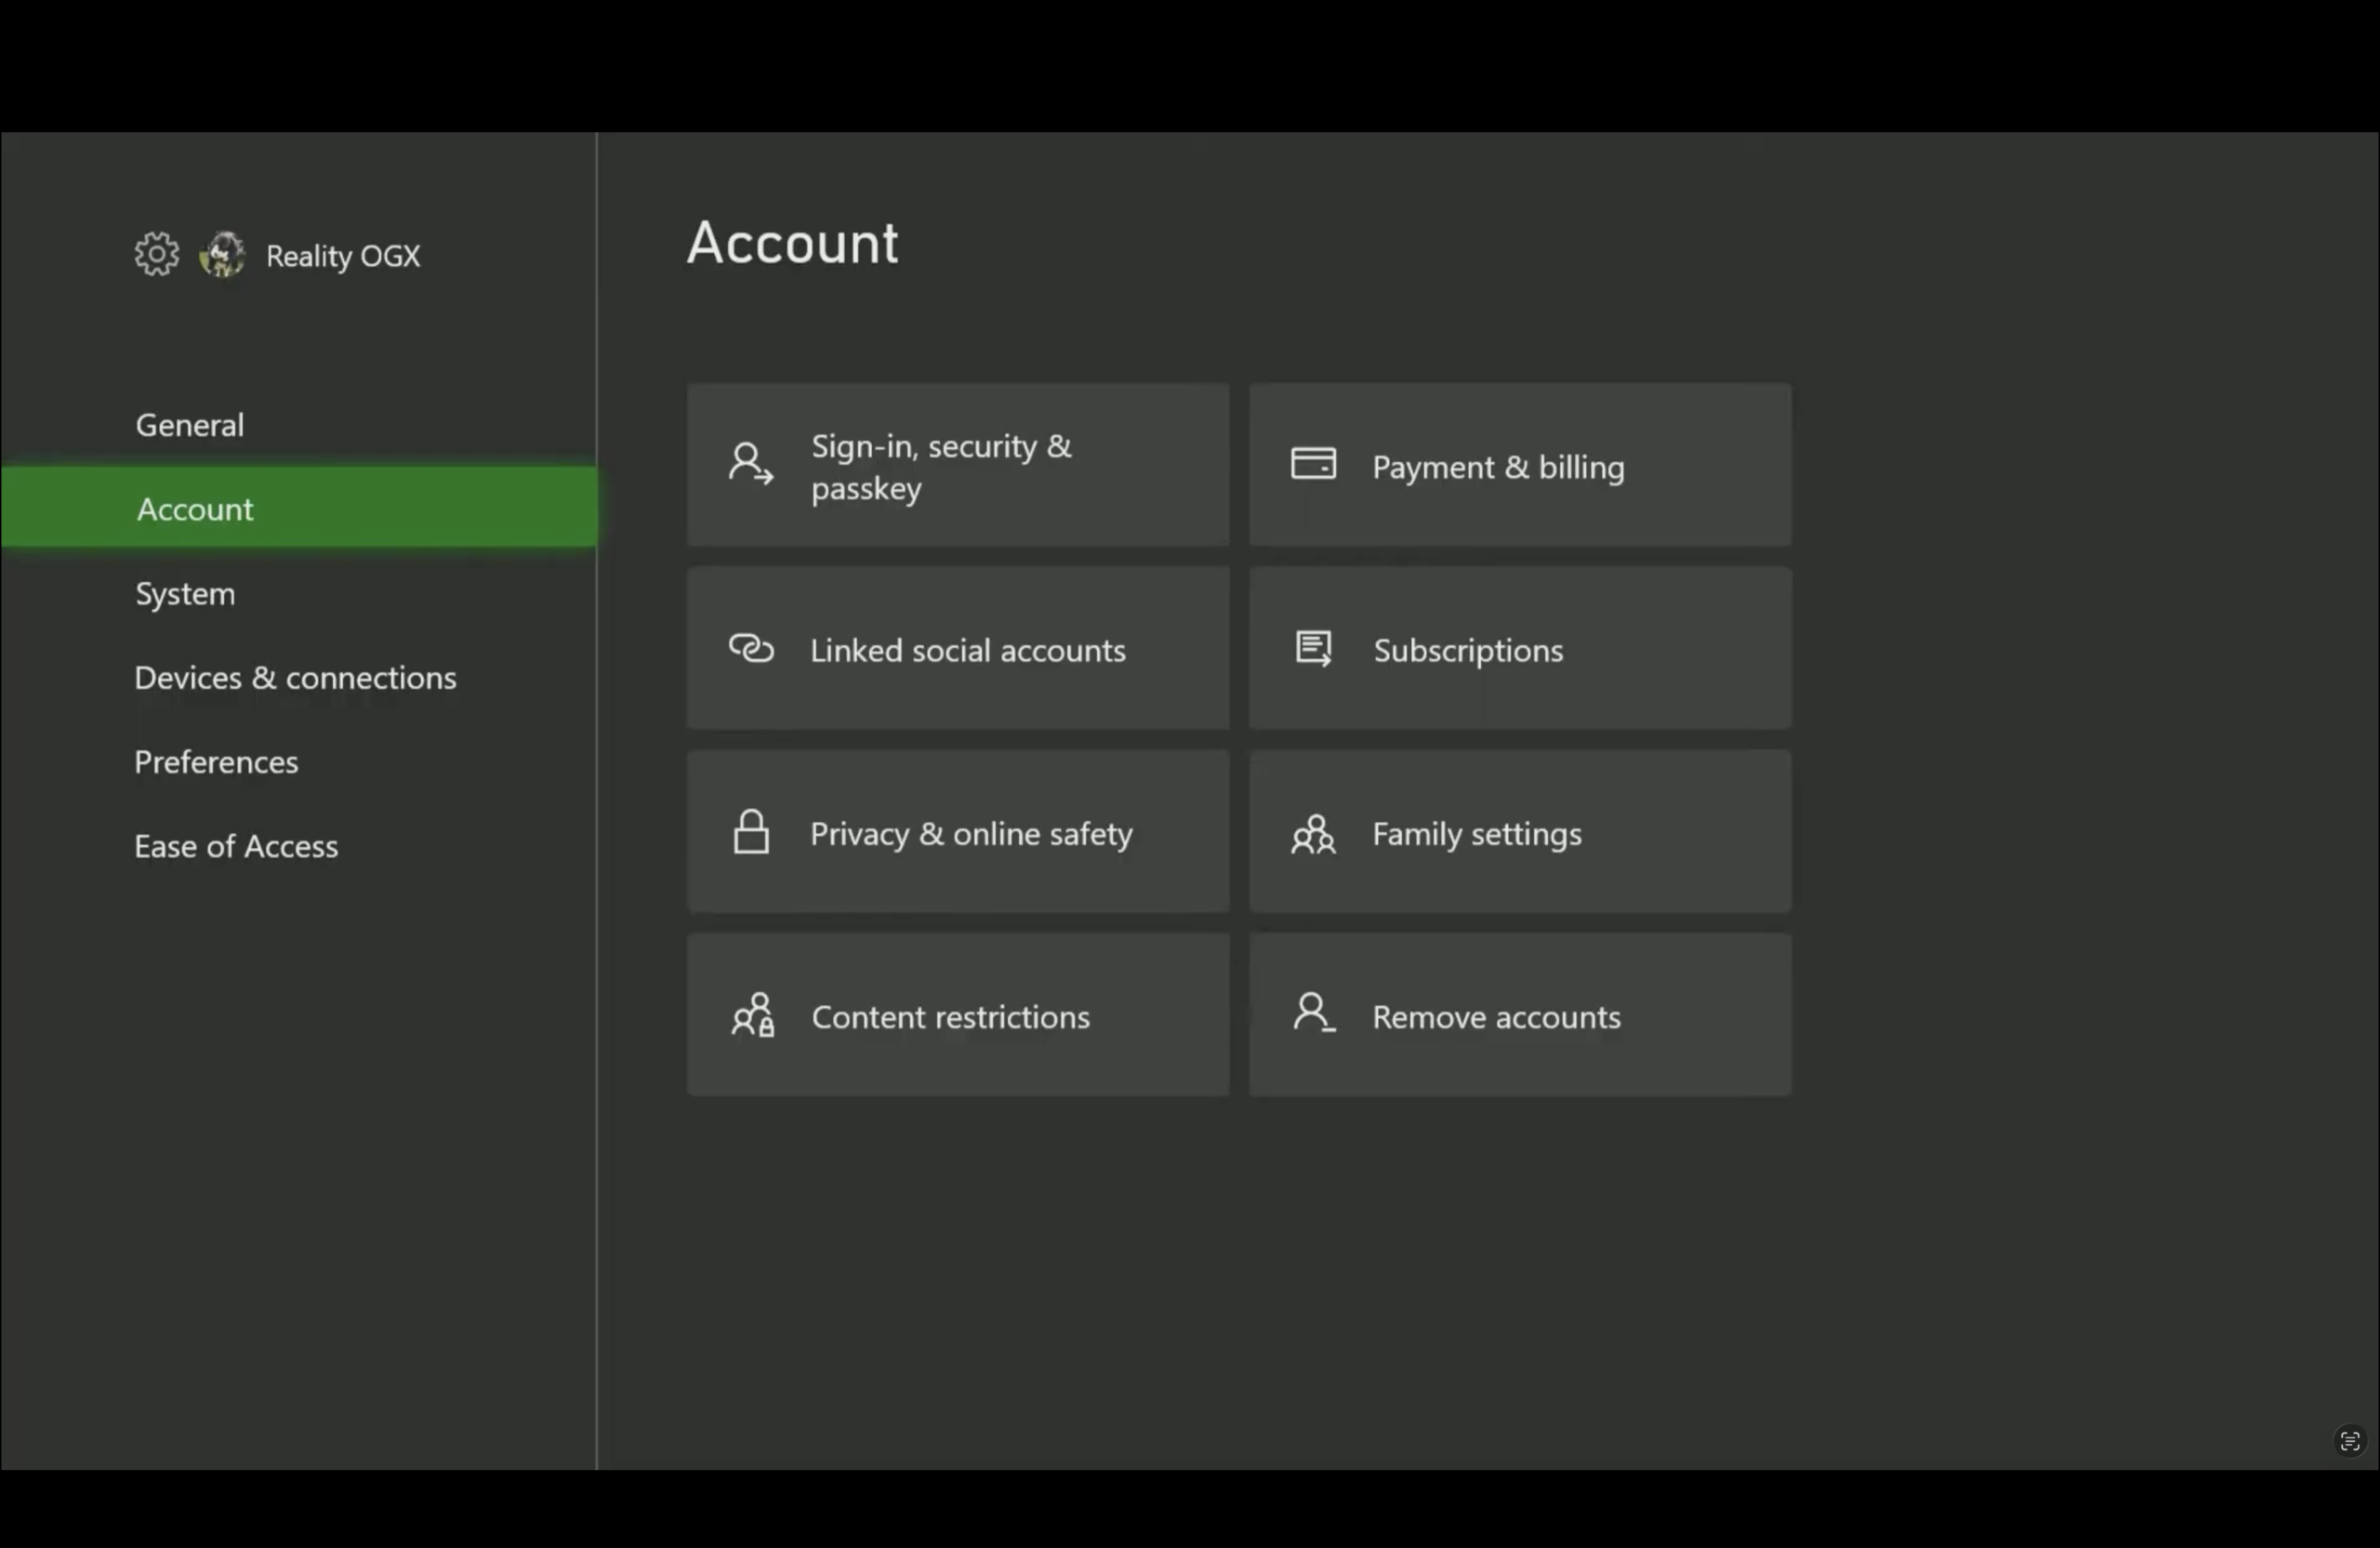
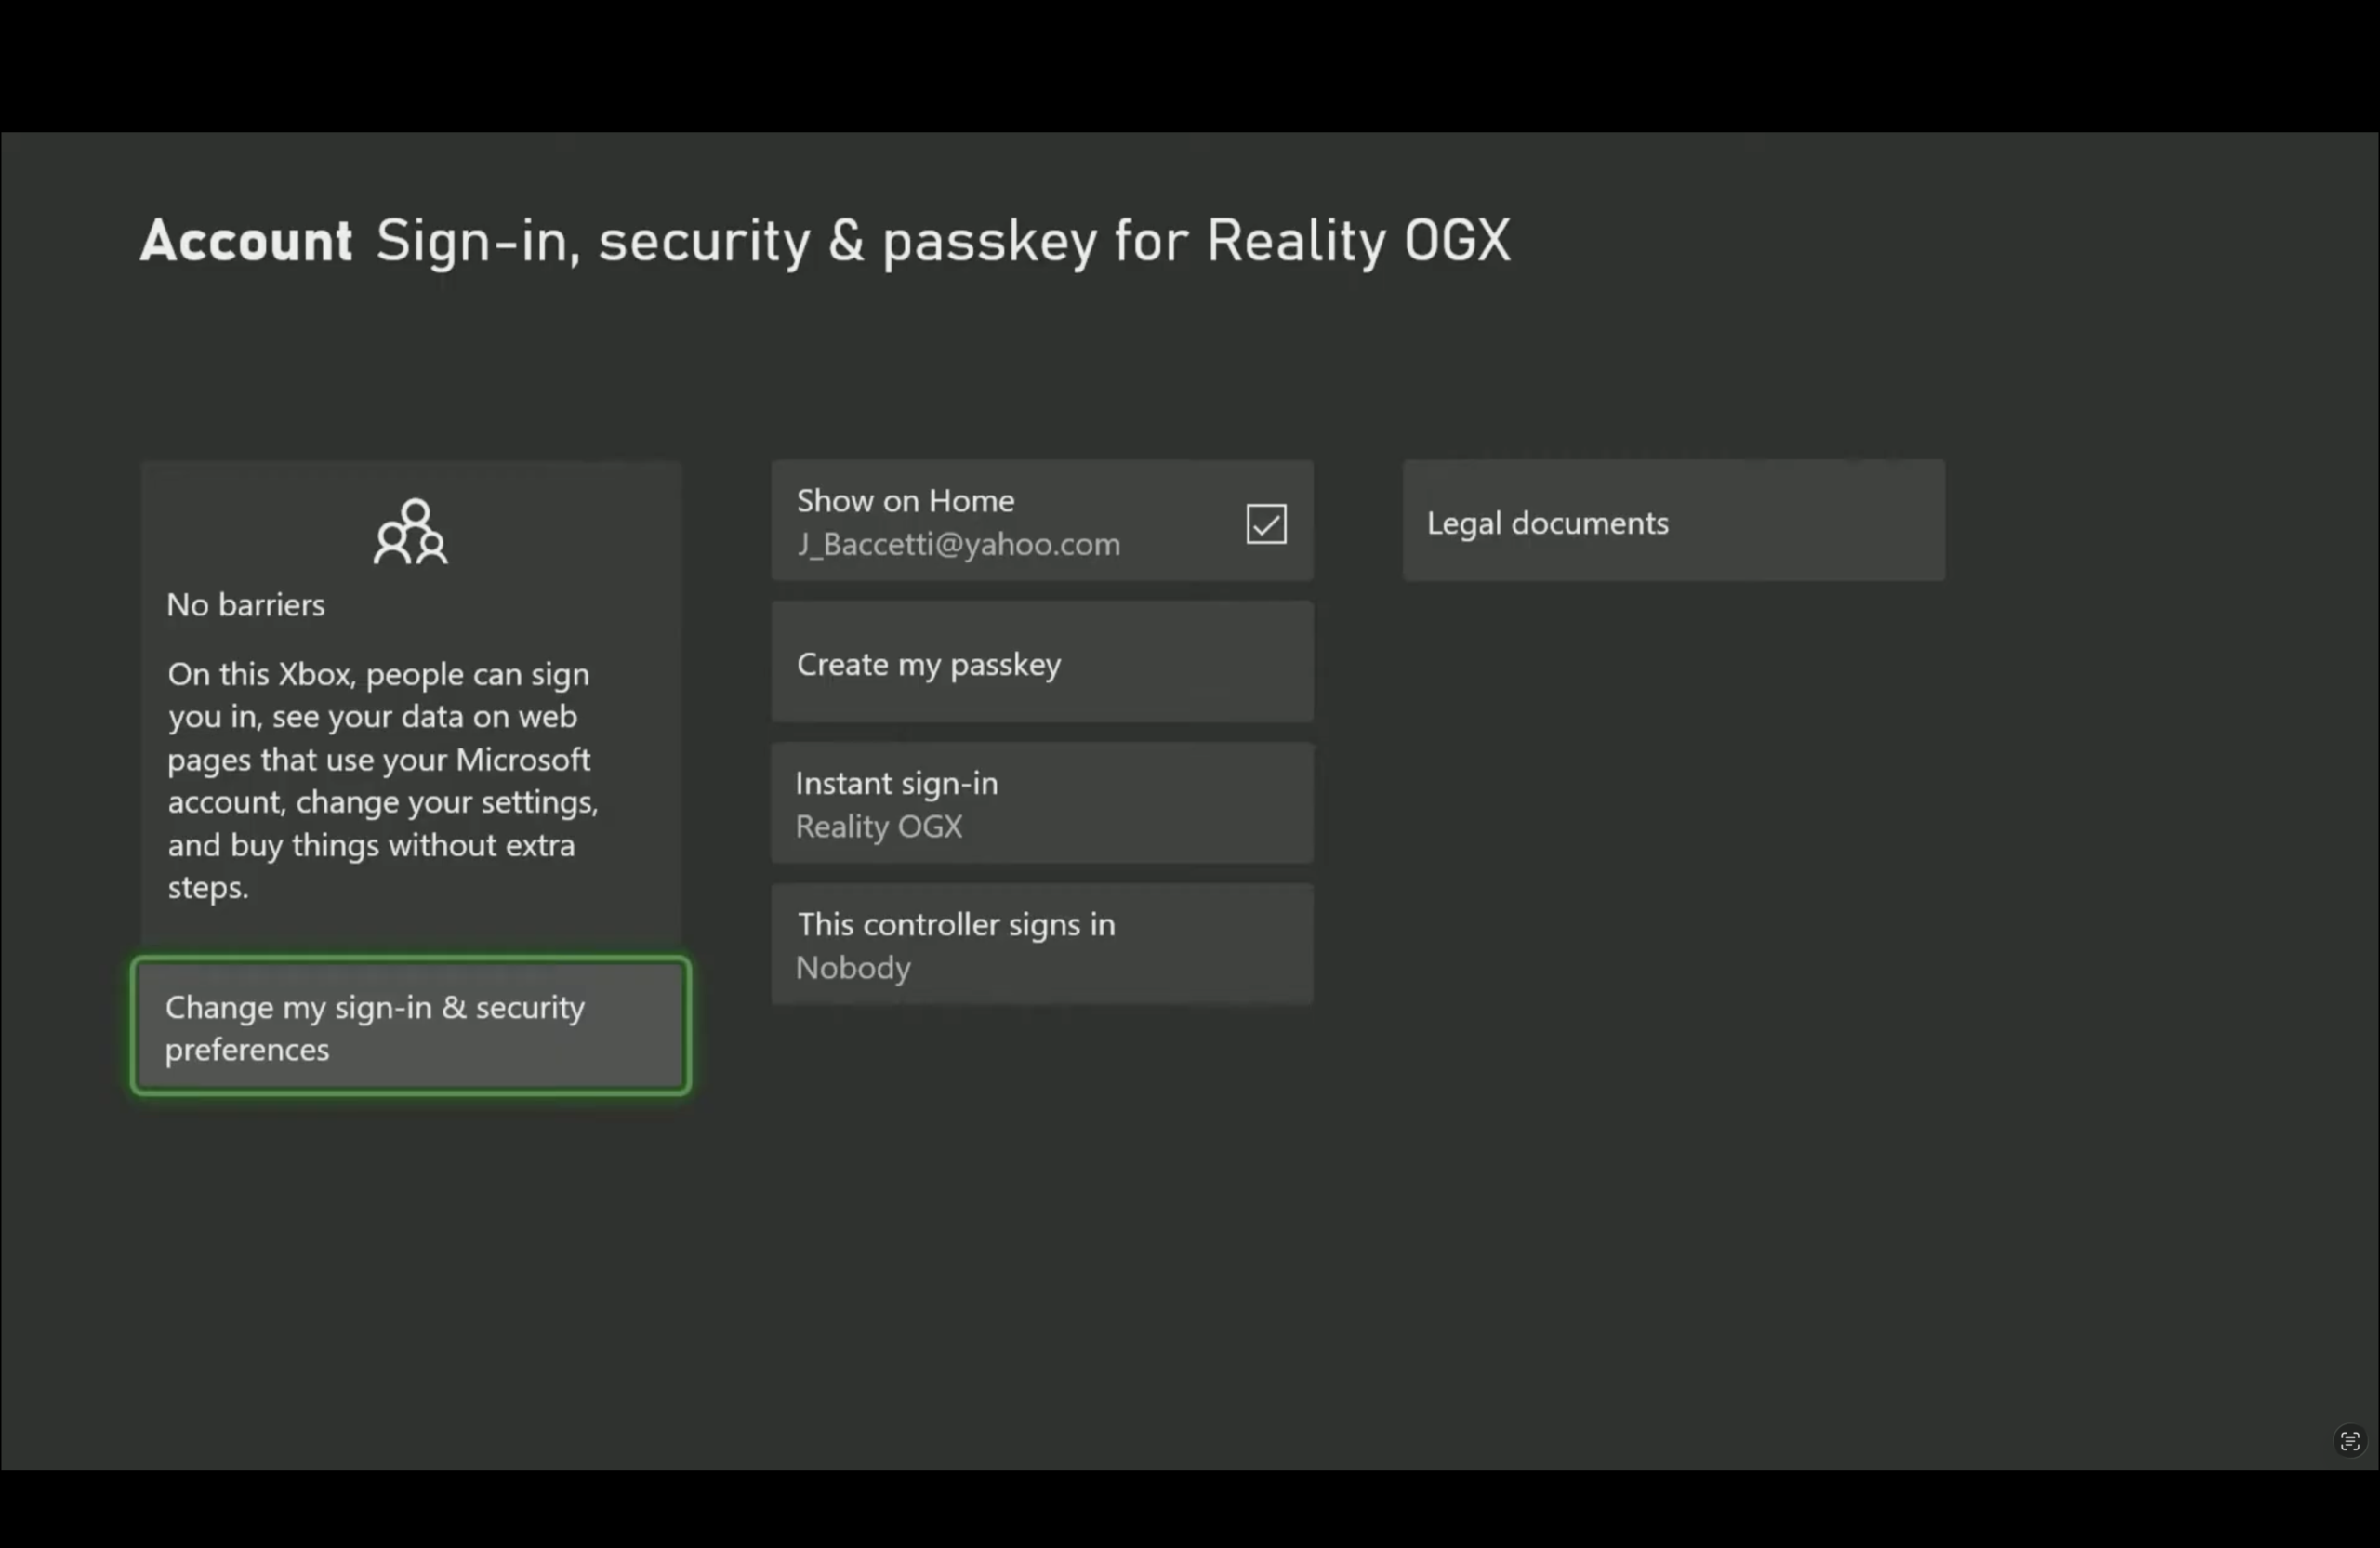
Step 3: Configure Sign-in & Security Preferences
- Select Sign-in, security & passkey .
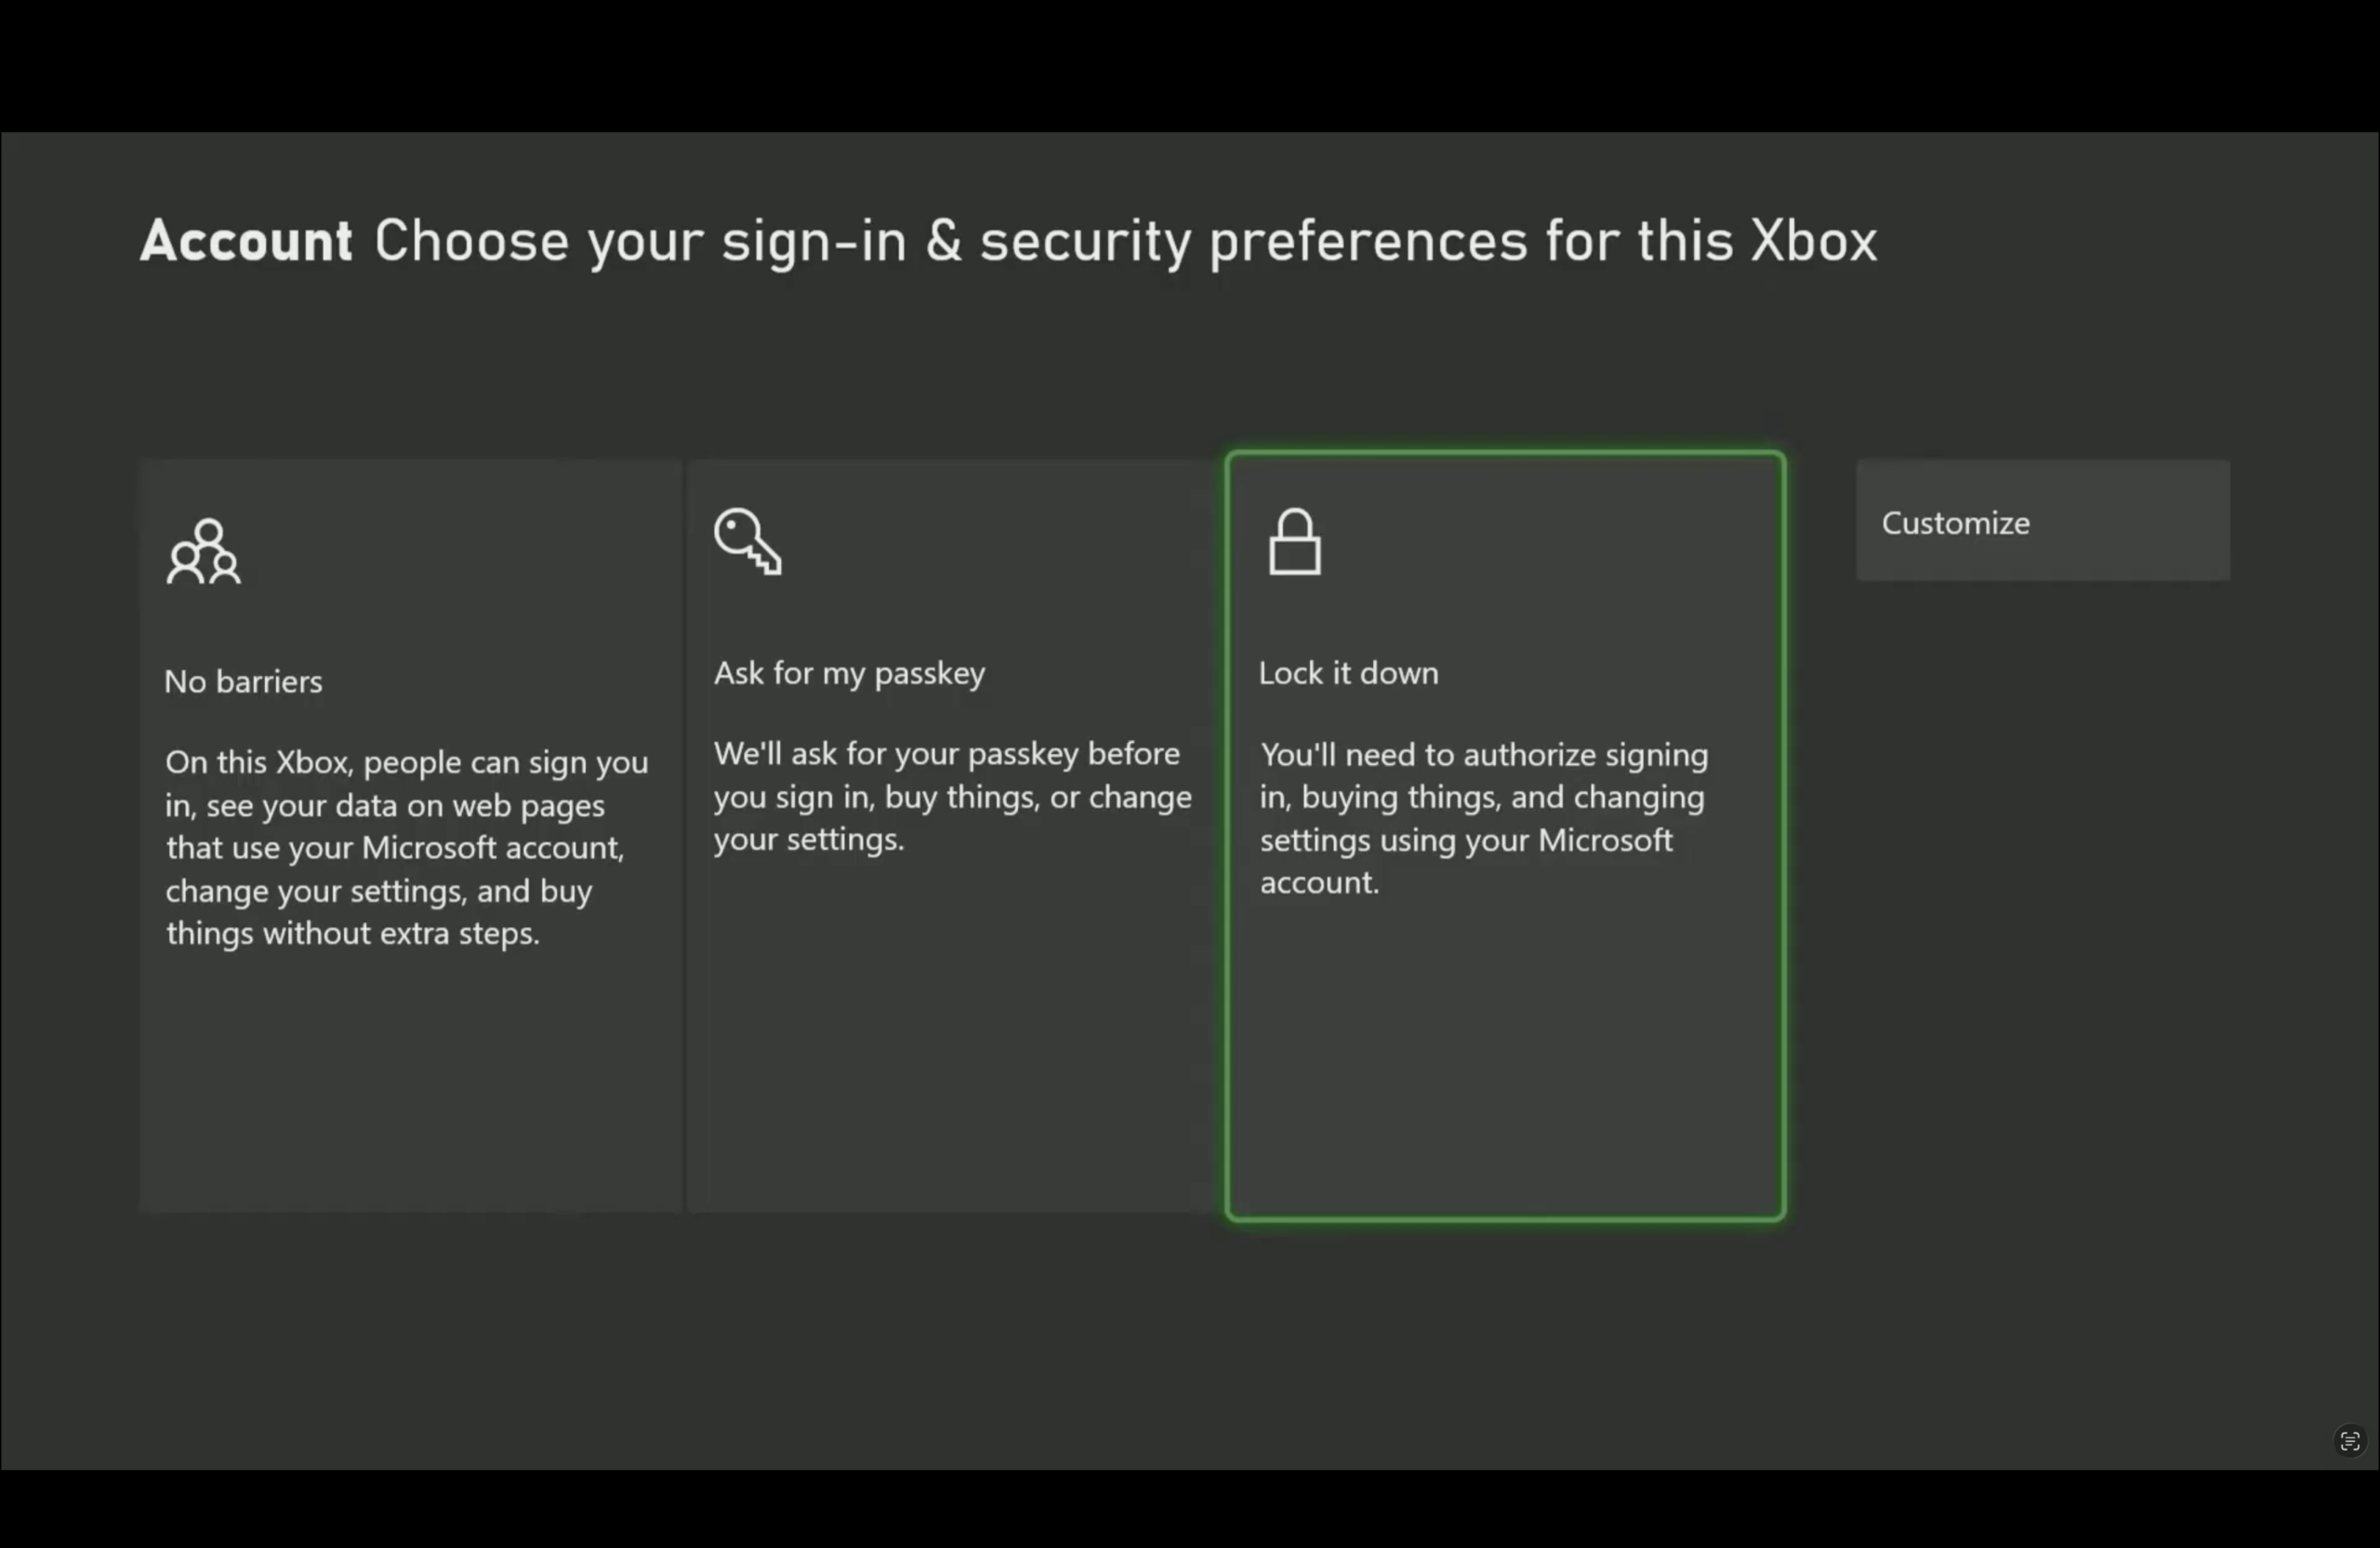
- Choose Change my sign-in & security preferences .
You will see three main options:
- No barriers — Least secure (anyone can sign in and make changes).
- Ask for my passkey — Requires passkey for sign-in, purchases, and settings changes.
- Lock it down — Most secure. Requires Microsoft account authorization for sign-in, purchases, and changes.
- Customize allows you to adjust security settings to fit your family’s needs. From here, you can choose when a passcode is required, control what guest and family accounts can do, and apply more specific privacy and content restrictions than the default options provide.
NINTENDO
How to Set Up and Manage Nintendo Switch Parental Controls
Step 1
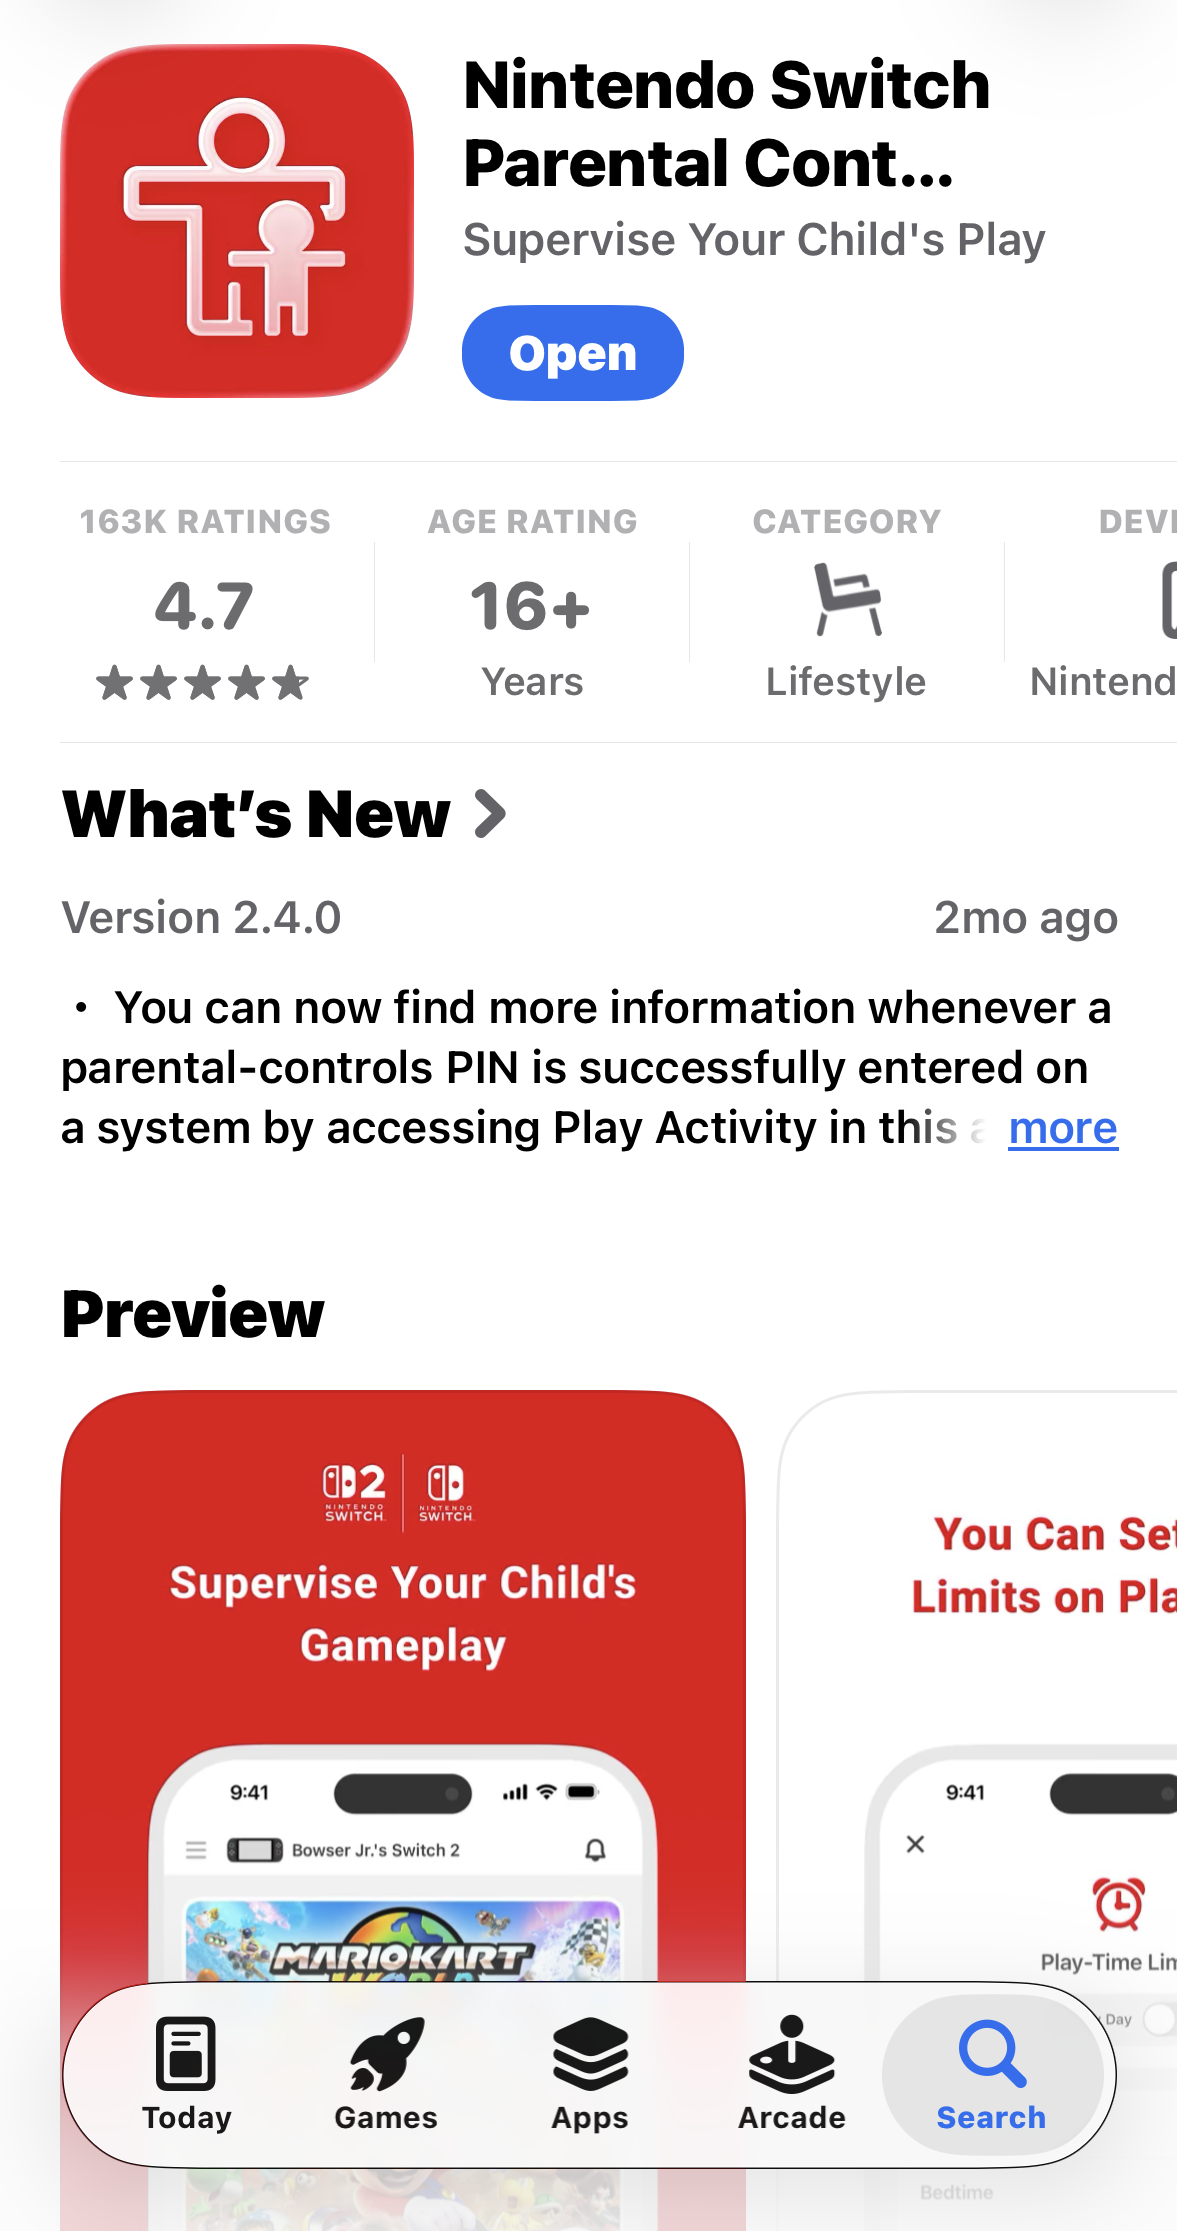
Download the Nintendo Switch Parental Controls app on your iOS or Android device.
Step 2
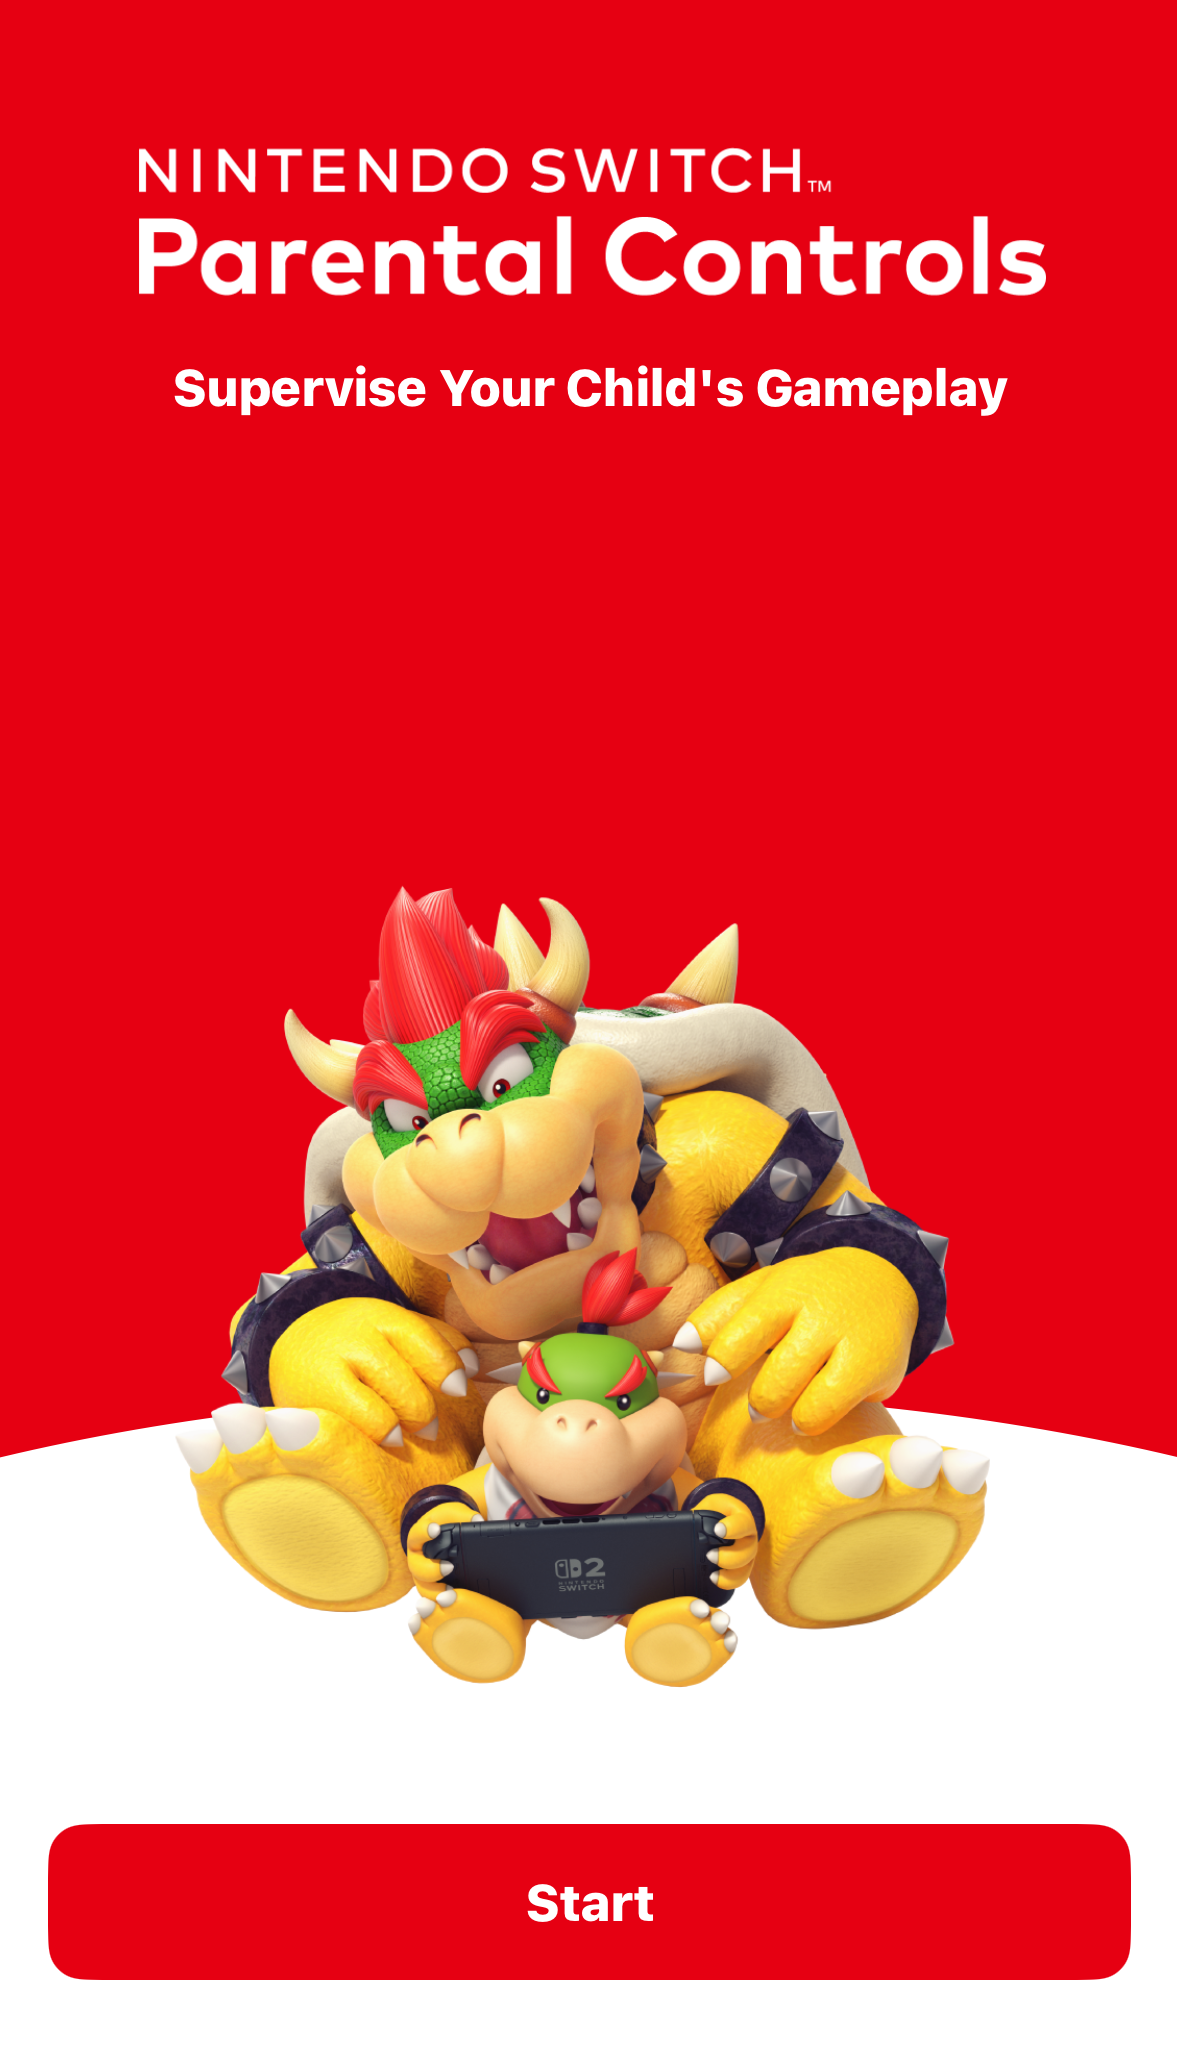
On your smart device, open the Nintendo Switch Parental Controls app and select Start on the title screen.
Step 3
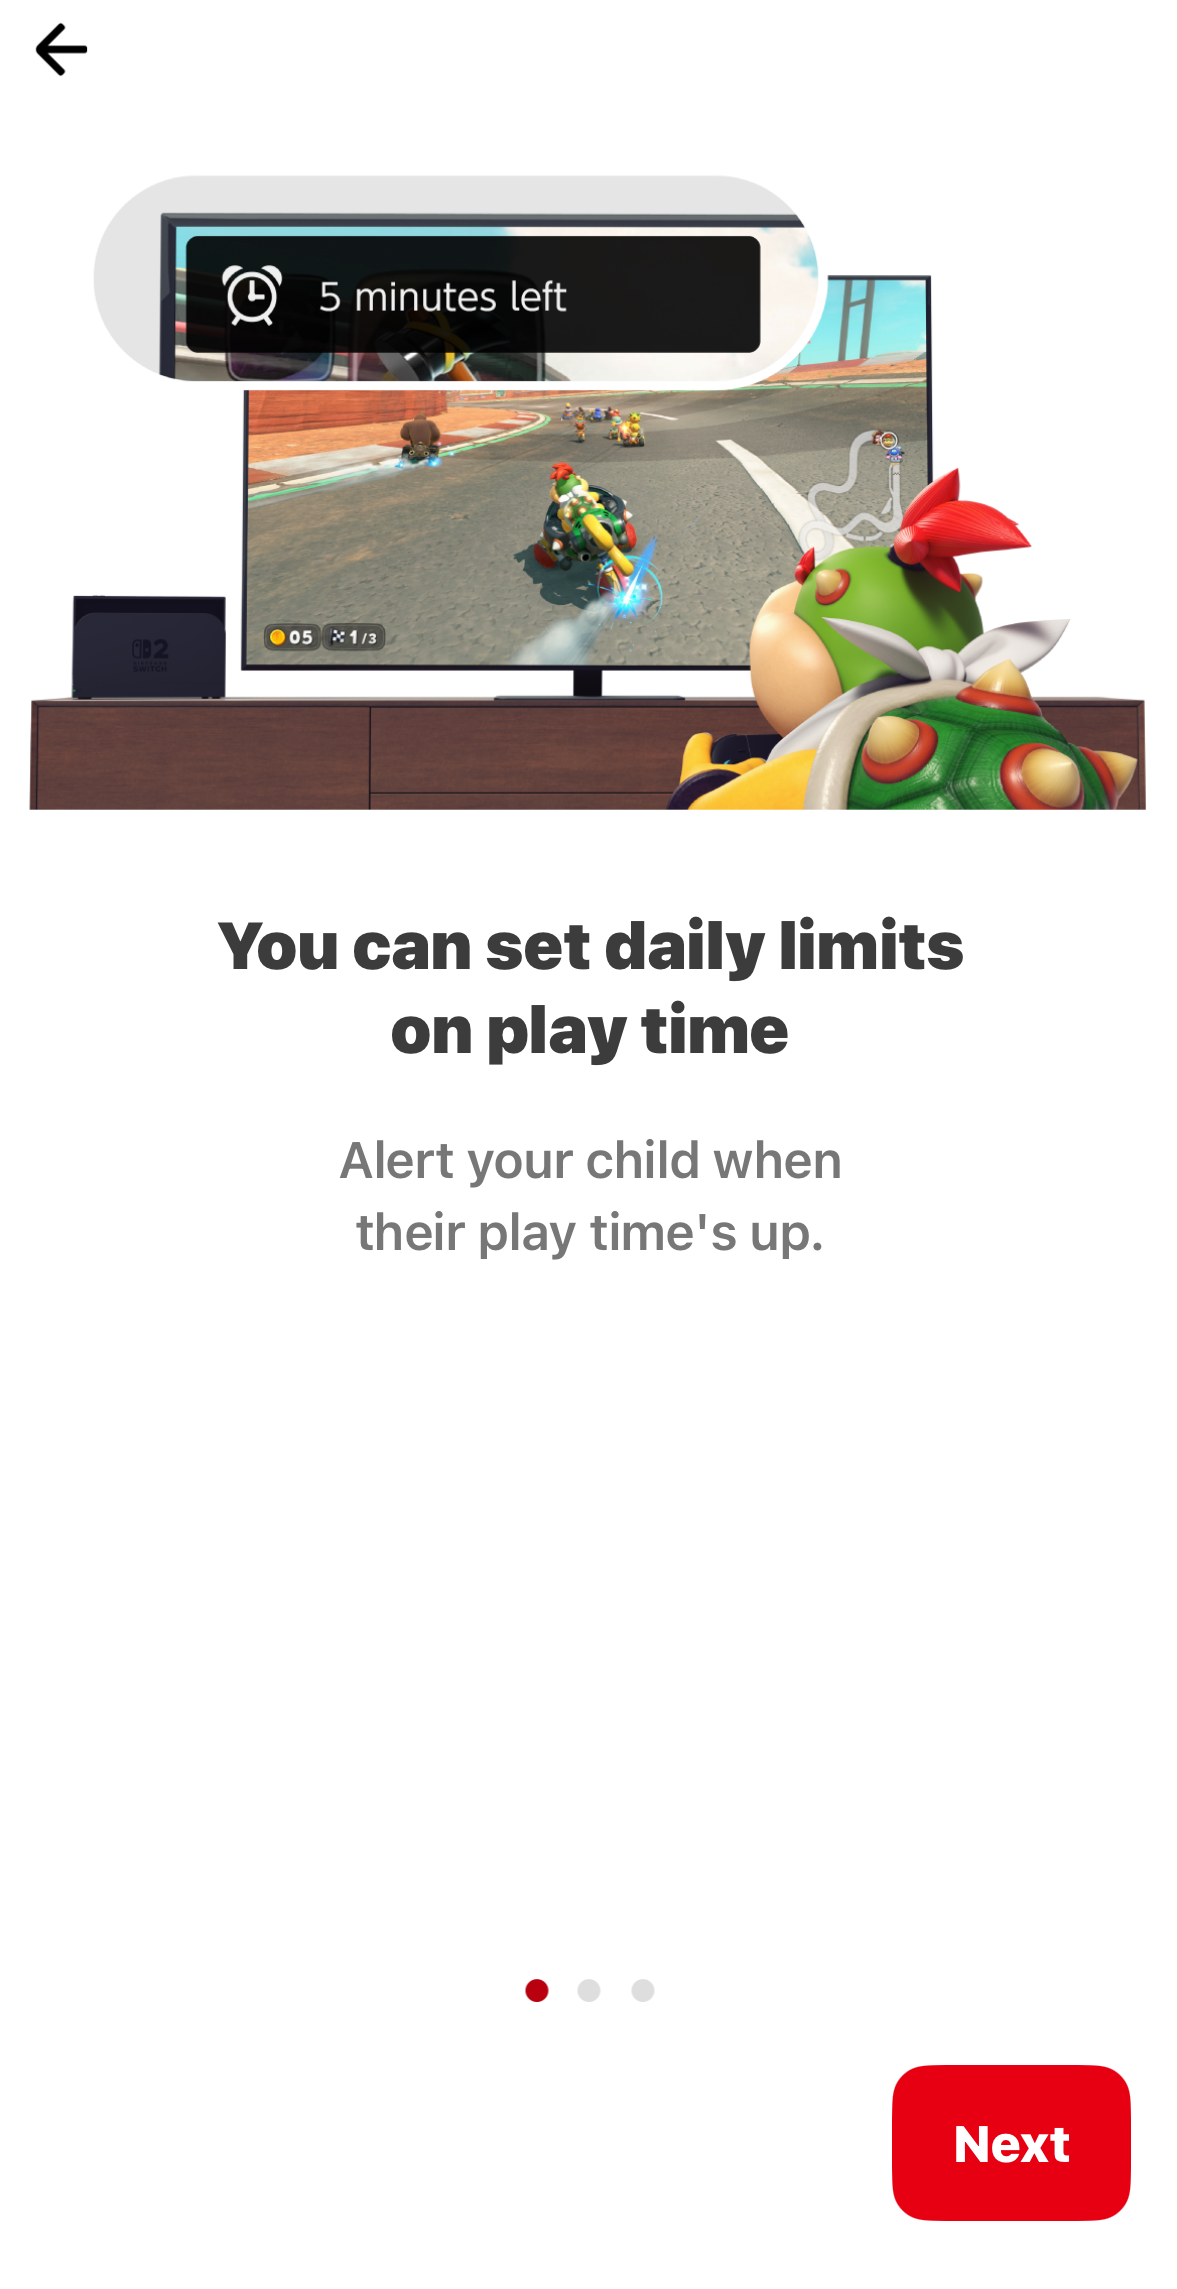
Review the overview information and select Next .
Step 4
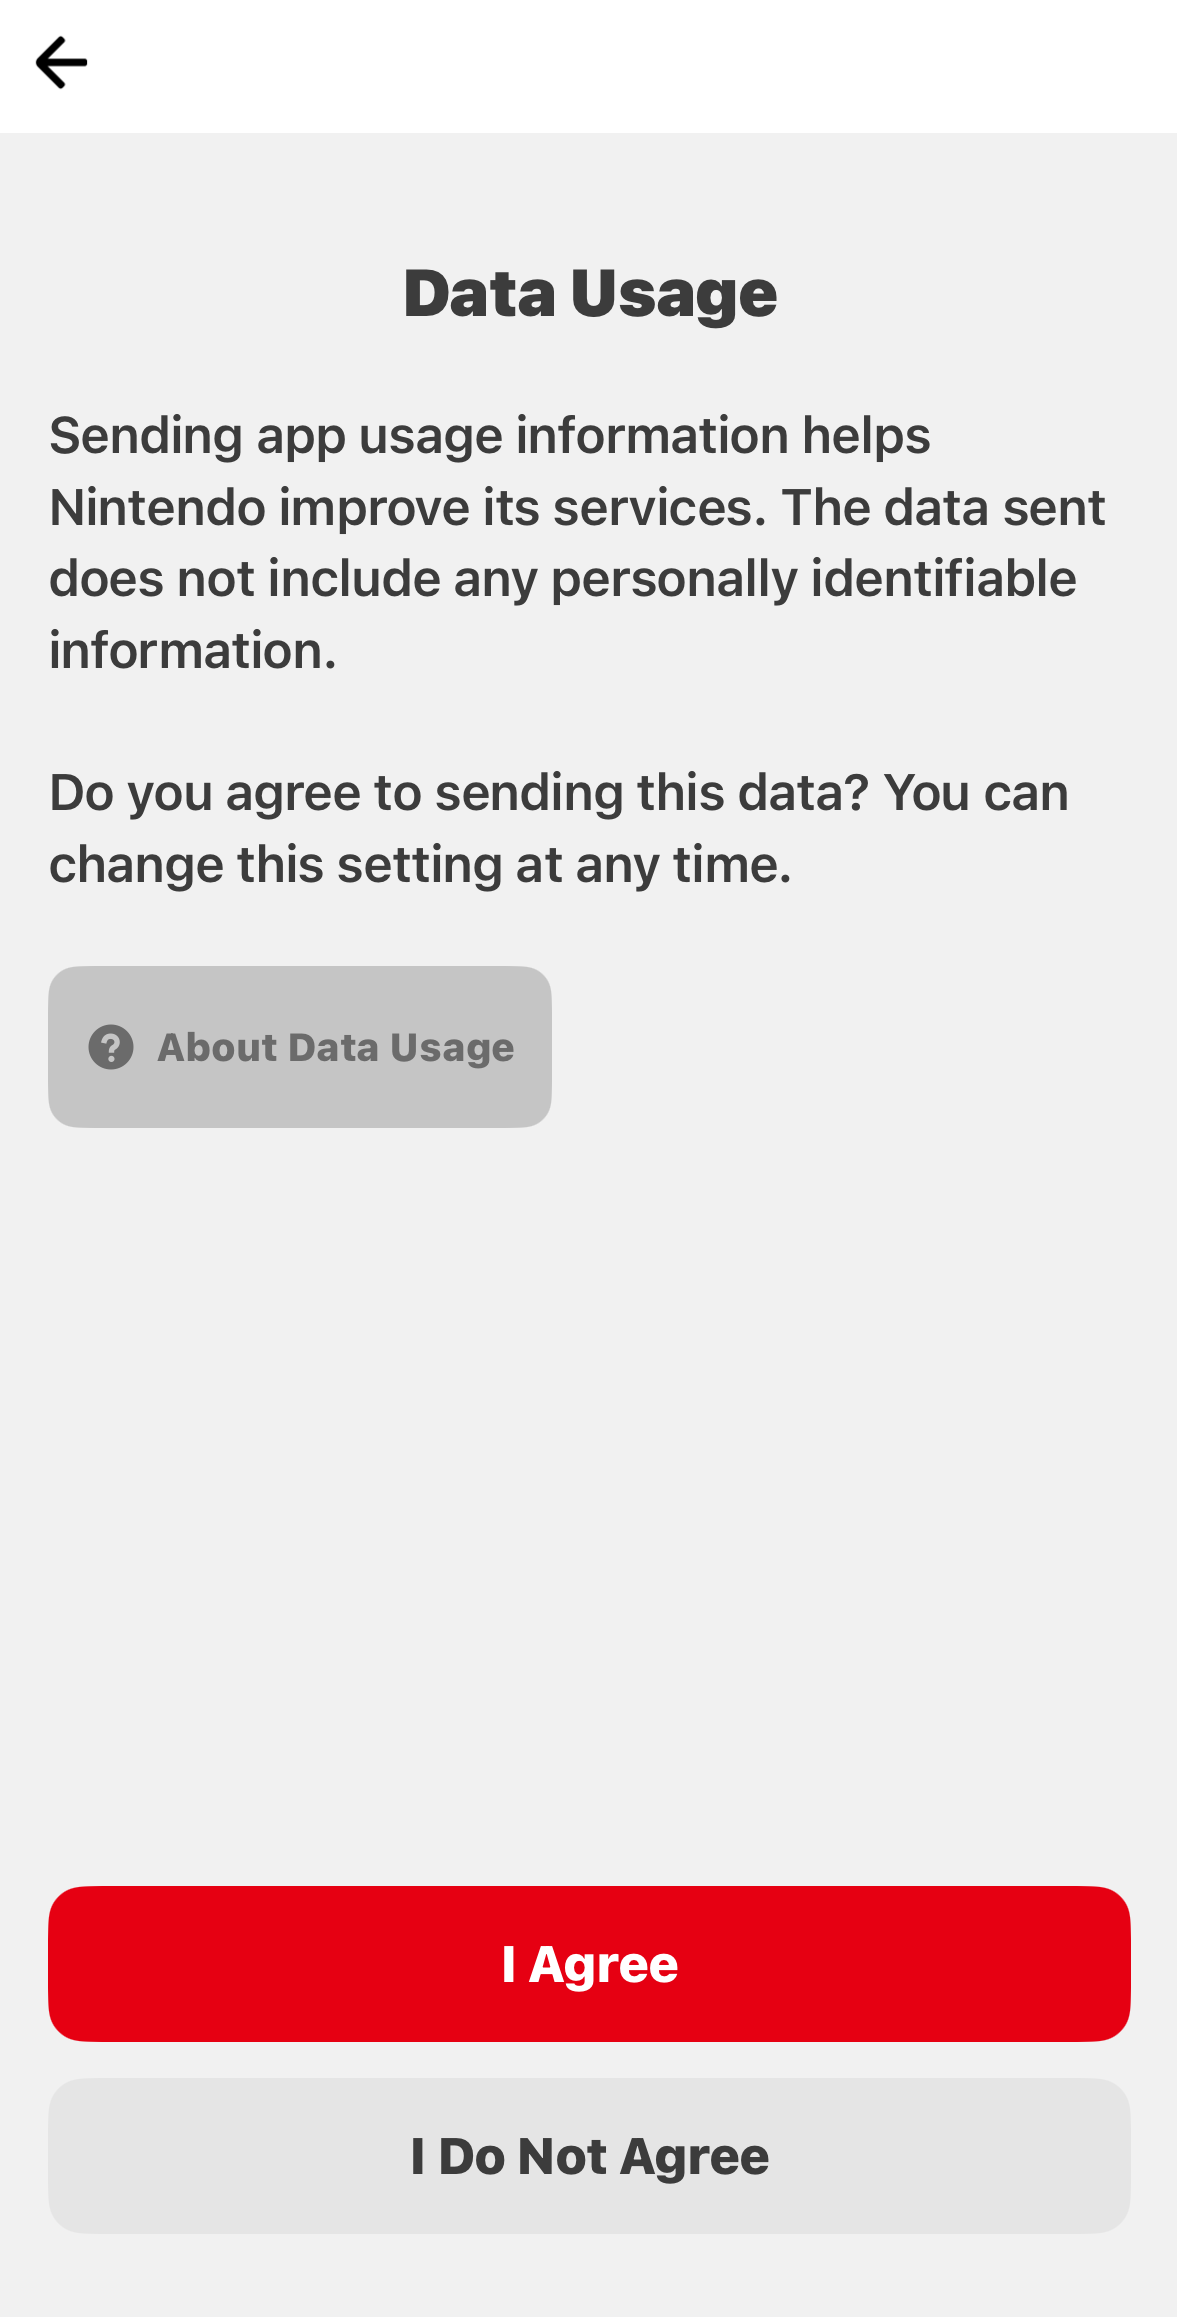
Decide if you’d like to send usage data for the app, then select either Send Data or Don’t Send .
Step 5
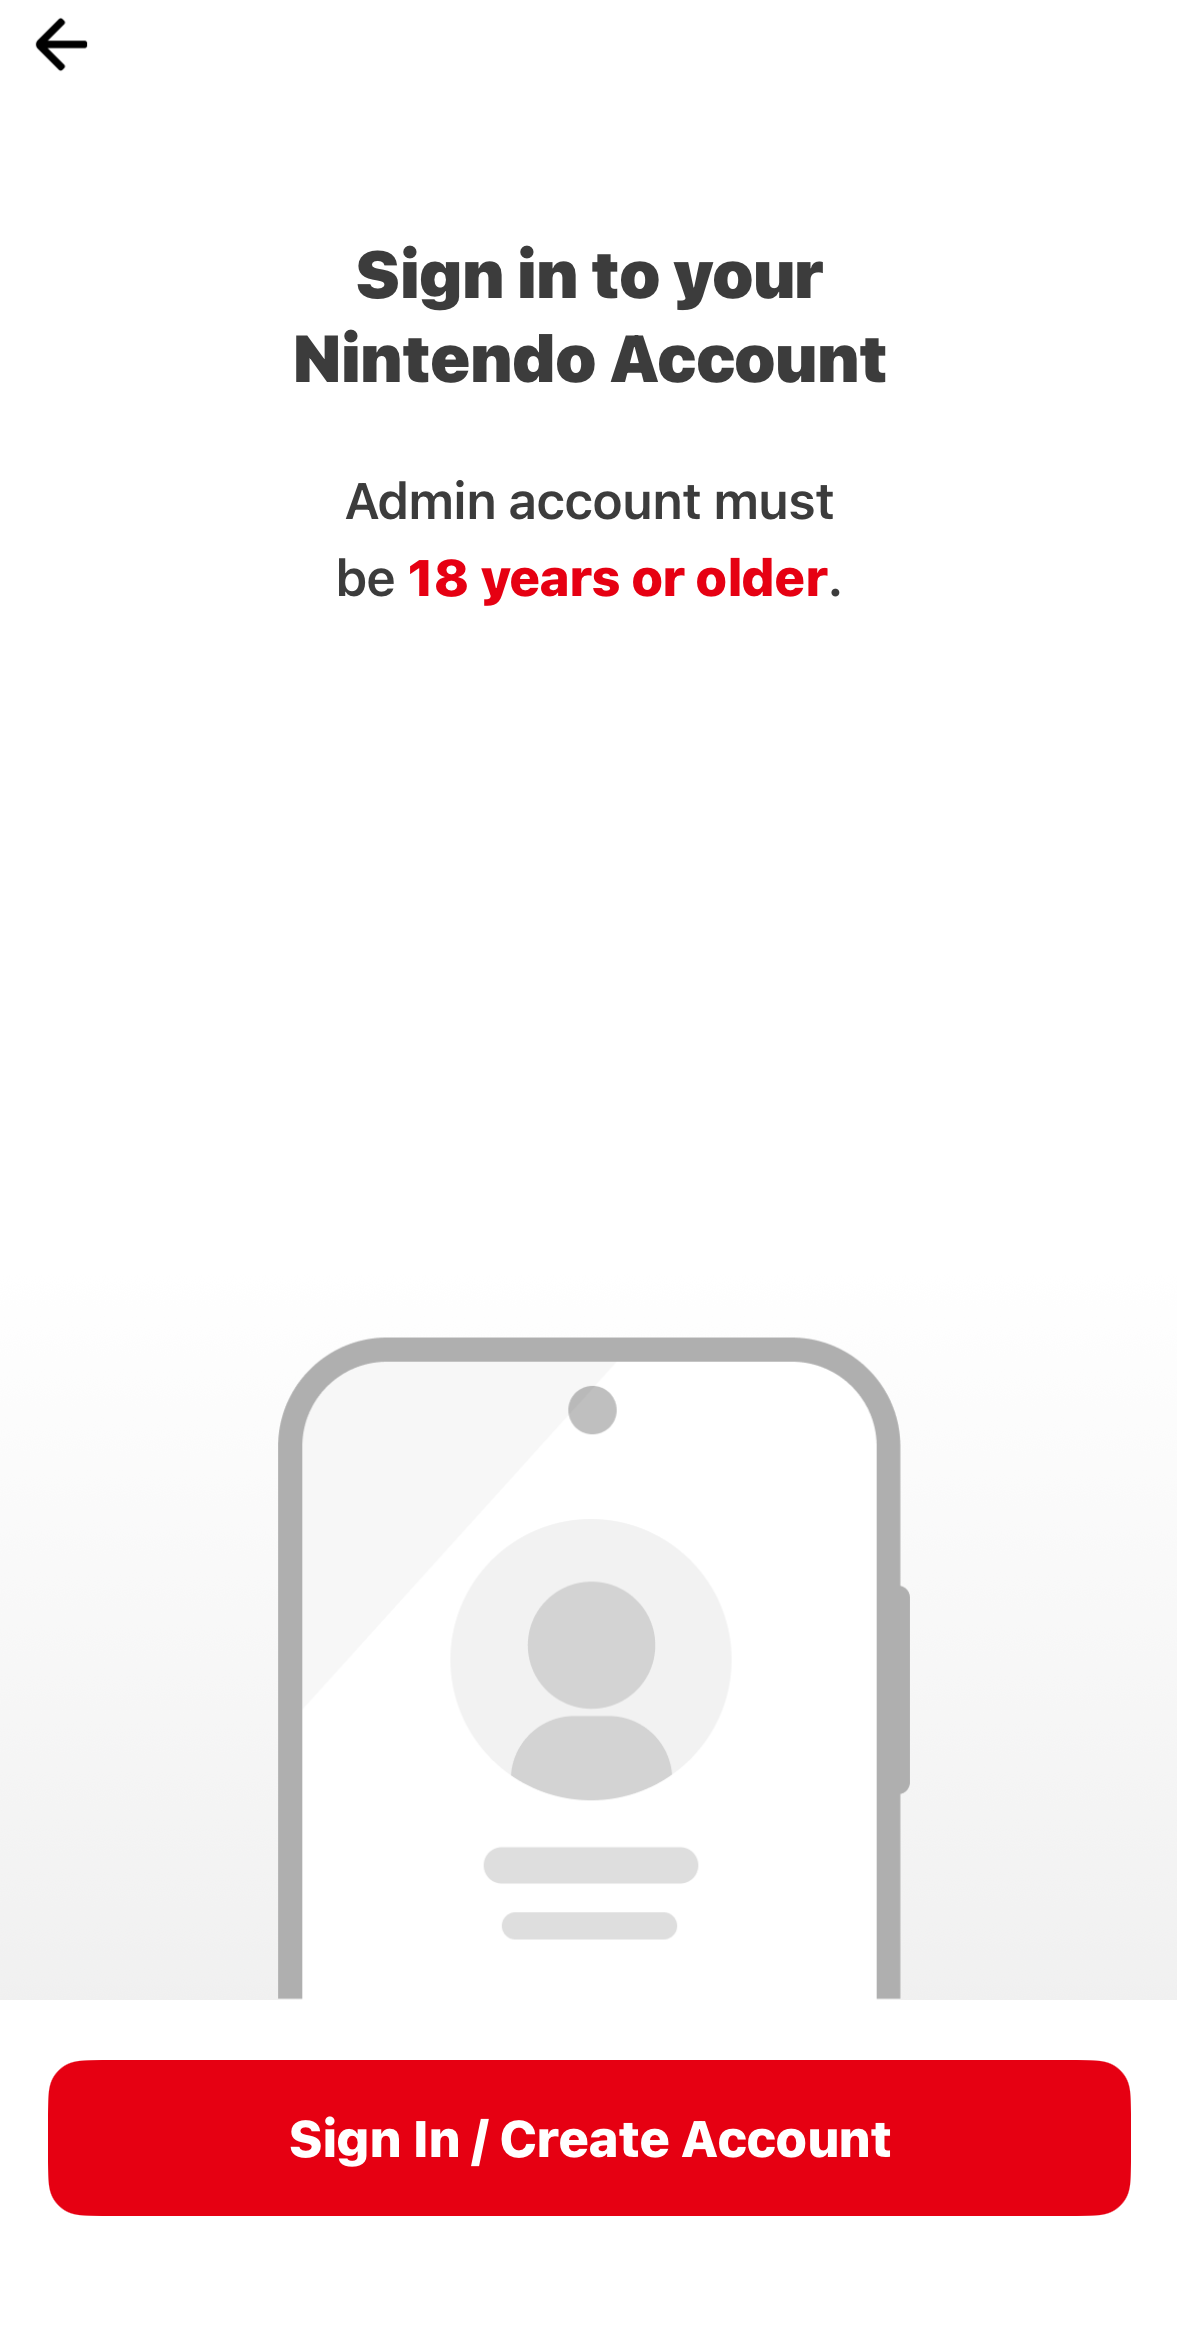
Tap Sign In / Create Account . The application will launch http://accounts.nintendo.com in the device’s Internet browser.
Step 6
Sign in to your existing Nintendo Account or create a new one.
Step 7
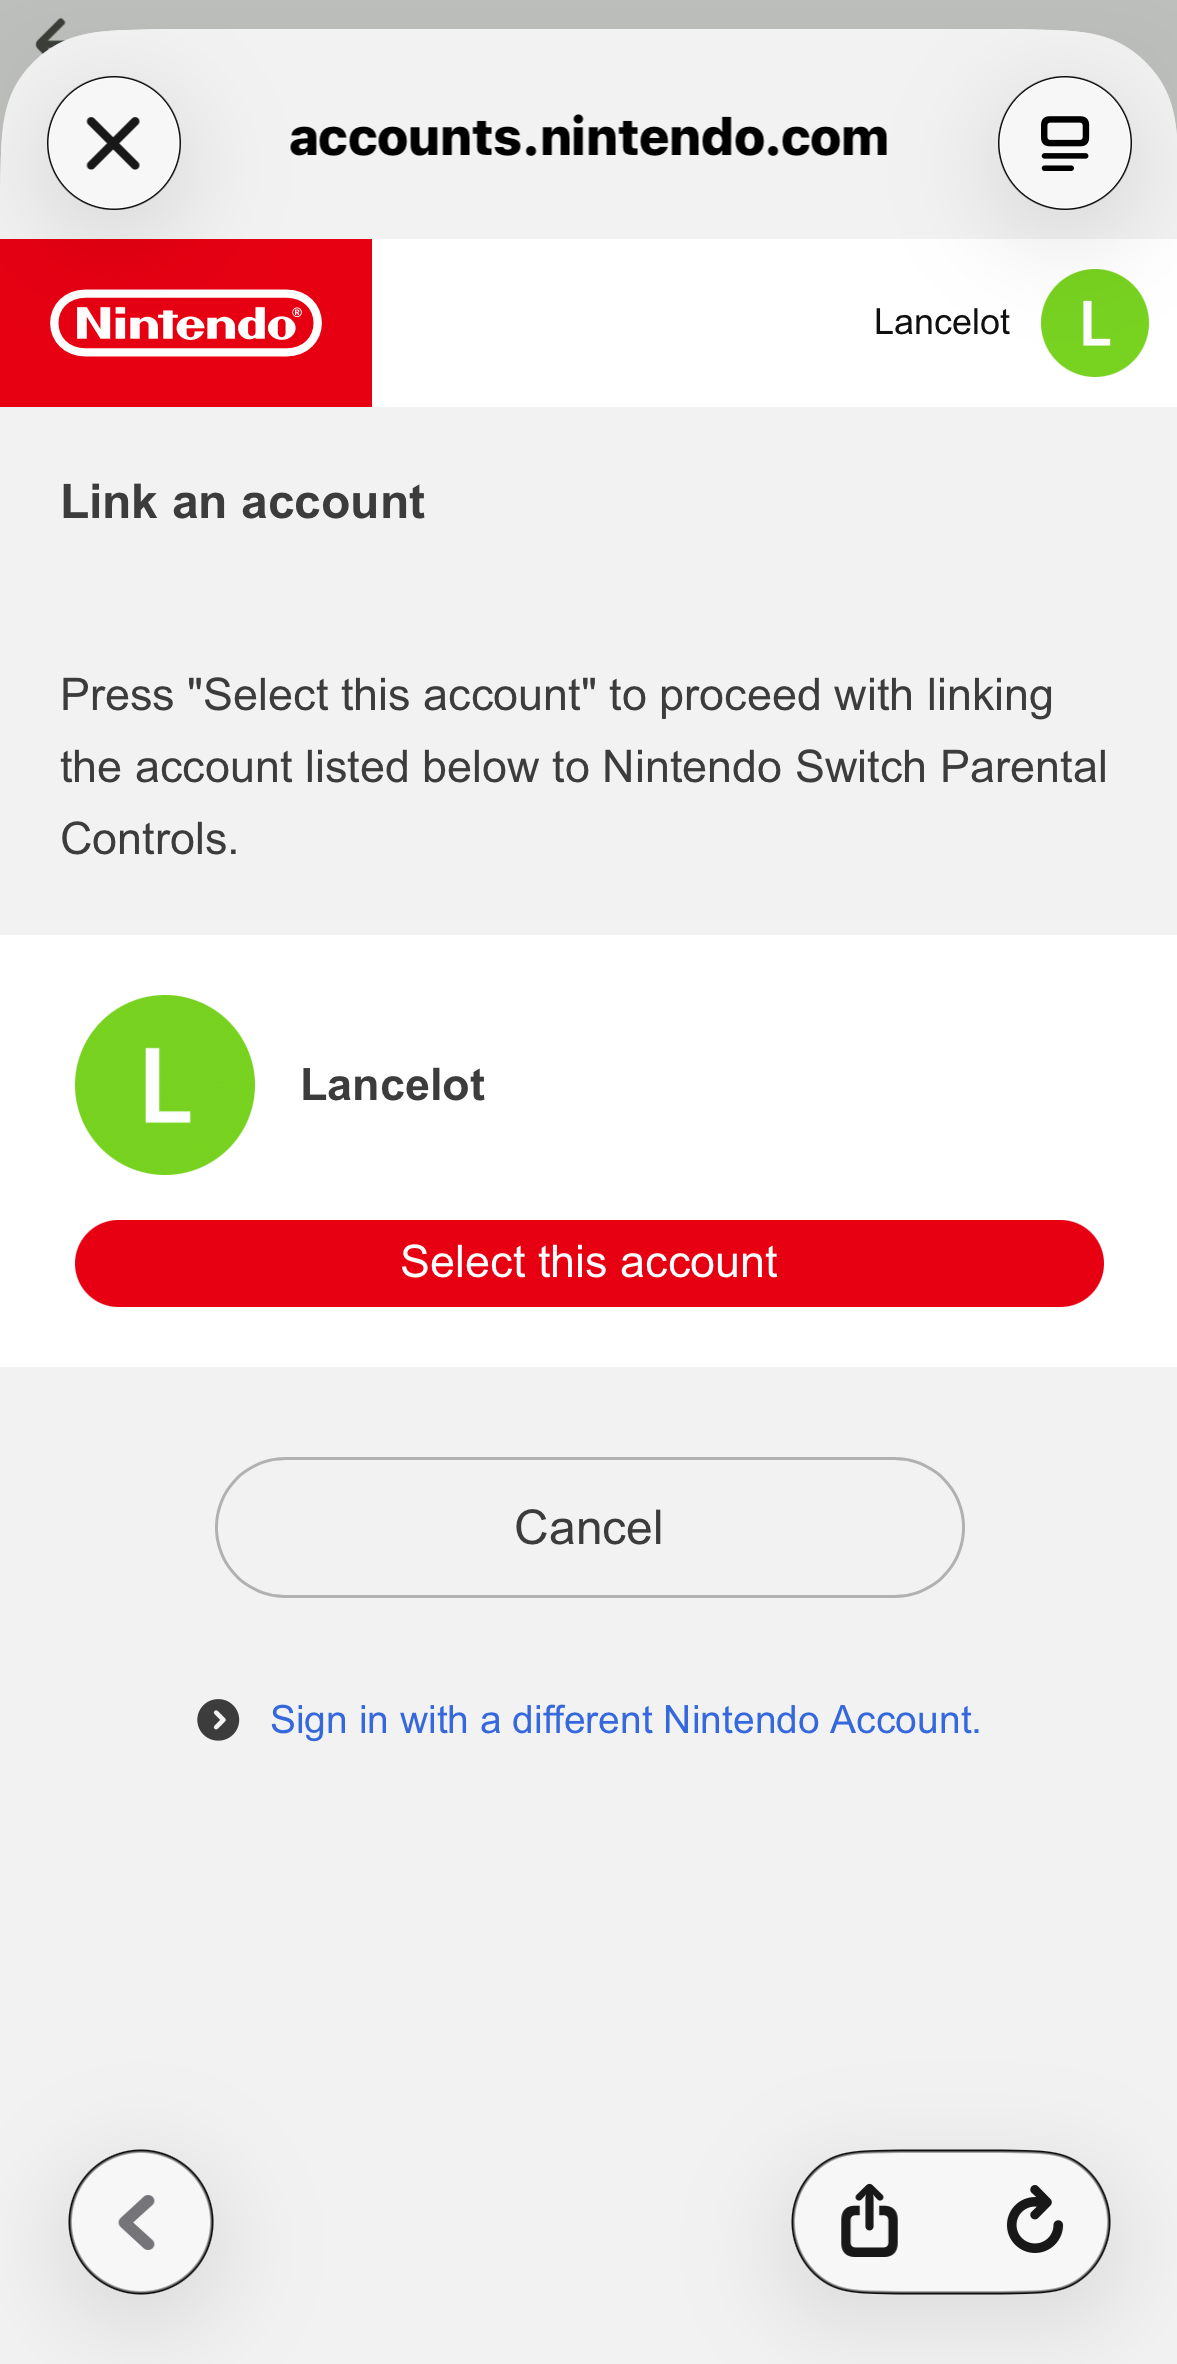
Your Nintendo Account nickname will appear on the screen. Select Use this account to confirm.
Step 8
You will be returned to the Nintendo Switch Parental Controls application. Select Next.
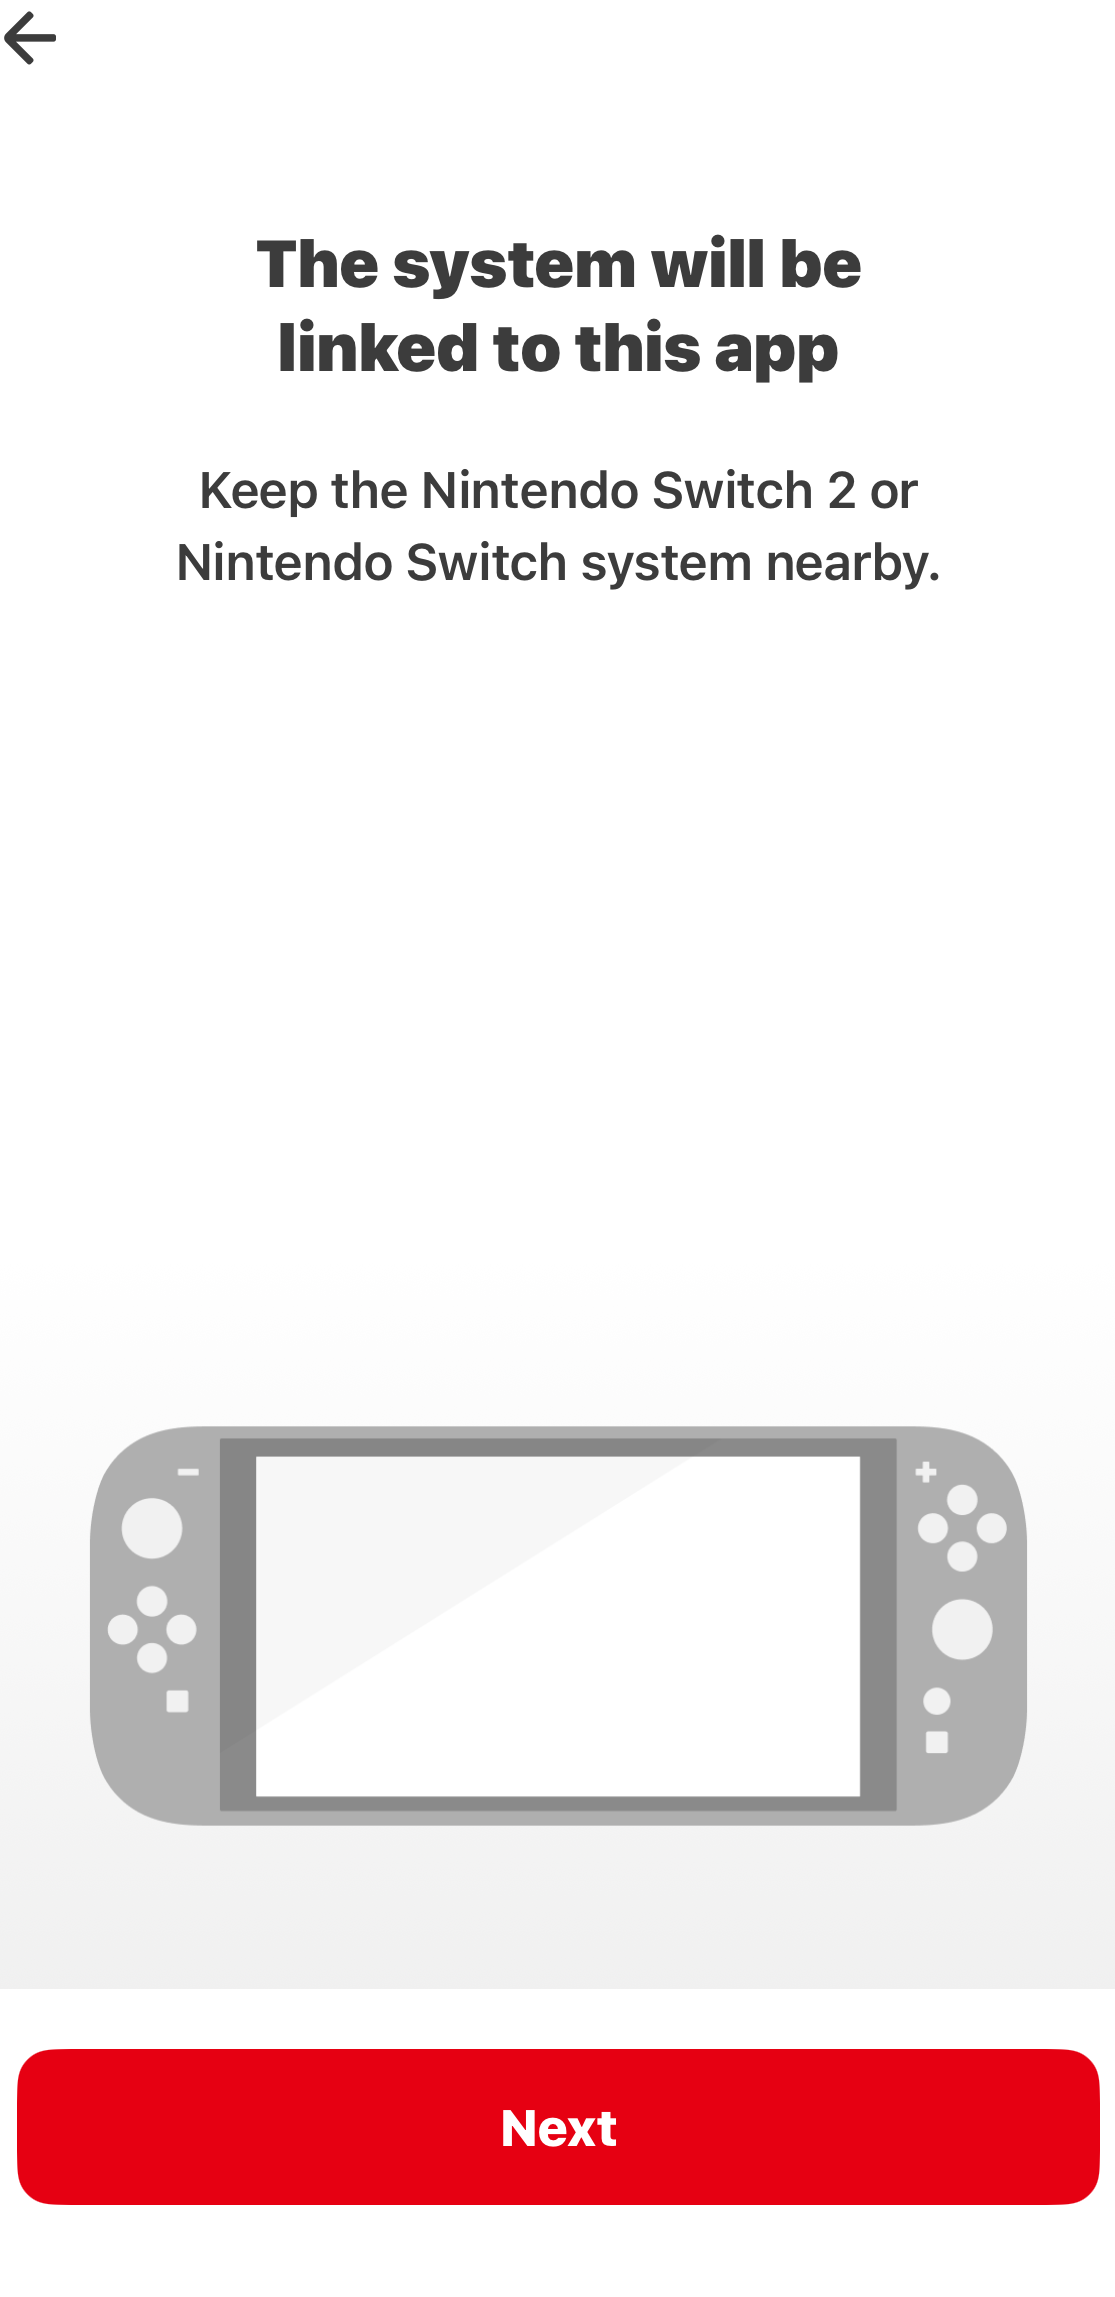
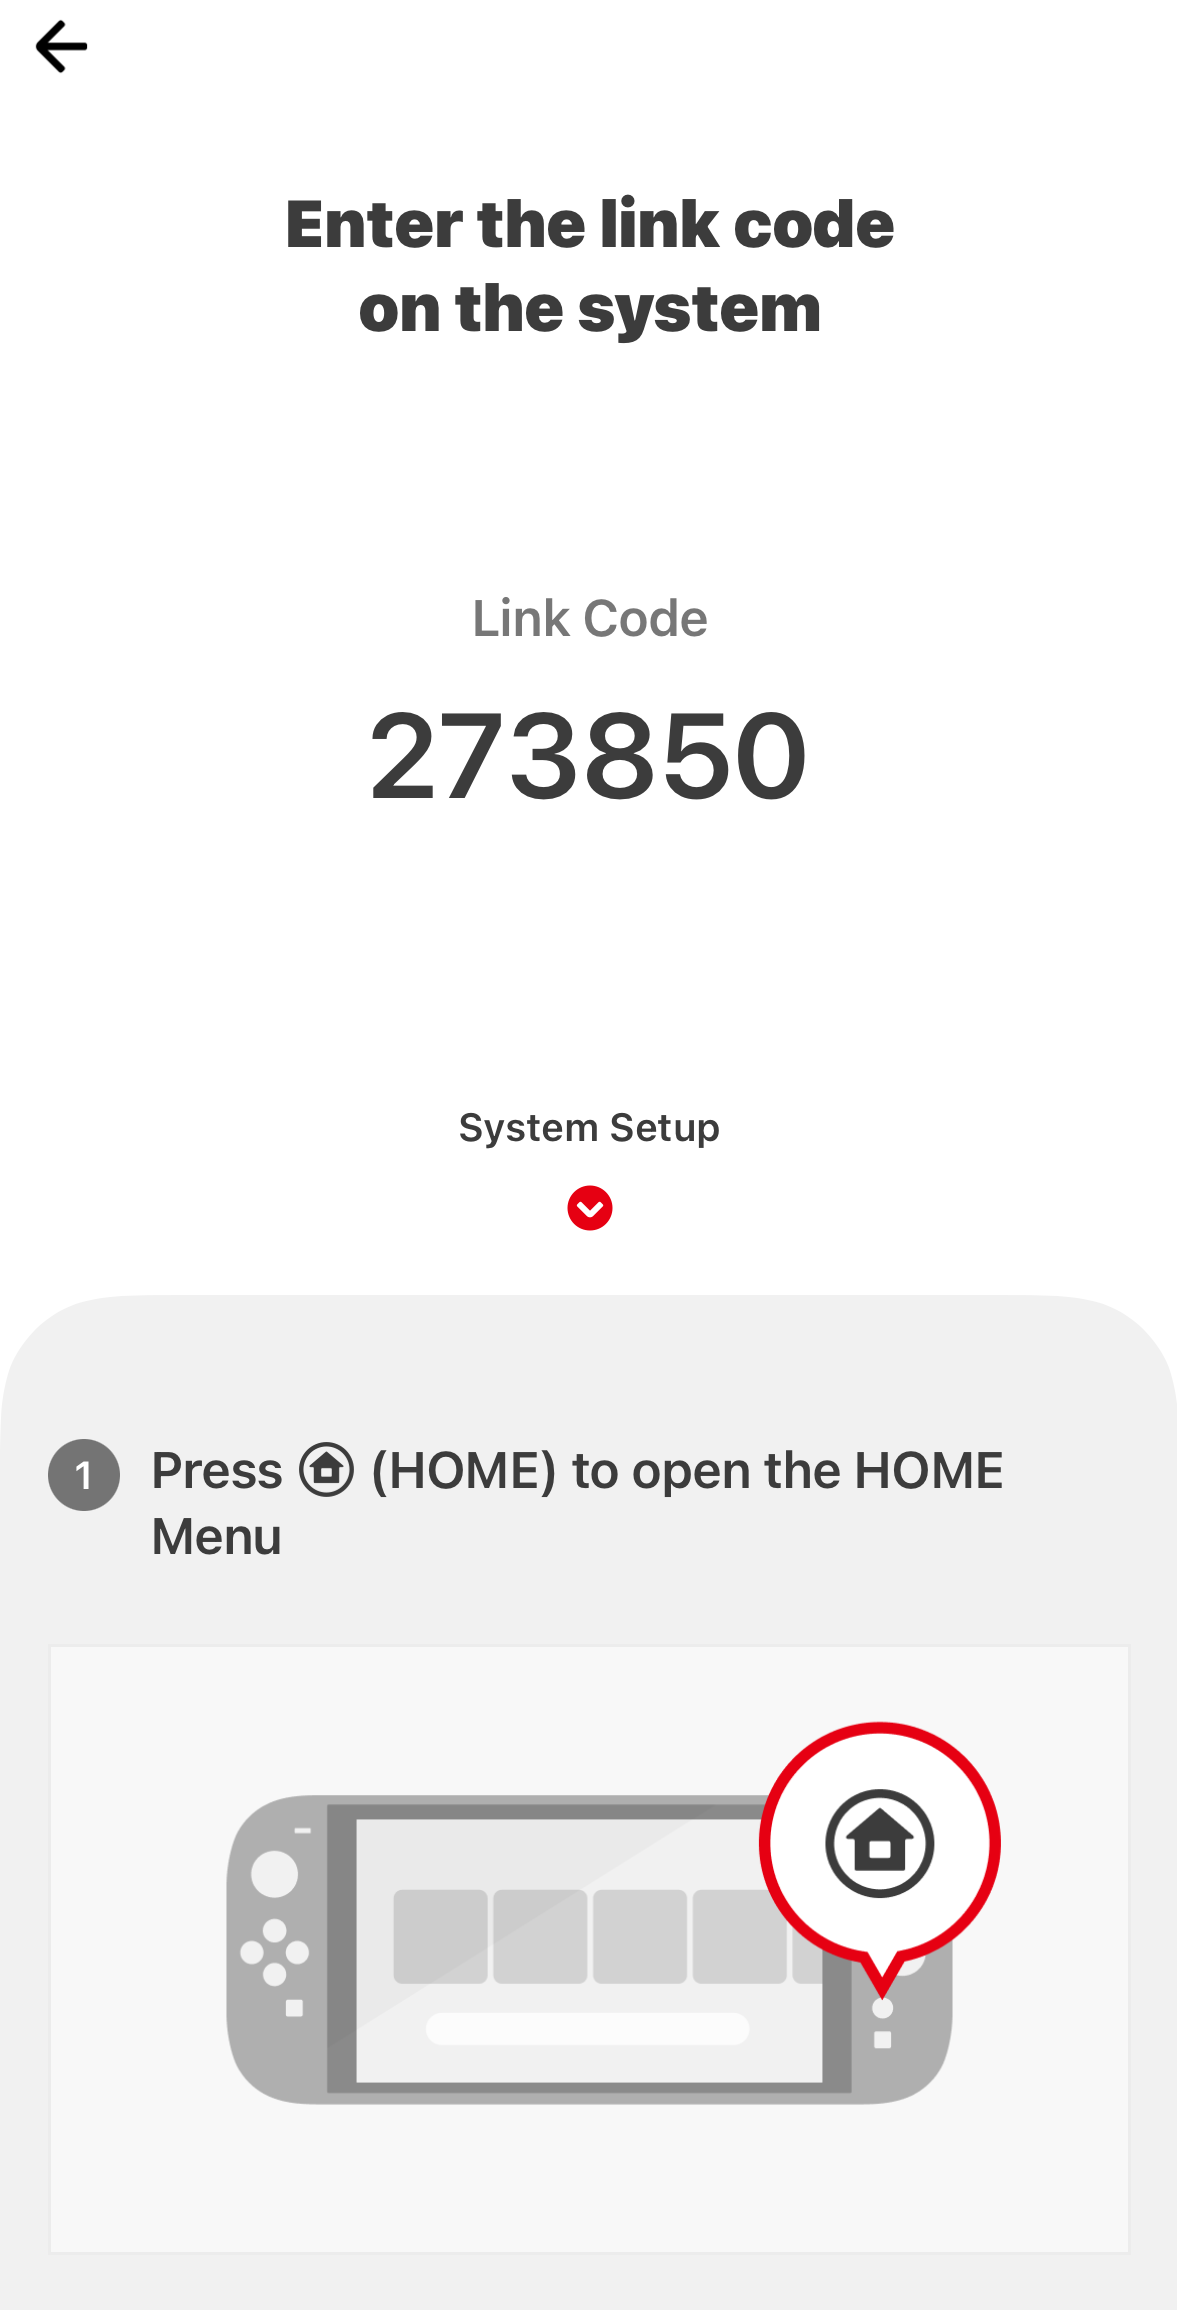
- A Link Code will appear on the screen of your smart device.
- On the Nintendo Switch console, select System Settings from the HOME Menu.
- Scroll down to highlight Parental Controls .
- Select Parental Controls Settings , then I have the app installed. What’s next? “Change Settings” appears instead of “Parental Controls Settings”
- Enter the six-digit Link Code from your smart device. Select OK .
- Select Link to link the Nintendo Switch to your smart device, then select OK on both the console and your smart device.
- Once the link is complete, you can use the Nintendo Switch Parental Controls app to set parental controls restrictions.
How to Set Up or Adjust Parental Controls on Nintendo Switch
Follow these steps to start and manage parental controls on Nintendo Switch using system settings, Nintendo Account settings, and the Nintendo Switch Parental Controls app for smart devices.
Note: Parental controls are set for the system, not each individual user. The same restrictions will apply to everyone who uses the system, so they should be set with the youngest player in mind.
The smart device app provides access to the most restrictive options and features.
- Set limits on play time, view gameplay history, and allow individually selected games to ignore restrictions.
- Set age rating restrictions, limit communication between players, and set social media restrictions.
- Restrictions on viewing and purchasing content in the eShop, friend suggestions, and sharing information with third-parties are managed through Nintendo Account settings.
- How would you like to set up parental controls?
- Directly on Nintendo Switch
- Through the Smart Device Application
- Nintendo Account profile
Step 1
Select Parental Controls in the lower-right corner.
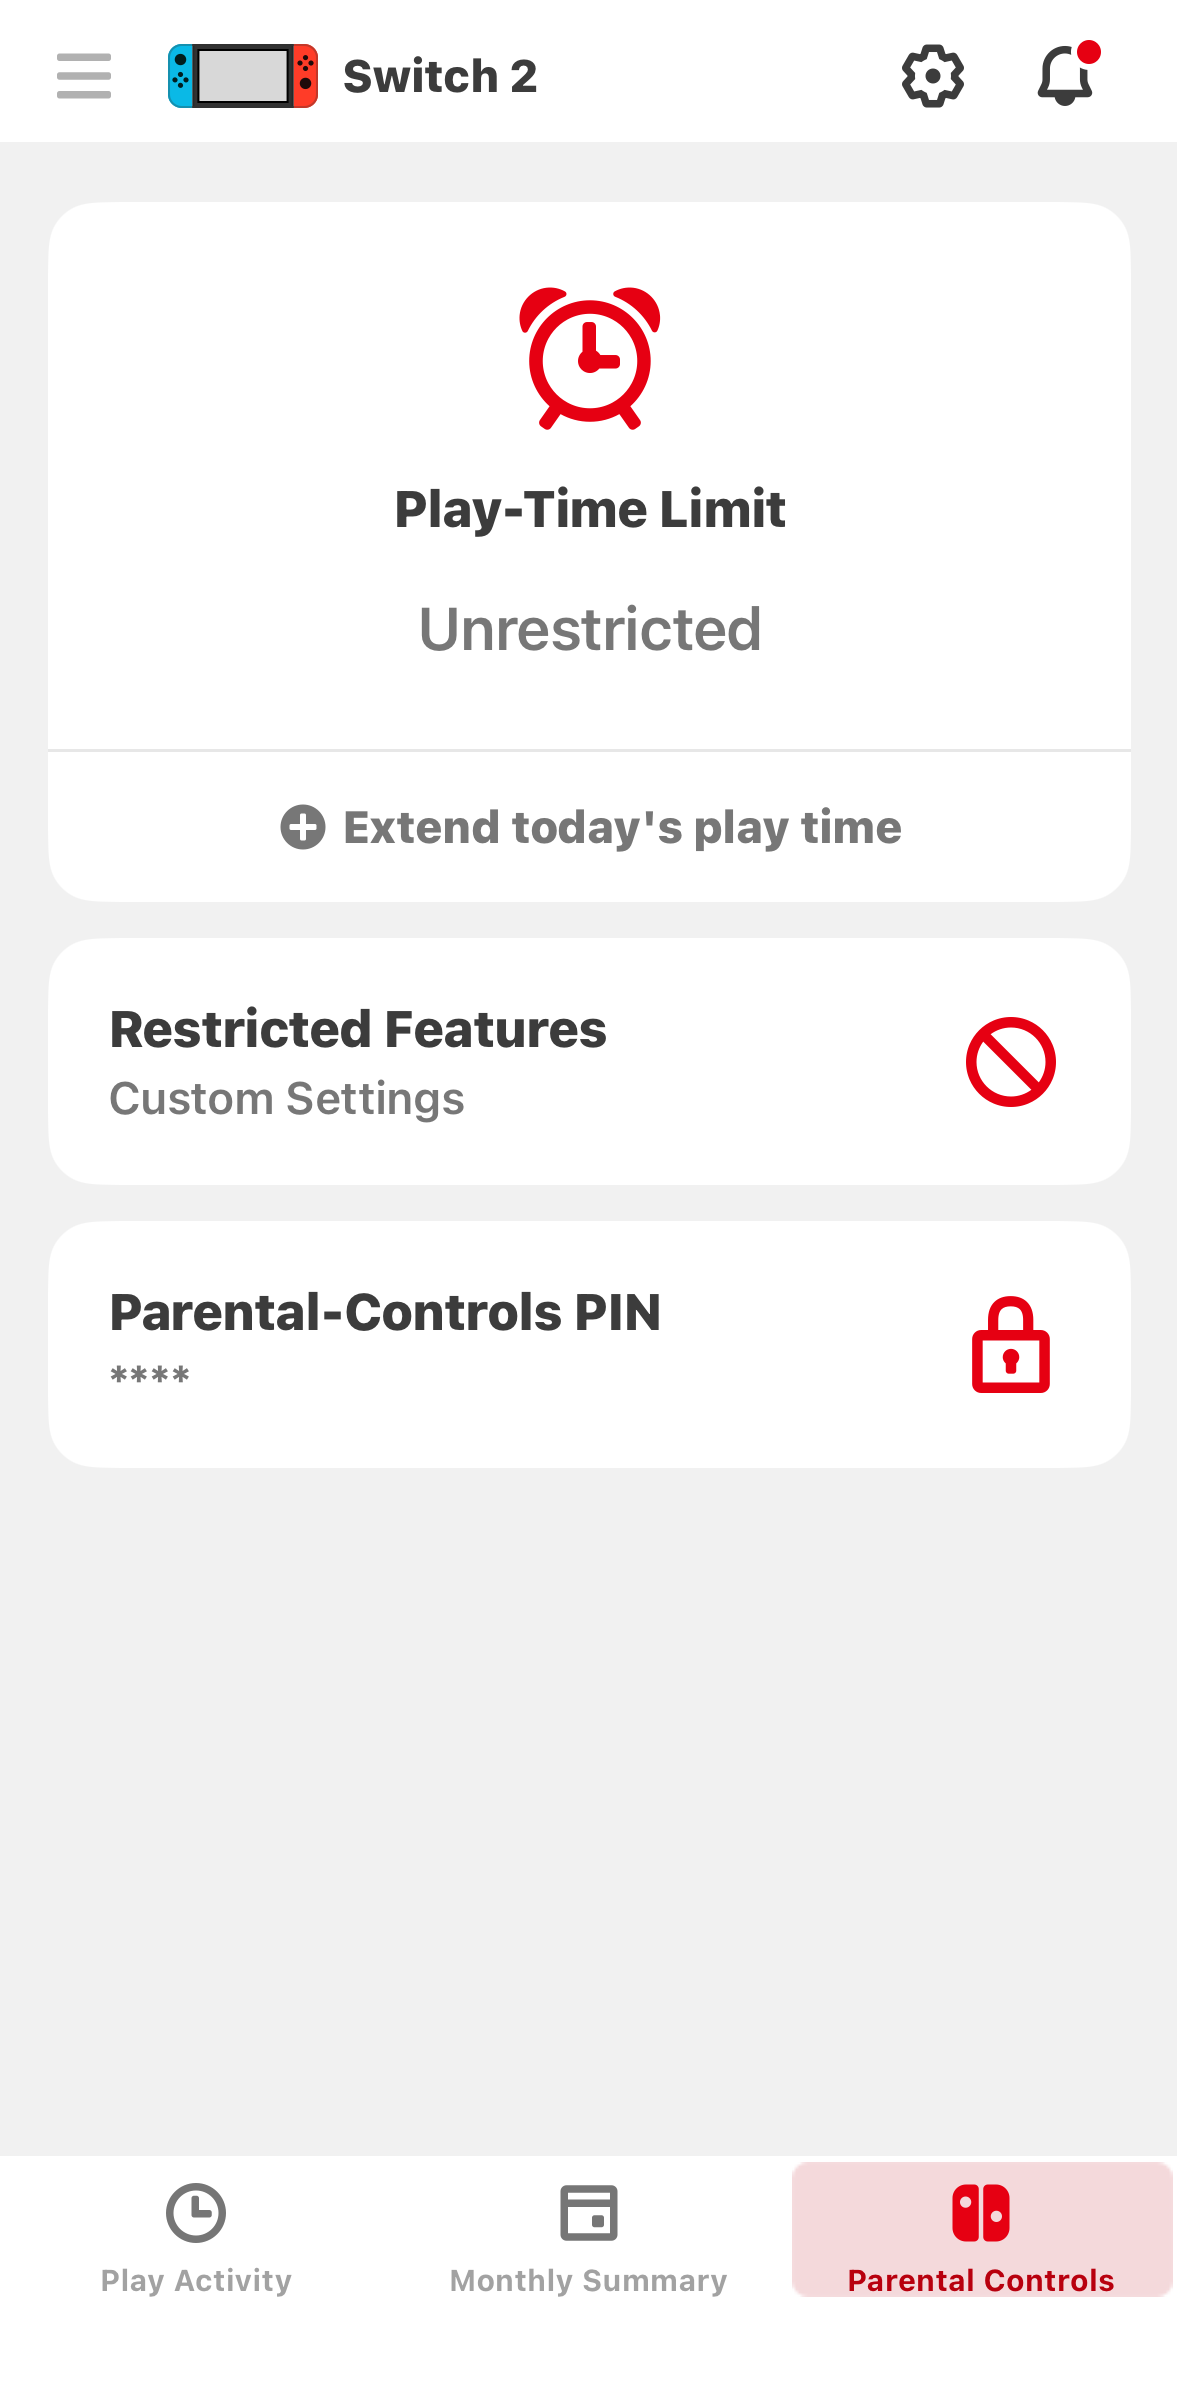
Select each setting you want to adjust:
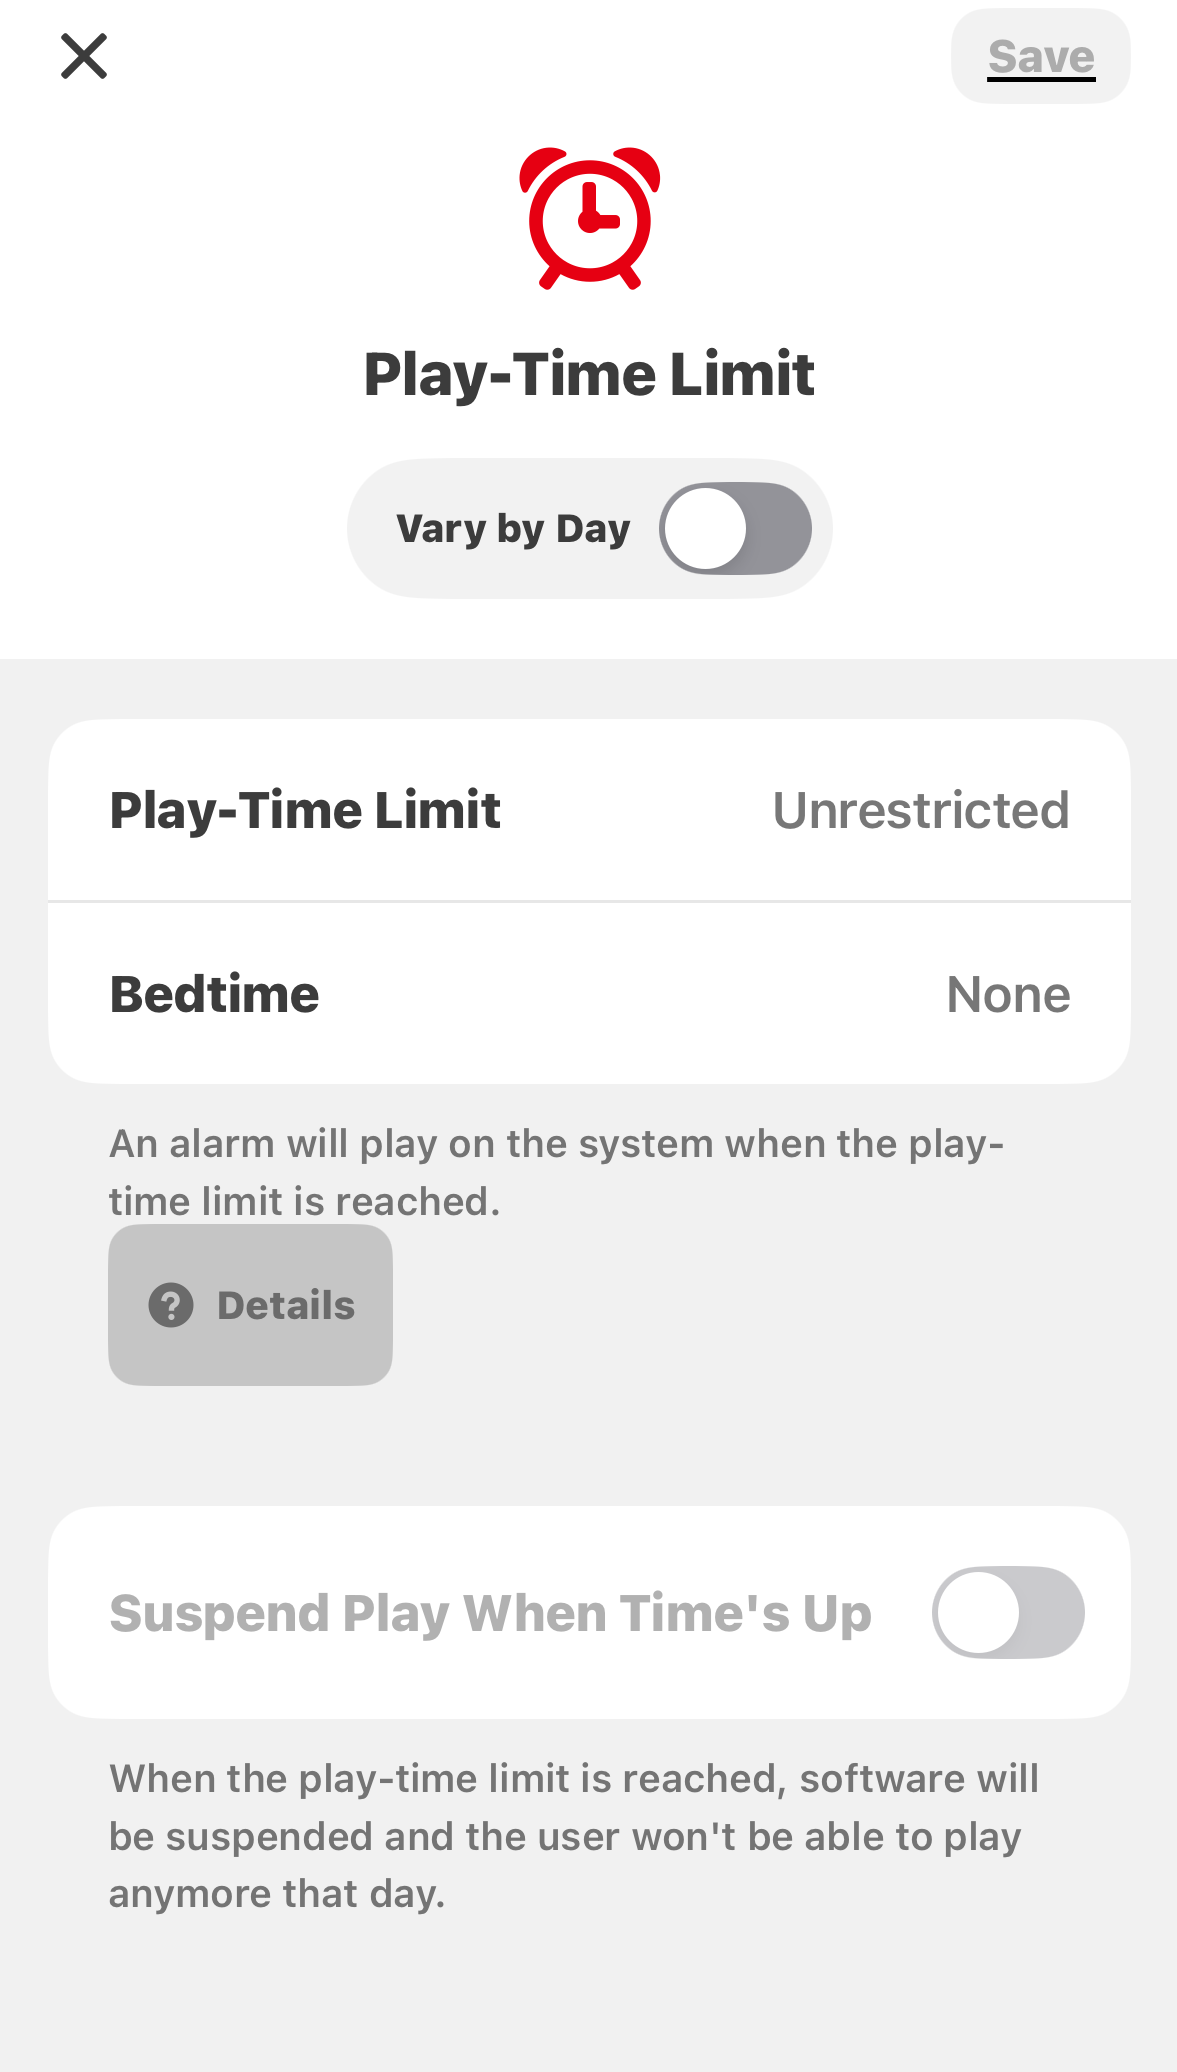
Play-Time Limit
- Play-Time Limit: Set a daily limit on the amount of time the Nintendo Switch console can be used (scroll from No Limit up to 6 hours). You can toggle on Vary by Day to set these restrictions individually for each day of the week.
- You can also extend today’s play-time limit by 5/15/30 minutes or an hour at a time, or turn it off for the day.
- Bedtime: Set gameplay to stop at a certain time each day (between 4:00 PM – 11:45 PM). When set, you can select the three dots icon on the right to set a time when the console can be used again the next morning (between 6:00 AM – 9:00 AM).
- Suspend Play When Time’s Up: When this is turned on, the software on the system will be stopped when the time limit is reached. Otherwise, a notification will appear when the limit is reached, but software will still be playable.
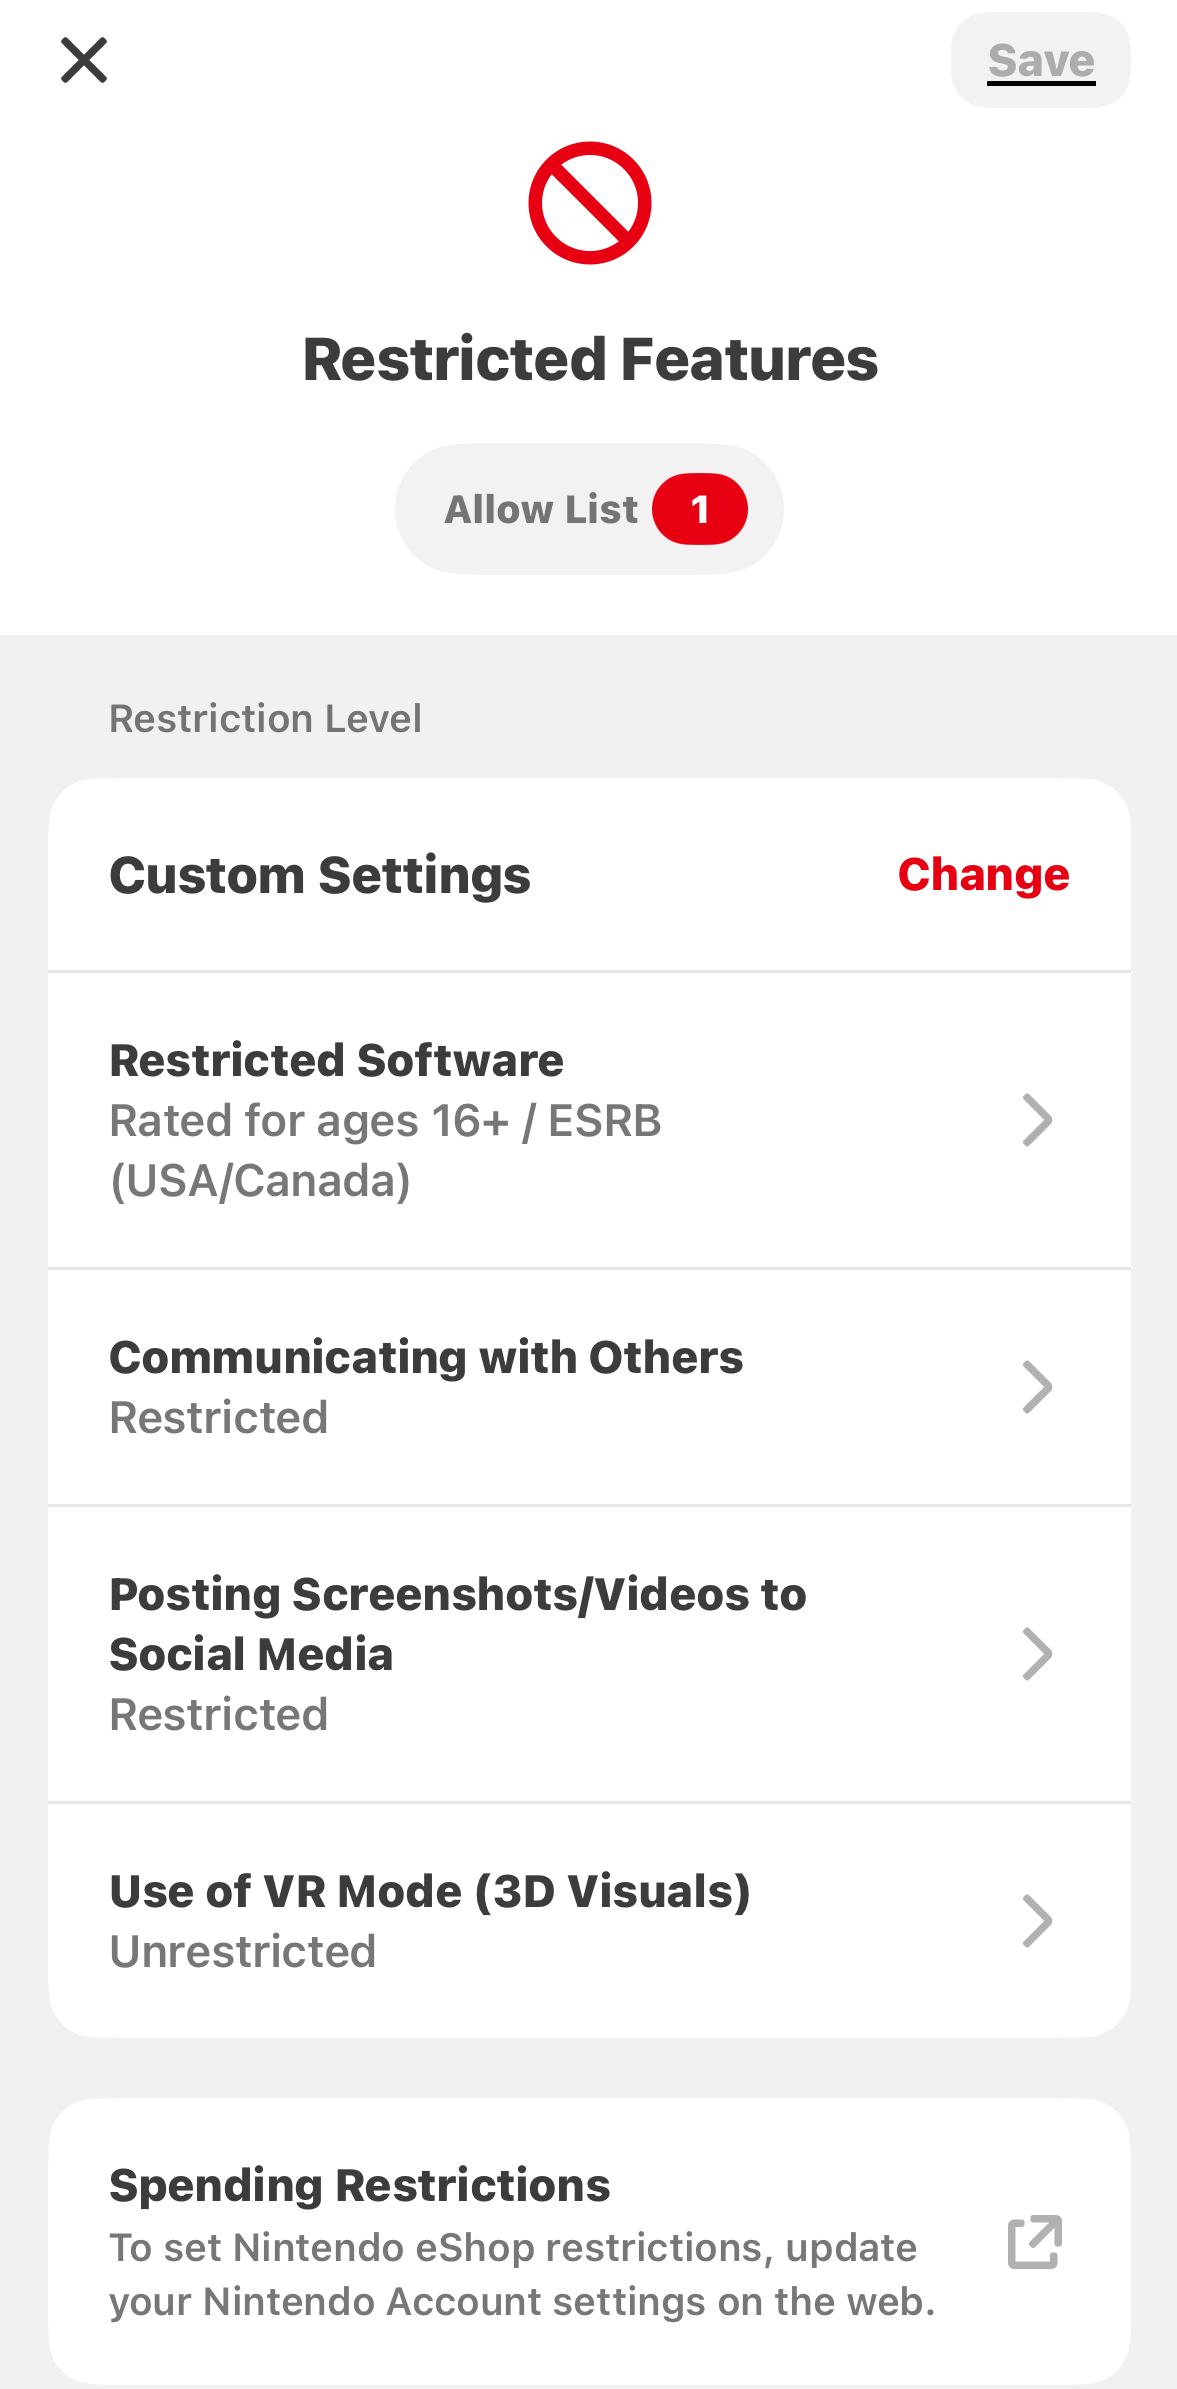
Restricted Features
Choose from preset restrictions by age or select Custom Settings to manually adjust individual settings.
Teen
- Restricted Software – Games rated for ages 17+ (games rated Mature by the ESRB)
- Software Rating Organization – Appropriate organization for your region
- In-Game Communication with Others – Not Restricted
- Posting Screenshots/Videos to Social Media – Not Restricted
- Use of VR Mode (3D Visuals) – Not Restricted
Pre-Teen
- Restricted Software – Games rated for ages 13+ (games rated Teen and Mature by the ESRB)
- Software Rating Organization – Appropriate organization for your region
- In-Game Communication with Others – Restricted
- Posting Screenshots/Videos to Social Media – Restricted
- Use of VR Mode (3D Visuals) – Not Restricted
Child
- Restricted Software – Games rated for ages 8+ (games rated Everyone 10+, Teen and Mature by the ESRB)
- Software Rating Organization – Appropriate organization for your region
- In-Game Communication with Others – Restricted
- Posting Screenshots/Videos to Social Media – Restricted
- Use of VR Mode (3D Visuals) – Restricted
custom settings
Restricted Software Restrict software by age based on each game’s ESRB rating category. Select Restricted software, then choose the age you would like to restrict software for (6+, 13+, etc). Additionally, videos captured using restricted software will not be viewable in the album.
Software Rating Organization Adjust the software rating organization that software restrictions are based on (ESRB, PEGI, etc). This defaults to the appropriate organization for your region.
Posting Screenshots/Videos to Social Media Disable the ability to share images and videos from Nintendo Switch on social media. Toggle between Restricted or Not Restricted .
In-Game Communication with Others Restrict open communication between users, including chat features and exchanging messages. You can toggle between Restricted or Not Restricted for all software on the system, or adjust the settings for specific software.
Use of VR Mode (3D Visuals) Restrict gameplay in VR mode. This option should be set to restricted if a child of 6 years or younger uses the console. Toggle between Restricted or Not Restricted .
pin
- You can view or change the Parental Controls PIN for the console.
- Once you are done with a setting, tap the red Save button on the screen to confirm.
Restrictions you set will be activated as soon as the Nintendo Switch console connects online.